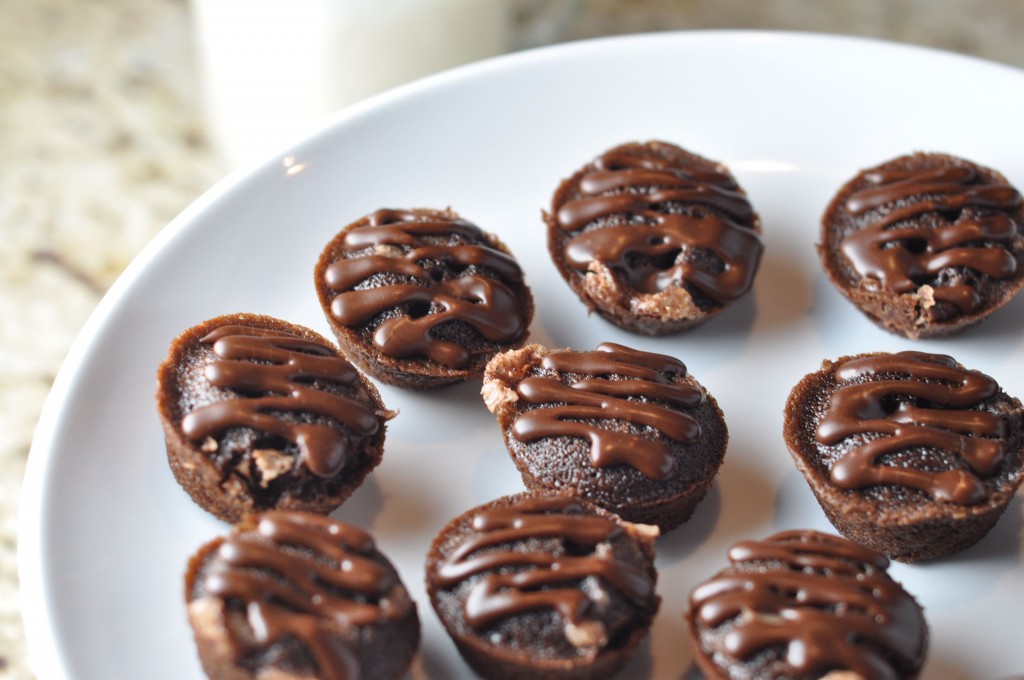
Mini Chocolate Nut Cakes
-
Bigger isn’t always better.
When it comes to dessert.
(As long as you can have more of the “good things come in small packages” dessert in question, that is.)
Take these little cakes, for example. Although weensie (made in your mini muffin pan, and therefore ready before you know it- a huge plus in the dessert-making department when you want a chocolate hit, and fast), they are rich, dense, sweet, nutty, chocolatey, moist, and every other word used to describe something freaking incredible. And because of their weensiness, they can be popped into your mouth (in one albeit gluttenous gulp) again and again and again. No need to cut into a cake (oh, the hard, hard work of slicing into a Bundt cake)- just inhale. I hope you agree that that is a good thing.
Adapted from my Tunnel of Fudge Cake recipe…
CAKE:
3/4 cup plus 2 tablespoons granulated sugar
3/4 cup plus 2 tablespoons salted butter, at room temperature (14 tablespoons)
3 eggs
1 cup confectioners’ sugar
1 cup plus 2 tablespoons all-purpose flour
1/4 cup plus 2 tablespoons unsweetened cocoa powder
1 cups chopped walnuts
GLAZE:
1/4 cup plus 2 tablespoons confectioners’ sugar
2 tablespoons unsweetened cocoa powder
2 – 3 teaspoons milk
- MINI CAKES: Preheat oven to 350° and generously grease two mini-muffin pans (24 muffin cups each).
- In a large bowl, beat granulated sugar and butter until fluffy (about 3 – 5 minutes), scraping sides of bowl. Add eggs one at a time, beating well after each addition.
- Gradually add confectioners’ sugar and mix to combine well. In a medium bowl, whisk flour and cocoa powder together, then stir into butter mixture along with walnuts.
- Spoon batter into prepared mini muffin pans, and bake 15 – 20 minutes or until tops are set and edges begin to pull away from sides of pan. Cool in pan for 20 minutes (overtop a cooling rack), then remove from pan and allow to cool completely before adding glaze.
- GLAZE: In a small bowl (or large measuring cup with a spout), combine all glaze ingredients and stir until smooth. Add more milk or sugar to reach desired consistency. Fill a piping bag (or ziploc bag with the corner cut off) with icing and swirl over tops of cakes. OR- just pour glaze over tops of mini cakes, allowing excess to drip down sides (of course). Allow glaze to set slightly.
Tips:
- The walnuts are supposed to be essential to the success of this cake- so don’t skip if you were planning on it. As mentioned, this recipe is meant to create a tunnel of fudge in the inside of the cake, so you can still achieve a bit of a gooey inside with the mini cupcake size. I have no idea why it matters that walnuts create the fudgy inside, but sometimes you just don’t question things when baking.
- Toast the walnuts a bit before chopping and throwing into the batter… just put on a baking pan for 6 – 8 minutes in your preheating oven. Nice and toasty tasting.
- You don’t want to over bake these cakes- just make sure they are a bit springy to the touch on the top after the 15 minutes or so. If they look jiggly when you shake the pan, keep them in the oven for a few more minutes.
- Enjoy! (Store tightly covered and eat within a day or so at room temperature.)
Related Recipes & Posts:
Leave a Reply

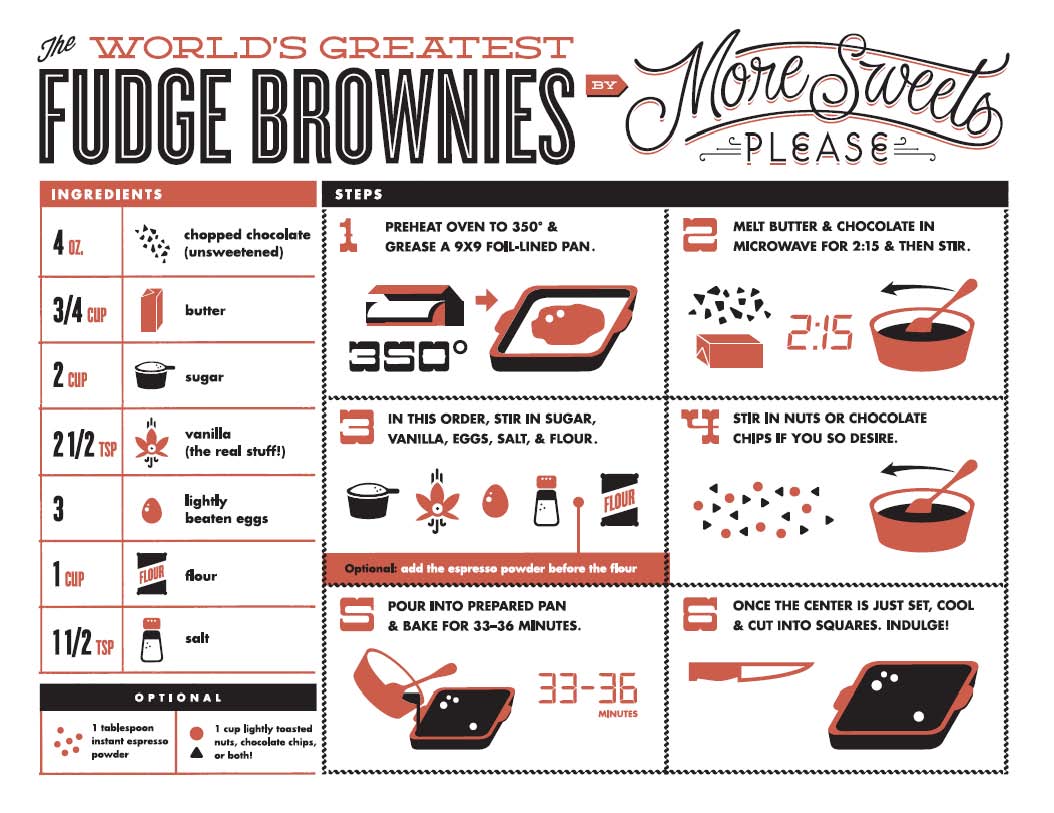
World’s Greatest Brownie Apron- Buy Me Instantly!

More Sweets, Please!
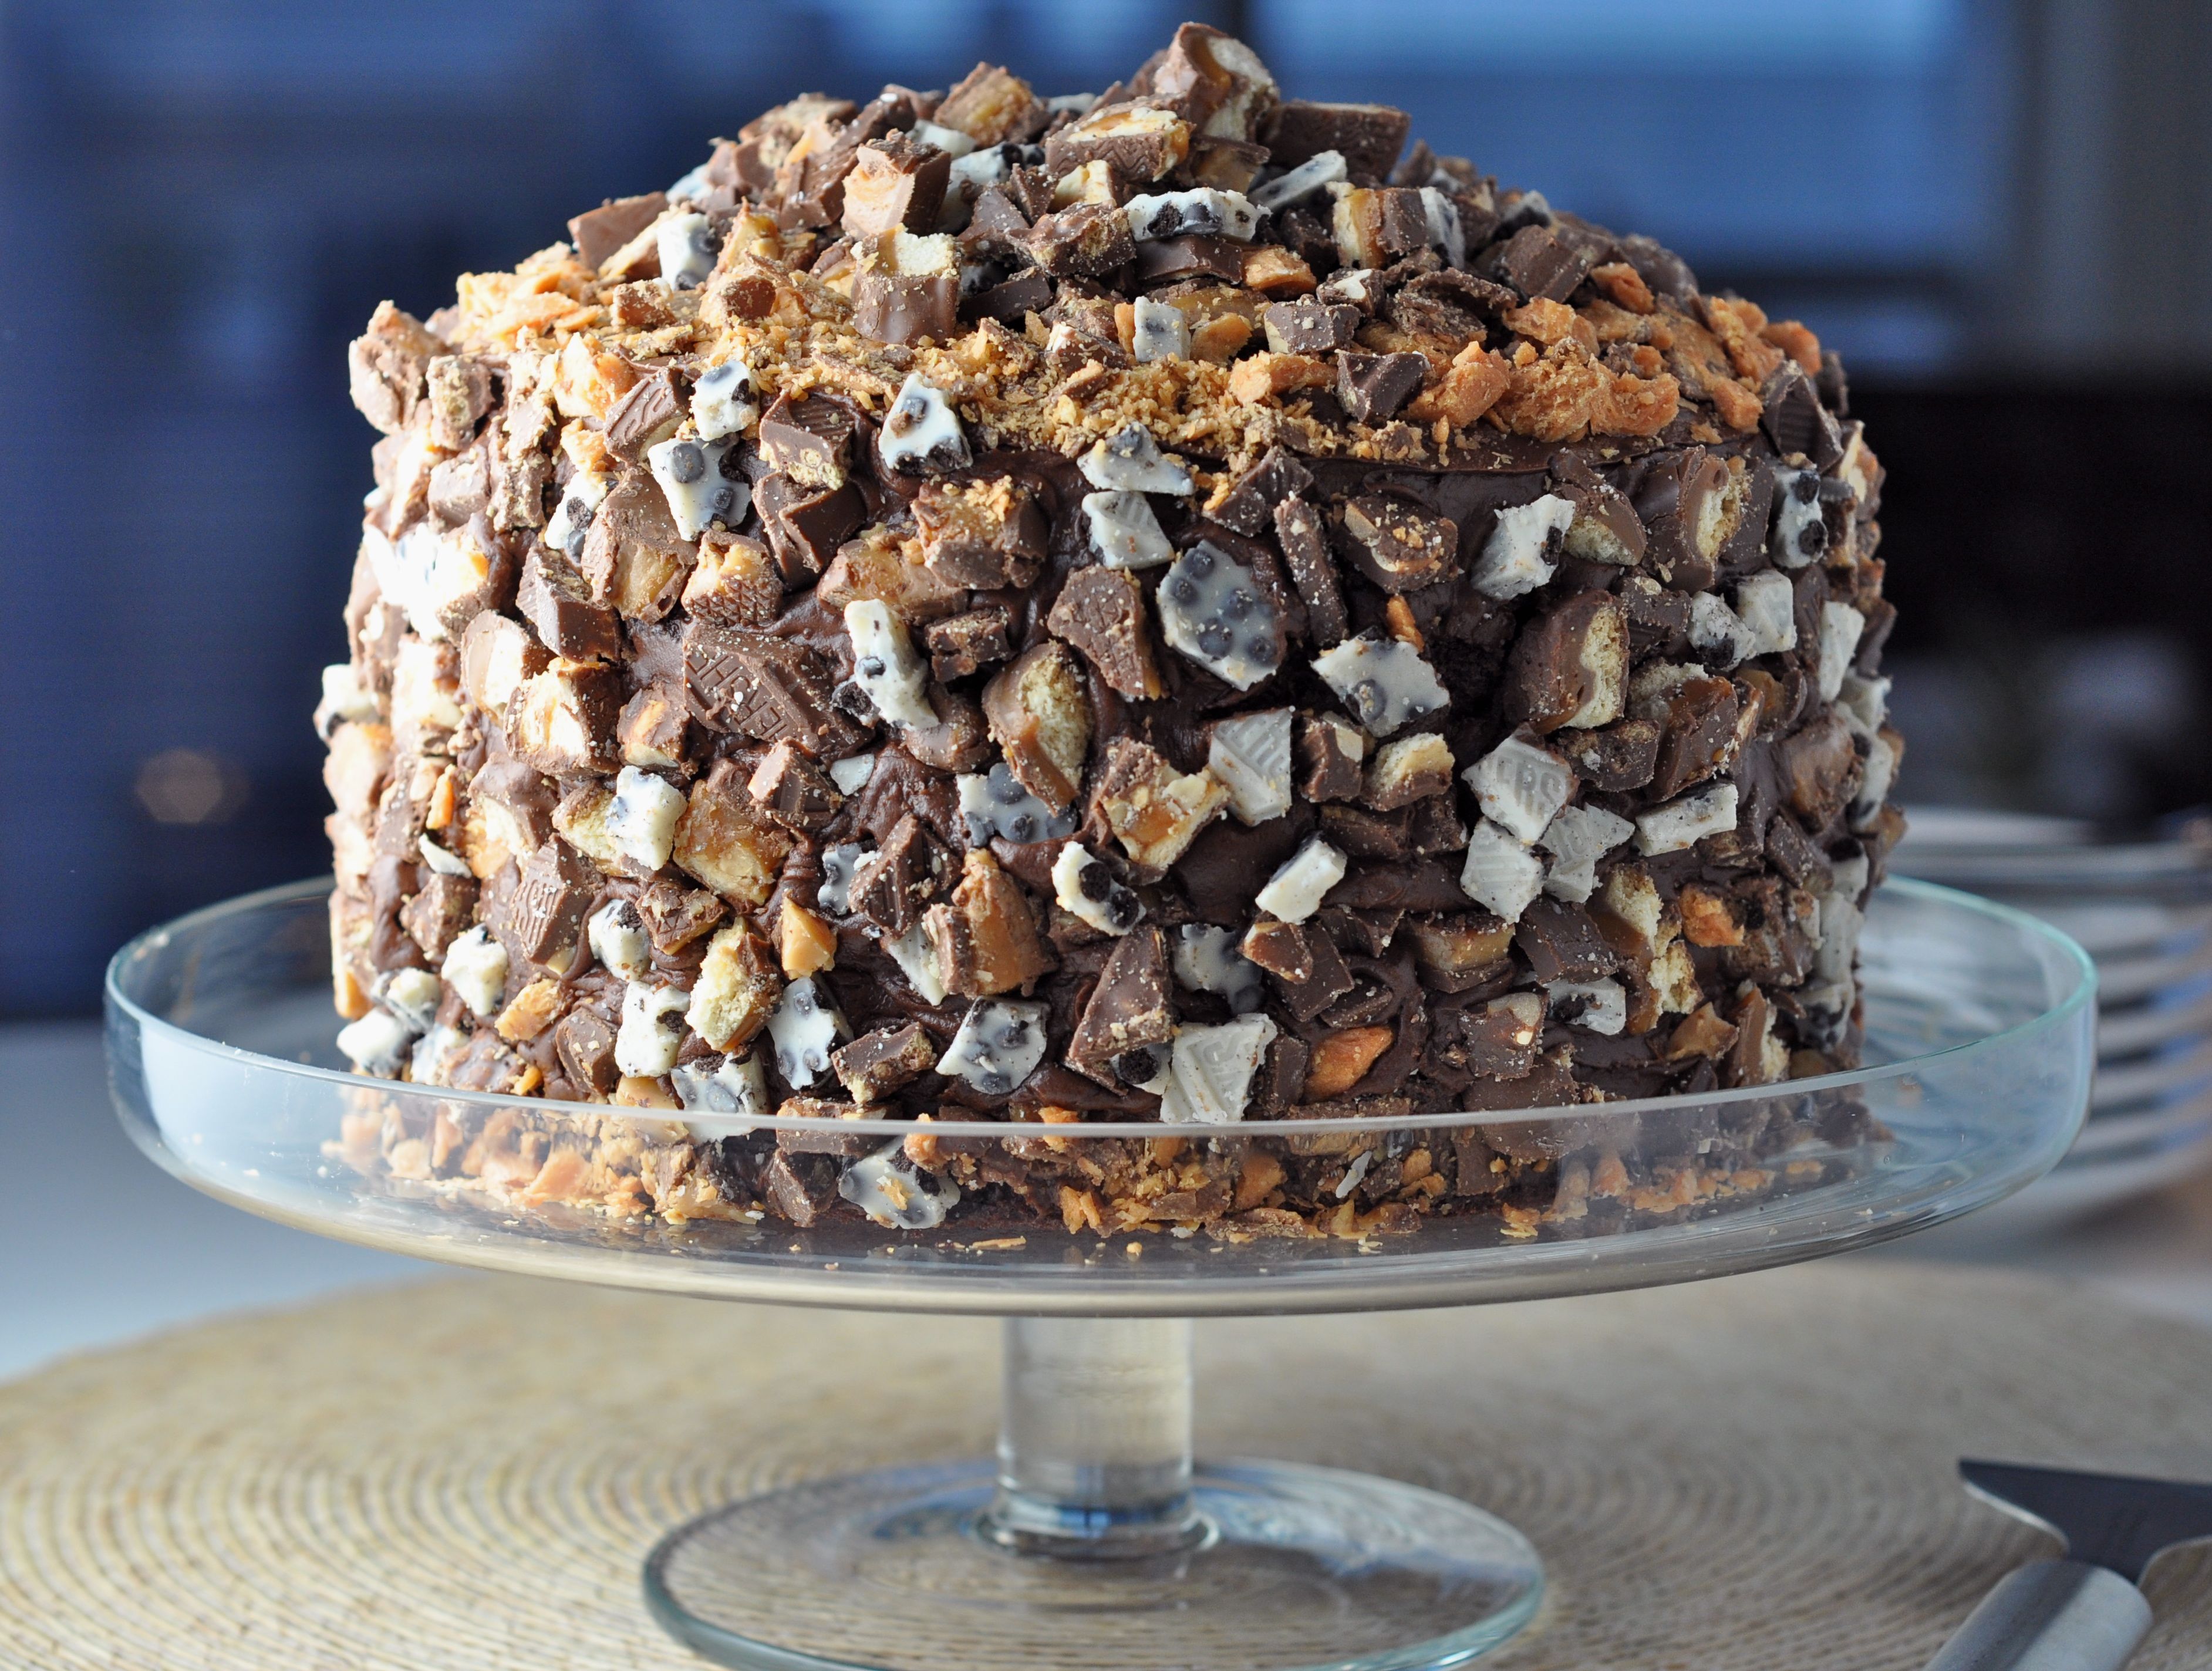
This Cake is Not a Mirage.
World’s Greatest Brownie Kitchen Towel for Purchase!


The Bingeworthy Brownie…