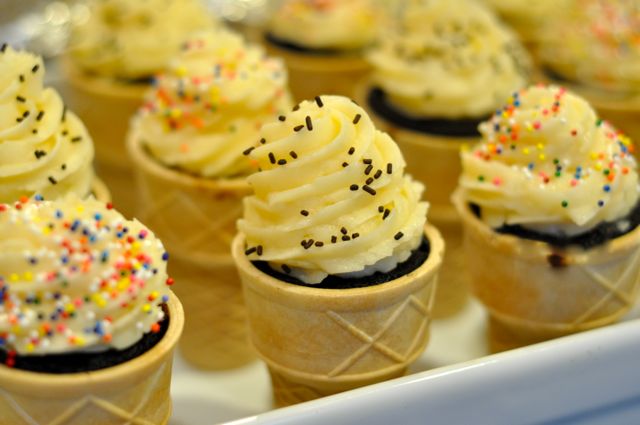
Chocolate Cake Ice Cream Cones
-
First off, let’s get this out of the way: yes, it IS possible to bake cake into ice cream cup cones.
So now that you know that, I know you won’t be able to not make these. Who needs cupcakes when you can have cake cones? Especially in the summer?Secondly, let’s get this out of the way: the photo. I know it’s not pretty. I was in a rush, I was still wet from the rain, blah blah blah. (Seriously- what’s with the crappiest looking cone ever on the right hand side? Could I not have turned it around to hide the chocolate batter blemish, even just a little bit? Amateur hour.)
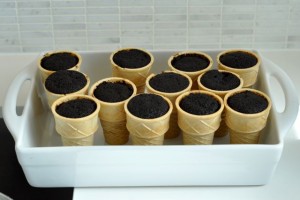
SO here’s the deal. Wrap the flat-bottomed cones in foil, and squash them into muffin tins so they are pretty secure (and less likely to topple over in the oven). Fill 2/3 with batter, bake, and poke little holes in the bottom after you take them out (to let the steam out so they don’t get soggy while they cool). Then frost to look something like ice cream, and sprinkle with fun toppings. That’s it. (Well, a few more notes below, but for the most part, that’s it.)
I brought these to a birthday party for a two year old (correction: I showed up at the party, realized I forgot them, then The Husband and I drove home and back just to make sure the cones could be given to the adorable egg-free boy), and realized something kind of key about them. Because you have to add so much frosting to make them look like actual ice cream cones, you end up with so much frosting. This is a wonderful thing (especially to me, since I could eat frosting and nothing else and feel totally and utterly fulfilled). Happy Birthday, Jonathan!
Adapted from My Old-Fashoned (Vegan!) Chocolate Cake recipe…
CAKE:
1 1/2 cups all-purpose flour
1 cup sugar
1/4 cup unsweetened cocoa powder
1 teaspoon baking soda
1/2 teaspoon salt
1 cup hot water
1/4 cup + 2 tablespoons vegetable oil
1 1/2 teaspoons distilled white vinegar
1 1/2 teaspoons instant coffee granules (or 1 teaspoon instant espresso granules)
1 1/2 teaspoons vanilla extract
1/2 cup mini chocolate chips- optional (Enjoy Life brand has great mini chips that are vegan)
FROSTING:
1 cup butter (salted, for sure)
3 cups confectioners’ sugar
1 teaspoon vanilla extract
2 tablespoons whipping cream
- Preheat oven to 350° and wrap flat-bottomed ice cream cones with foil (so they don’t brown, AND so they have a puffy foil base that’s malleable enough to fit into muffin tins). Set aside.
- In a large bowl, whisk all dry ingredients (flour through salt) together.
- In a measuring cup, stir hot water with oil, vinegar, instant coffee/espresso and vanilla together. Pour into bowl with dry ingredients and whisk until just combined. Stir in chocolate chips if using.
- Pour batter into cones 2/3 full and bake for 30 – 35 minutes (until cake tester/wooden skewer comes out clean). Remove from foil, poke 3 holes with a wooden skewer or cake tester, and cool upright on a rack.
- FROSTING: in a large bowl, cream butter for 1 minute until light. Add sugar, vanilla and whipping cream, and beat until smooth (stopping twice to scrape sides of bowl). Fill piping bag fitted with a JUMBO #1M tip with frosting, and pipe on top of baked cake cones to look like a soft-serve ice cream cone*.
Tips:
- You can find vegan cones… I found mine at Whole Foods. (They di
 dn’t smell like yummy sugar cones,
but I needed them egg-free, so there.) - Be careful when you test the cones for doneness. As I pulled the muffin tin out of the oven (like 4 times, seriously), I knocked over a couple of cones and almost had a disaster on my hands.
- You might want to frost these at the actual location you plan to serve them at. They won’t travel well unless you have a super crazy amazing cupcake transporter, but even then- they probably will topple over.
- *When frosting the cones, in addition to using the big tip (#1M from Wilton, or a similar one), start from the center and make a circle moving outwards to the edge of the cones. Then you can start to make a circle on top of that frosting blob from the outside inwards, like a mountain top. A massive mountain of frosting. Bring it on.
- Enjoy!
Related Recipes & Posts:
Leave a Reply

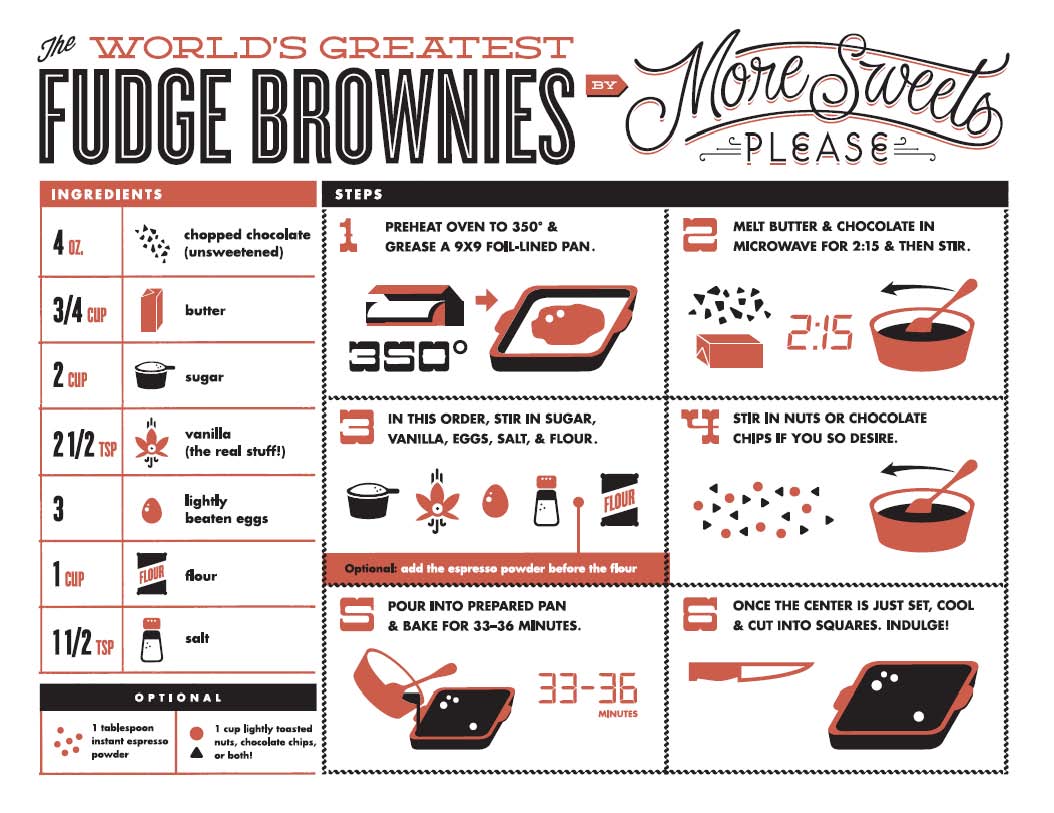
World’s Greatest Brownie Apron- Buy Me Instantly!
More Sweets, Please!
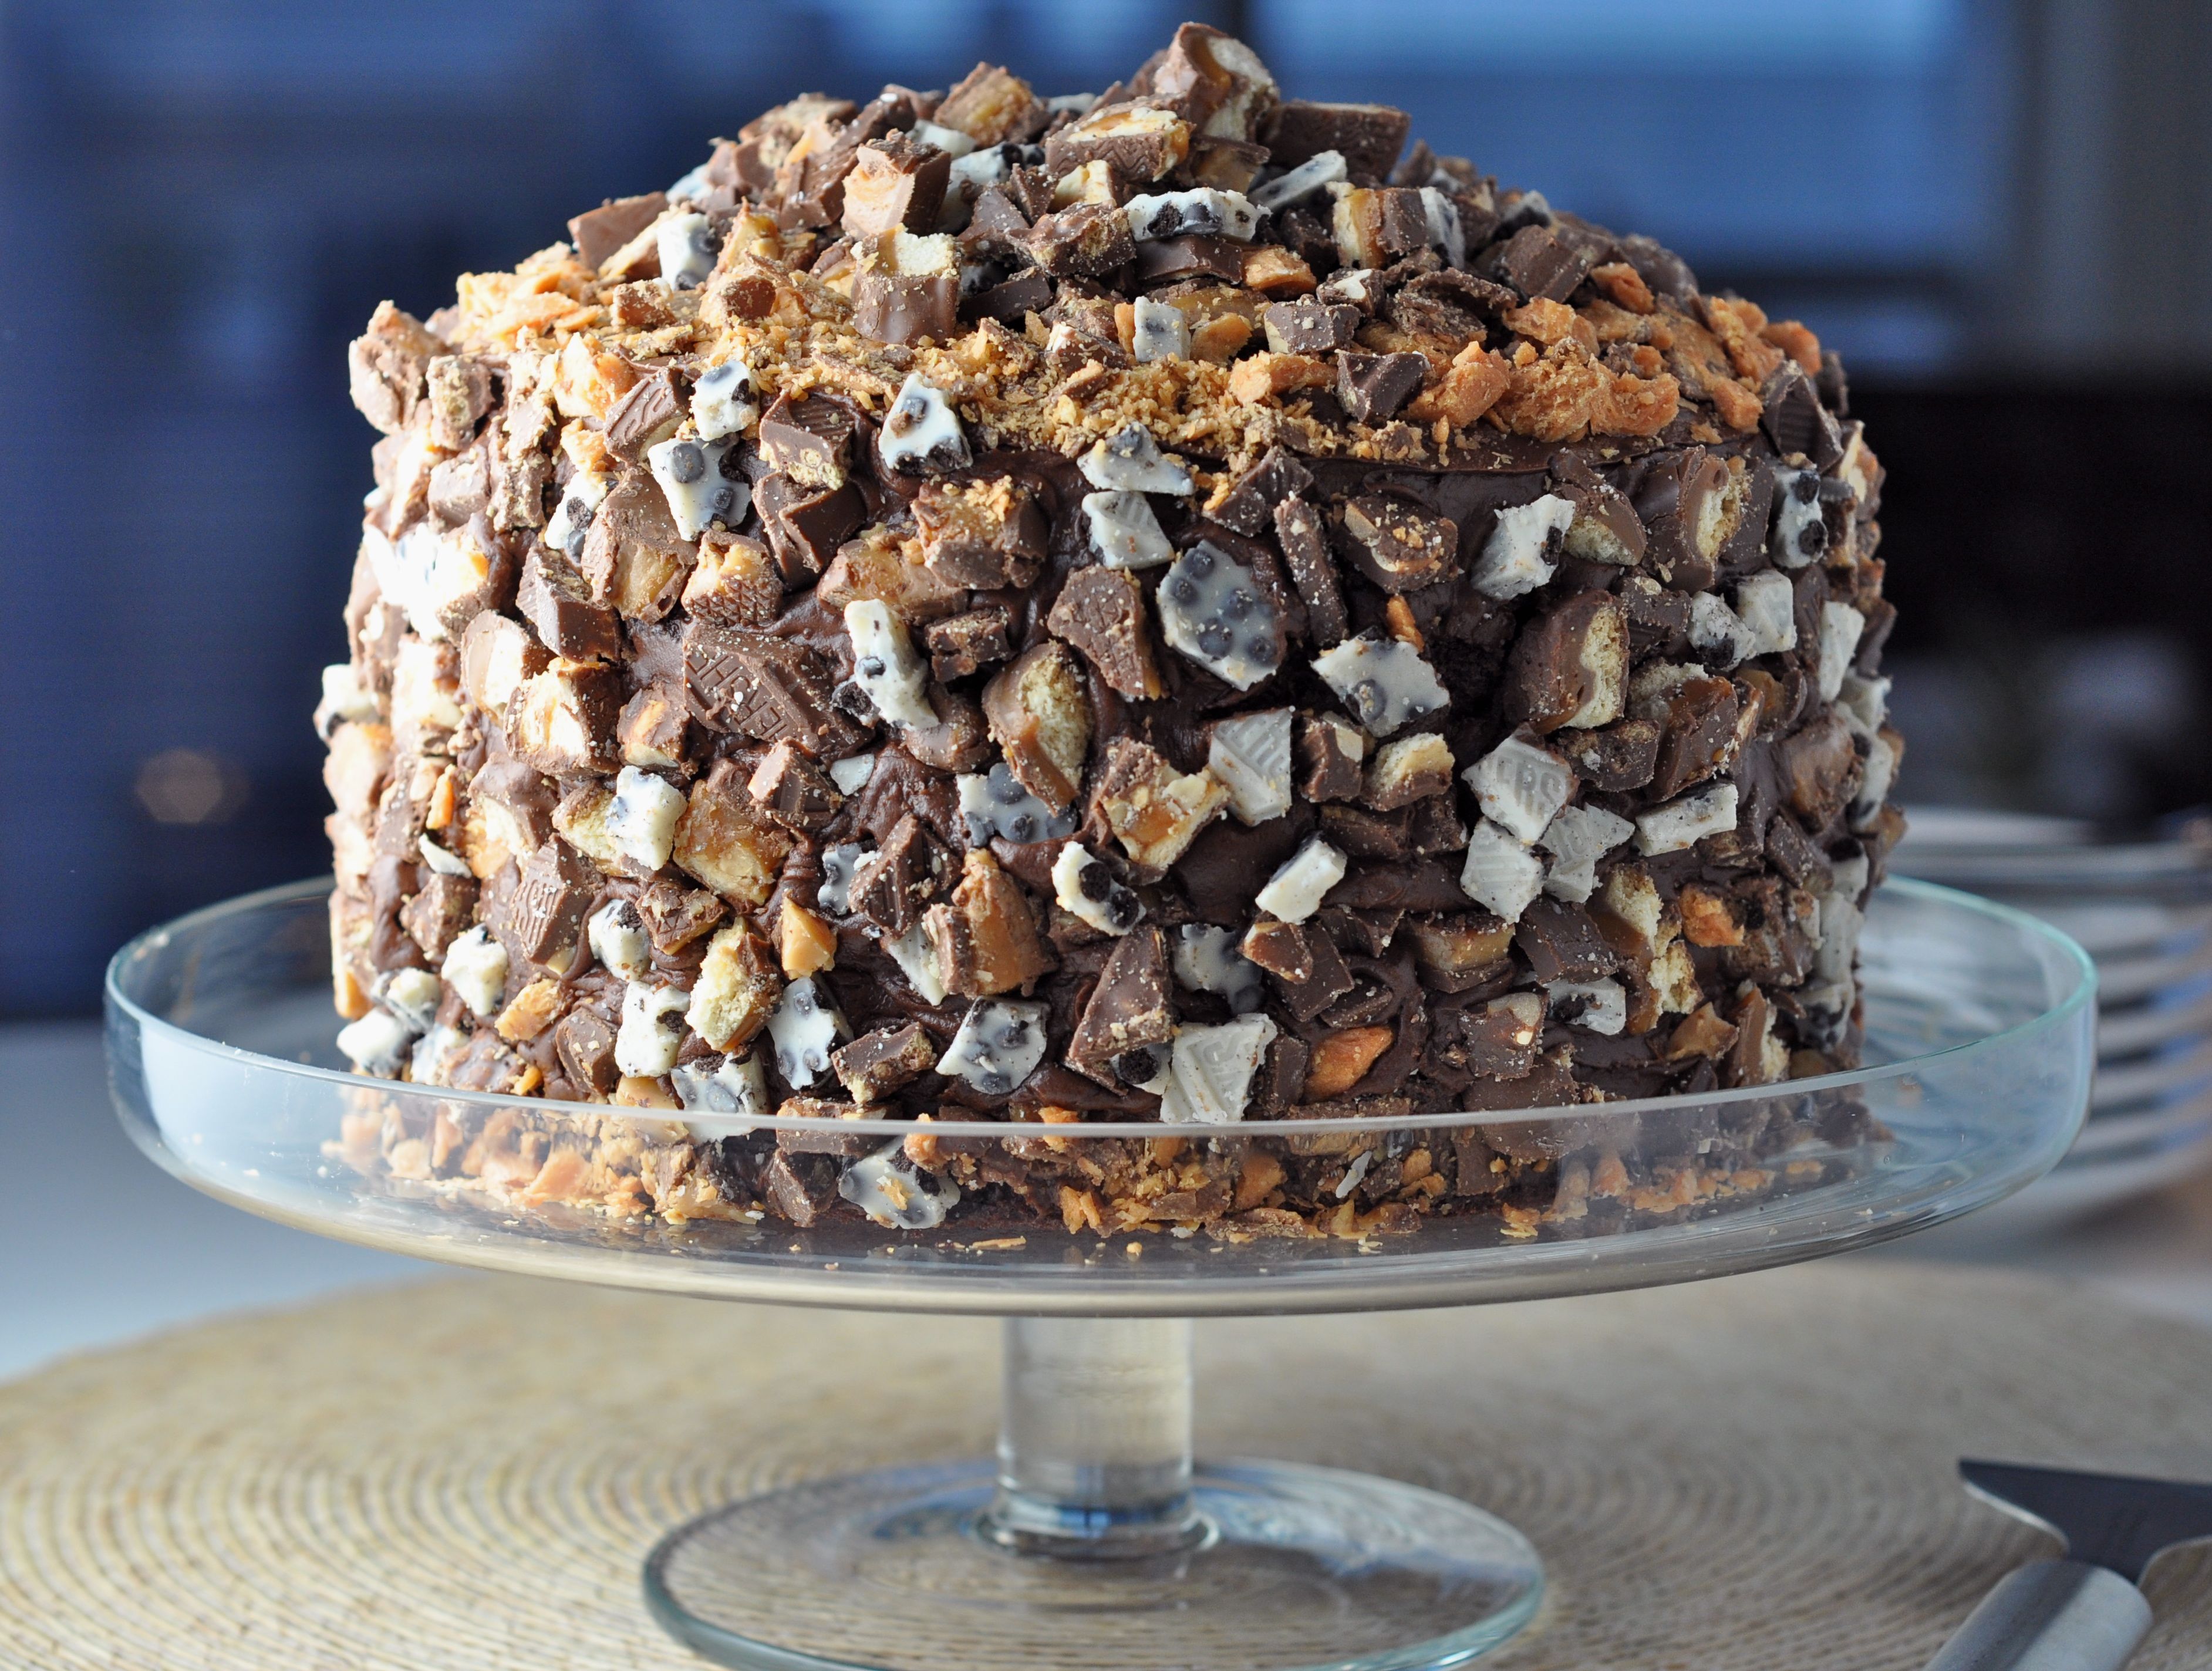
This Cake is Not a Mirage.
World’s Greatest Brownie Kitchen Towel for Purchase!


The Bingeworthy Brownie…