
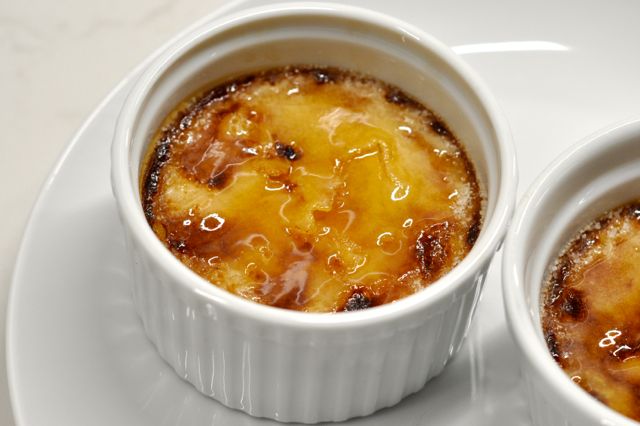
Maple Creme Brulee
-
So I was making my usual egg white pizza lunch (don’t ask) and had a thought:
“Wait a minute.”
(This deep and insightful thought came to me because I remembered I had whipping cream in the fridge, which I usually don’t.)
“I could seriously make creme brûlée right now if I saved these yolks.”
Seriously.
Since buying the maple cream liqueur I’ve been looking for ways to build maple into my life (or my baking, at least)- like the Pumpkin Maple Muffins– why not add maple to pumpkin? I know my recipe asks for this liqueur, which you likely don’t have, so like a good baking blogger I’ve provided alternatives. But really. Why not just go out and buy the stuff already?
Adapted from my original recipe…
8 egg yolks
1/3 cup sugar
2 cups heavy whipping cream
3 tablespoons maple cream liqueur*
1 teaspoon real vanilla extract
2 tablespoons maple sugar (for sprinkling over tops of ramekins)**
- Preheat oven to 300° and line two large casserole dishes with a paper towel each (the ramekins will sit and bake inside of these casserole dishes, FYI).
- In a large bowl, whisk yolks with sugar until smooth and pale (2 minutes). Add heavy cream, maple cream and vanilla, and whisk until incorporated.
- Strain mixture with a fine-mesh sieve into a bowl (one with a spout if you happen to have).
- Pour into four ramekins (or six shallow ones), and place into prepared casserole dishes on top of paper towels (placed to prevent the ramekins from sliding around). Fill the pans with water so it reaches halfway up the sides of the ramekins.
- Bake for 40 – 50 minutes, until jiggly in the centers. Remove from oven and place ramekins on cooling rack. Cool completely before caramelizing sugar on top.
- CARAMELIZED CRUSTS: sprinkle 1 1/2 teaspoons of sugar over tops of custard and using a crème brûlée torch or the broiler in an oven, caramelize the sugar until browned but not burned. Serve immediately (with or without fruit on the side) and enjoy.
Tips:
- *No maple cream liquor? Ooh, you really must get some. OR use 2 teaspoons of maple flavoring instead of the liqueur. ( Not maple syrup, though- flavoring is different. If you insist on not using either the liqueur or the flavoring, use maple syrup but know that you really won’t taste a lot of maple. Fair warning!)
- **No maple sugar? Ooh, you really must get some of that, too. OR use regular sugar instead, or brown sugar.
- The maple cream is just one start of an idea. Please know that you can substitute pretty much any flavored liqueur to change the dessert… like Grand Marnier, Kahlua, whatever. So many options. And so little time.
- What’s with the water bath? It helps the custards bake evenly in their ramekins, instead of just from the tops and bottoms through to the inside. Be careful not to splash water into the ramekins when pouring into the casserole dish.
- The crust: it’s just so darned important. Dab any excess moisture off the tops of the custard with a paper towel if necessary. Gently tip the ramekin around to distribute the sugar over the entire surface, and pour out any excess sugar (into the next ramekin). If you are using your oven broiler, make sure the ramekins (placed on a baking sheet to make handling easier) are within 5 inches of the broiler flame, and watch them from start to finish. You might want to move the pan around to prevent hot spots from burning the sugar in one particular area… and after you have finished browning the sugar, place the ramekins back in the fridge for at least 10 minutes to re-chill the custard.
- Storage: these wait nicely in the fridge without their crusts… so prepare in advance by a day or two and then do the crusts right before serving. I freeze the individual ramekins (again, sans sugar crust) and just thaw in the fridge, no problemo.
- Sorry about how unappealing the photo above looks. I was rushing to serve them and didn’t bother to dress them up. They look gross but really, they are so not.
- Enjoy!
Related Recipes & Posts:
Leave a Reply

World’s Greatest Brownie Apron- Buy Me Instantly!
More Sweets, Please!
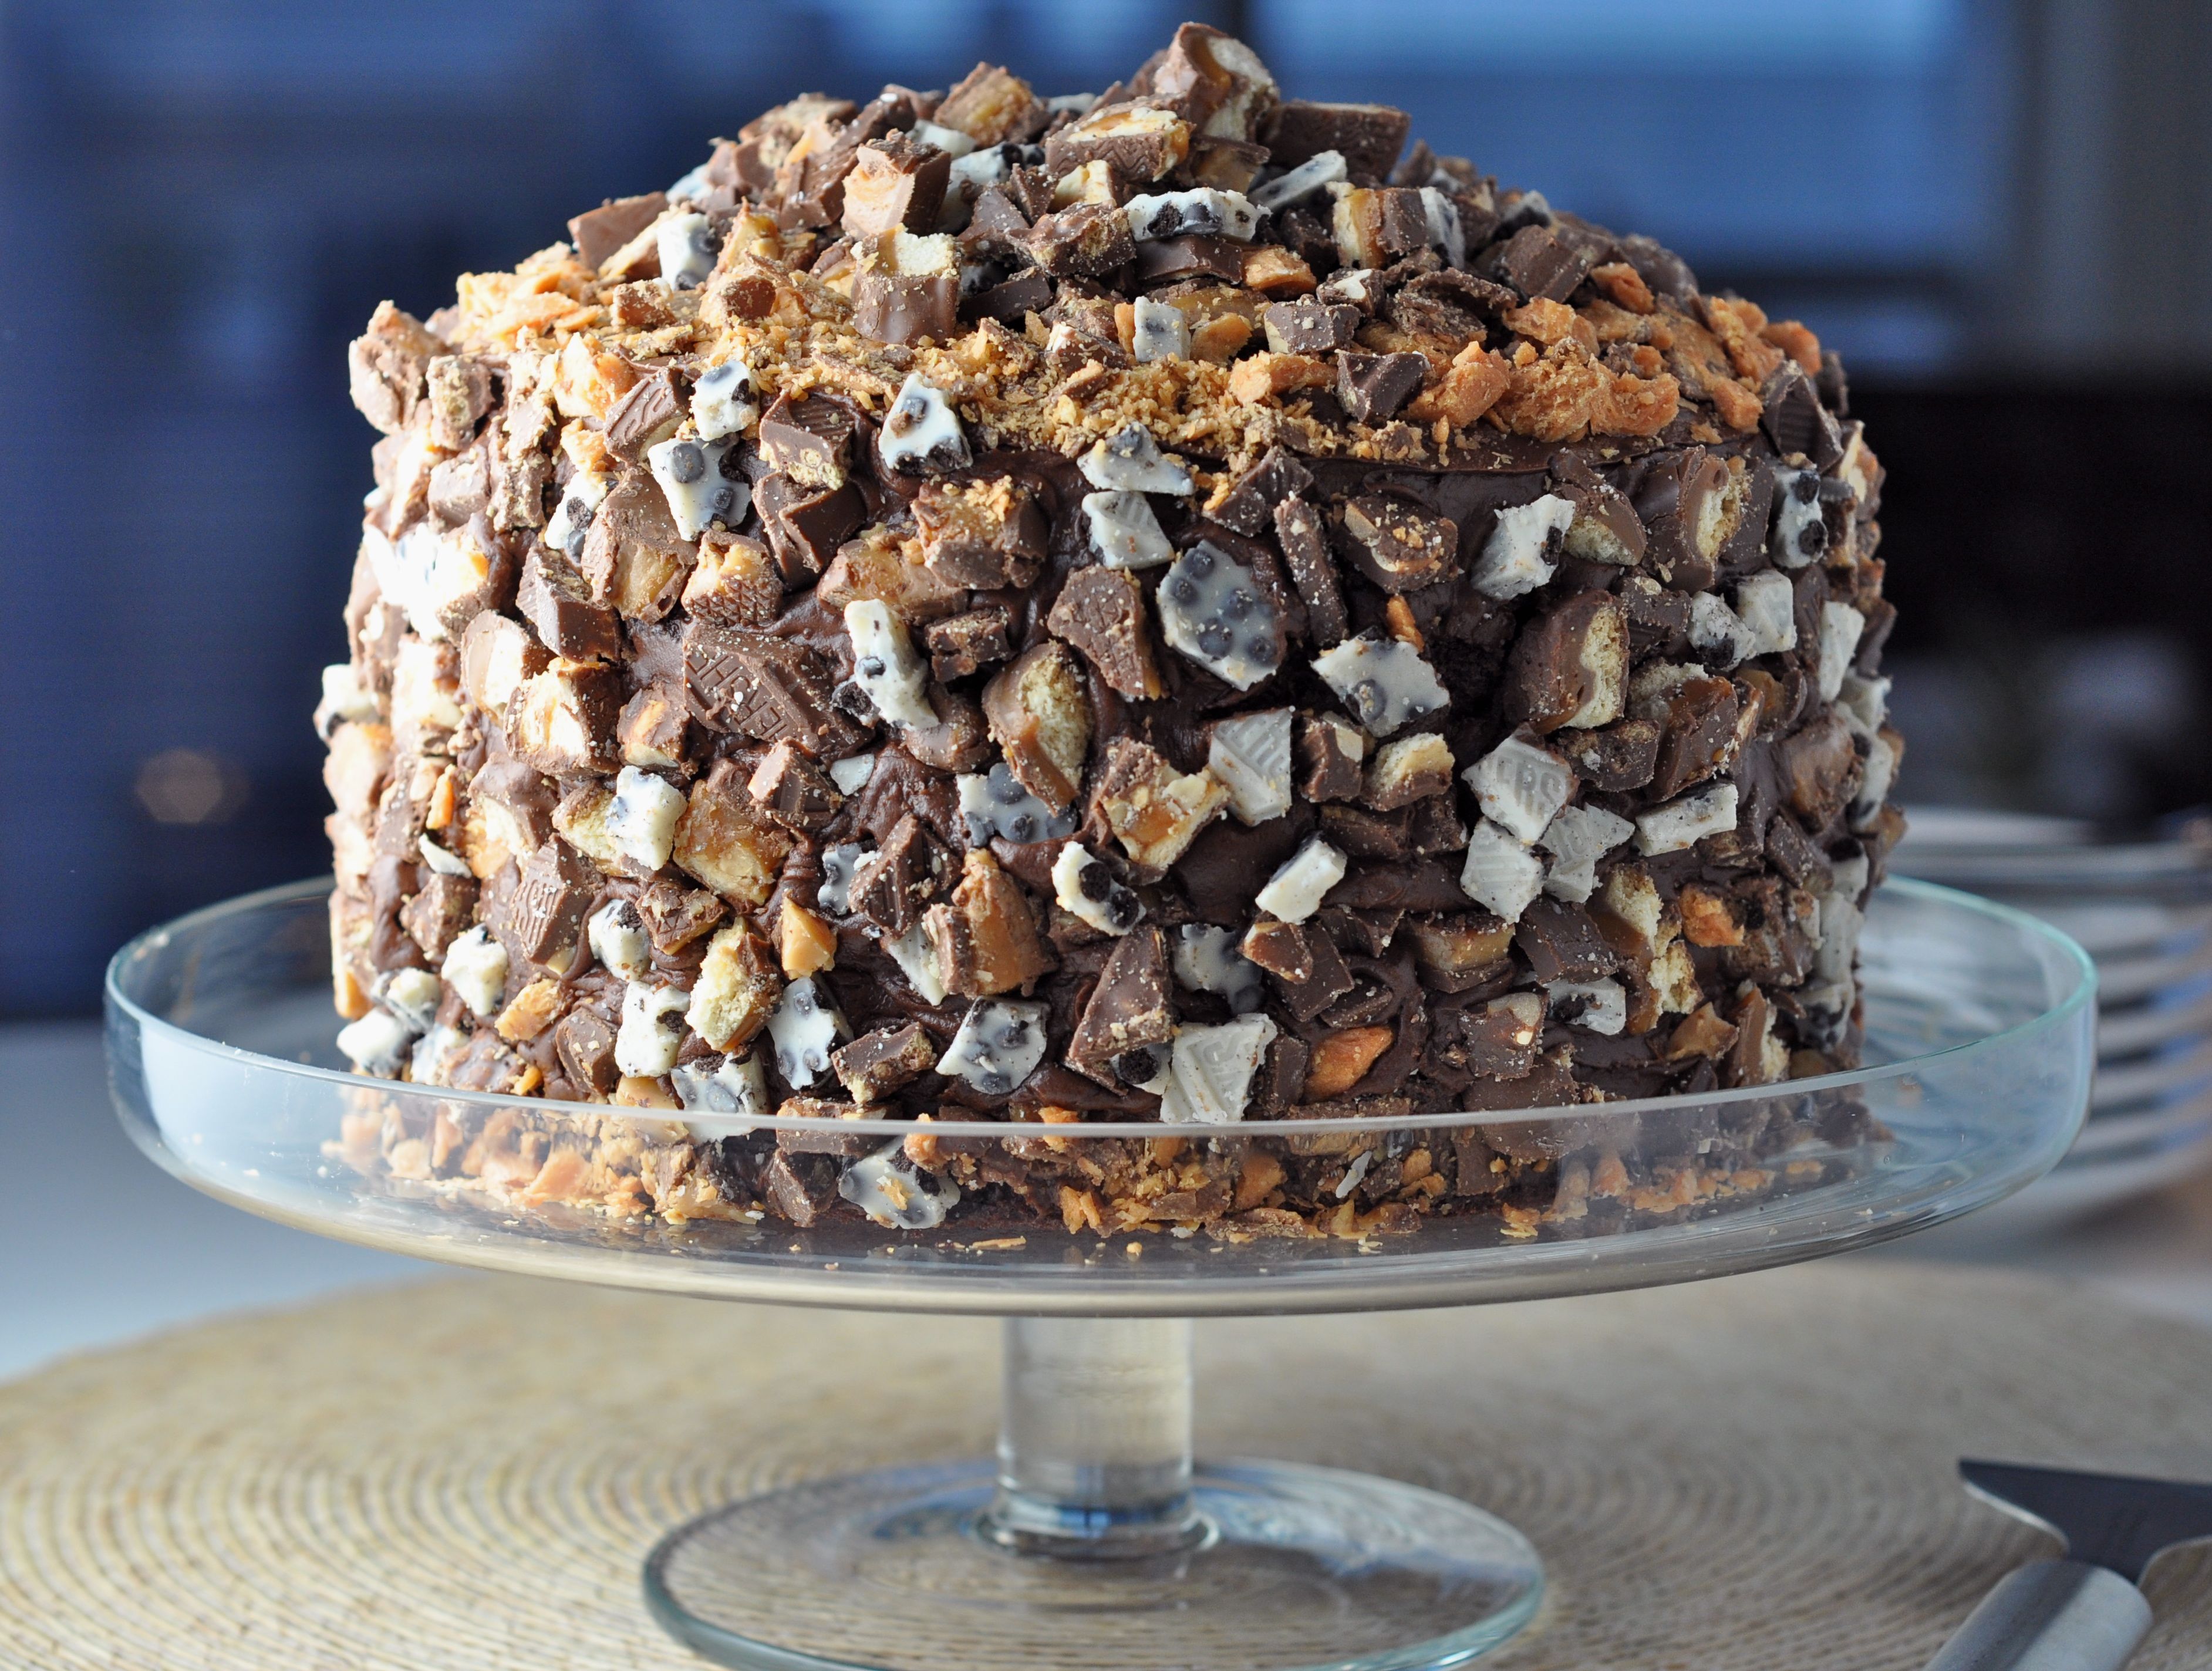
This Cake is Not a Mirage.
World’s Greatest Brownie Kitchen Towel for Purchase!


The Bingeworthy Brownie…


2 Responses and Counting...
Jodi – Looks yummy.
Why thank you, sir!