Layered Chocolate Mint Candies
-
 I can only go so long without making a chocolate and mint concoction.
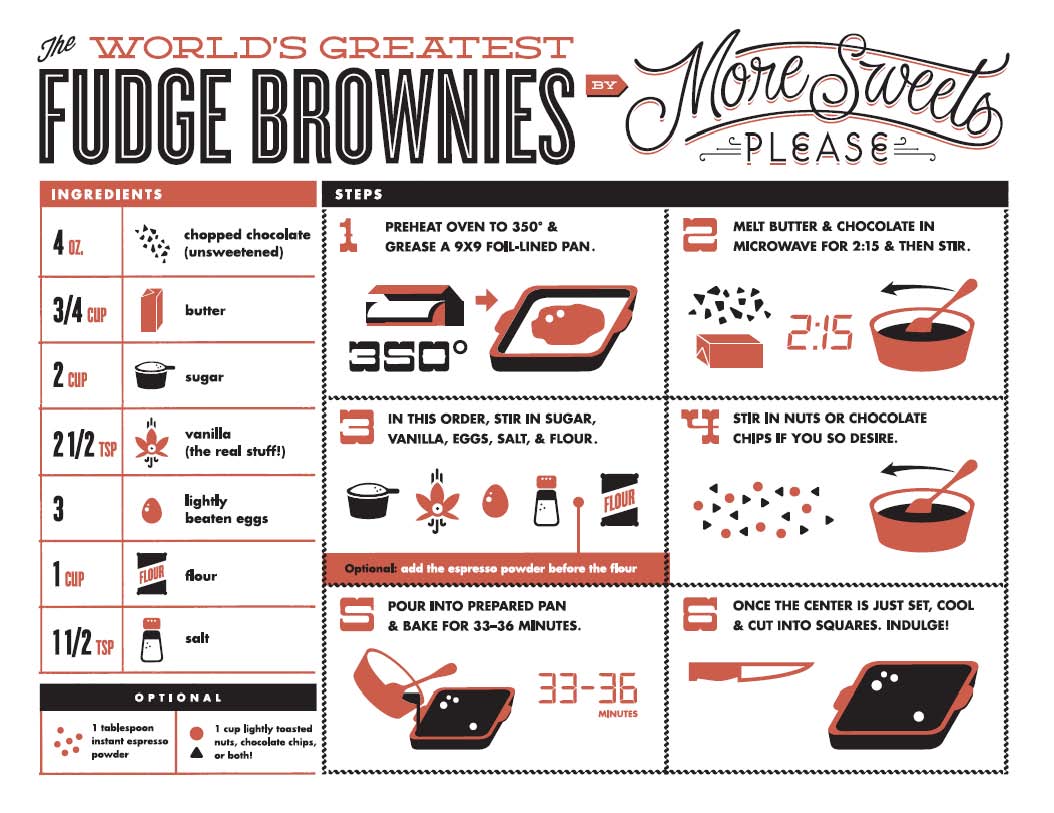
The last time I melded the two flavors together was in serious celebration of National Chocolate Mint Day (yes, it’s an actual day, and quite the auspicious occasion at that)… an orgy of Mint Chocolate Bark, Brownies, and even a Chocolate Mintini drink made the cut. Oh- I just remembered that I did make Mint Chocolate Ganache Covered Fudge Brownies a few months ago- proof that I simply can’t hold out.
So today I bring you a tried and true classic of the candy world- the easy and bingeworthy Layered Chocolate Mint Bars. There is nothing fancy about these puppies- just good old fashioned chocolate mixed with sweetened condensed milk and mintalicious flavor. It’s easy. It’s fast. It’s a crowd pleaser (seriously- introduce me to someone who doesn’t like the chocolate + mint combination… I have yet to meet this one sorry soul).
From Eagle Brand’s recipe…
2 cups semi-sweet chocolate chips (use premium brand)
1 (14 ounce) can sweetened condensed milk, divided into 1 cup portion + remainder
2 teaspoons vanilla extract
6 ounces white chocolate chips (use premium brand)
1 tablespoon peppermint extract
2 – 3 drops green food coloring (optional)
- Line an 8 x 8″ square pan with tin foil or wax paper and set aside.
- In a heavy saucepan, melt chocolate chips with 1 cup sweetened condensed milk over low heat. Add vanilla.
- Spread half of the mixture evenly into prepared pan; chill 15 minutes until firm. (Keep remaining chocolate mixture at room temperature.)
- In a separate heavy saucepan, melt white chocolate with remaining sweetened condensed milk over low heat (mixture will be thick). Stir in peppermint extract and food coloring (if using).
- Spread white chocolate mixture over chilled chocolate layer; chill 15 minutes longer until firm.
- Spread remaining semi-sweet chocolate mixture on top of chilled mint layer. Refrigerate for at least 2 hours until firm. Peel tin foil off and cut into squares, and store covered in fridge.
Tips:
- Premium chocolate? The world is a far better place when desserts are made with good chocolate, I swear! Splurge on the little things in life, like chocolate, and you’ll feel like you splurged on a diamond or a Porche. Because we all know that dessert can give you the consumption high.
- The pan size is kind of key. I find the 8″ size the absolute biggest I can comfortably go to spread the chocolate in- if you use a bigger pan, the layers will be too thin and hard to spread evenly. By all means, use a loaf pan and spread the goodness into thicker layers.
- Food coloring… isn’t that bad for you? Um hmm. I try not to use it, but then laugh when I get all high and mighty- because I’m making dessert. For some reason people like minty things to look green. Every now and then there’s a time and a place for liquid badness like food coloring.
- Sometimes things go wrong. Like in this batch, when I used a teeny bit of peppermint oil instead of peppermint extract (which in itself shouldn’t have been a deal breaker), and it caused the white chocolate to clump up. Grotesquely. The Husband didn’t mind. He’ll eat anything mint chocolate, even if it looks like alien brains.
Related Recipes & Posts:
Leave a Reply

World’s Greatest Brownie Apron- Buy Me Instantly!

More Sweets, Please!

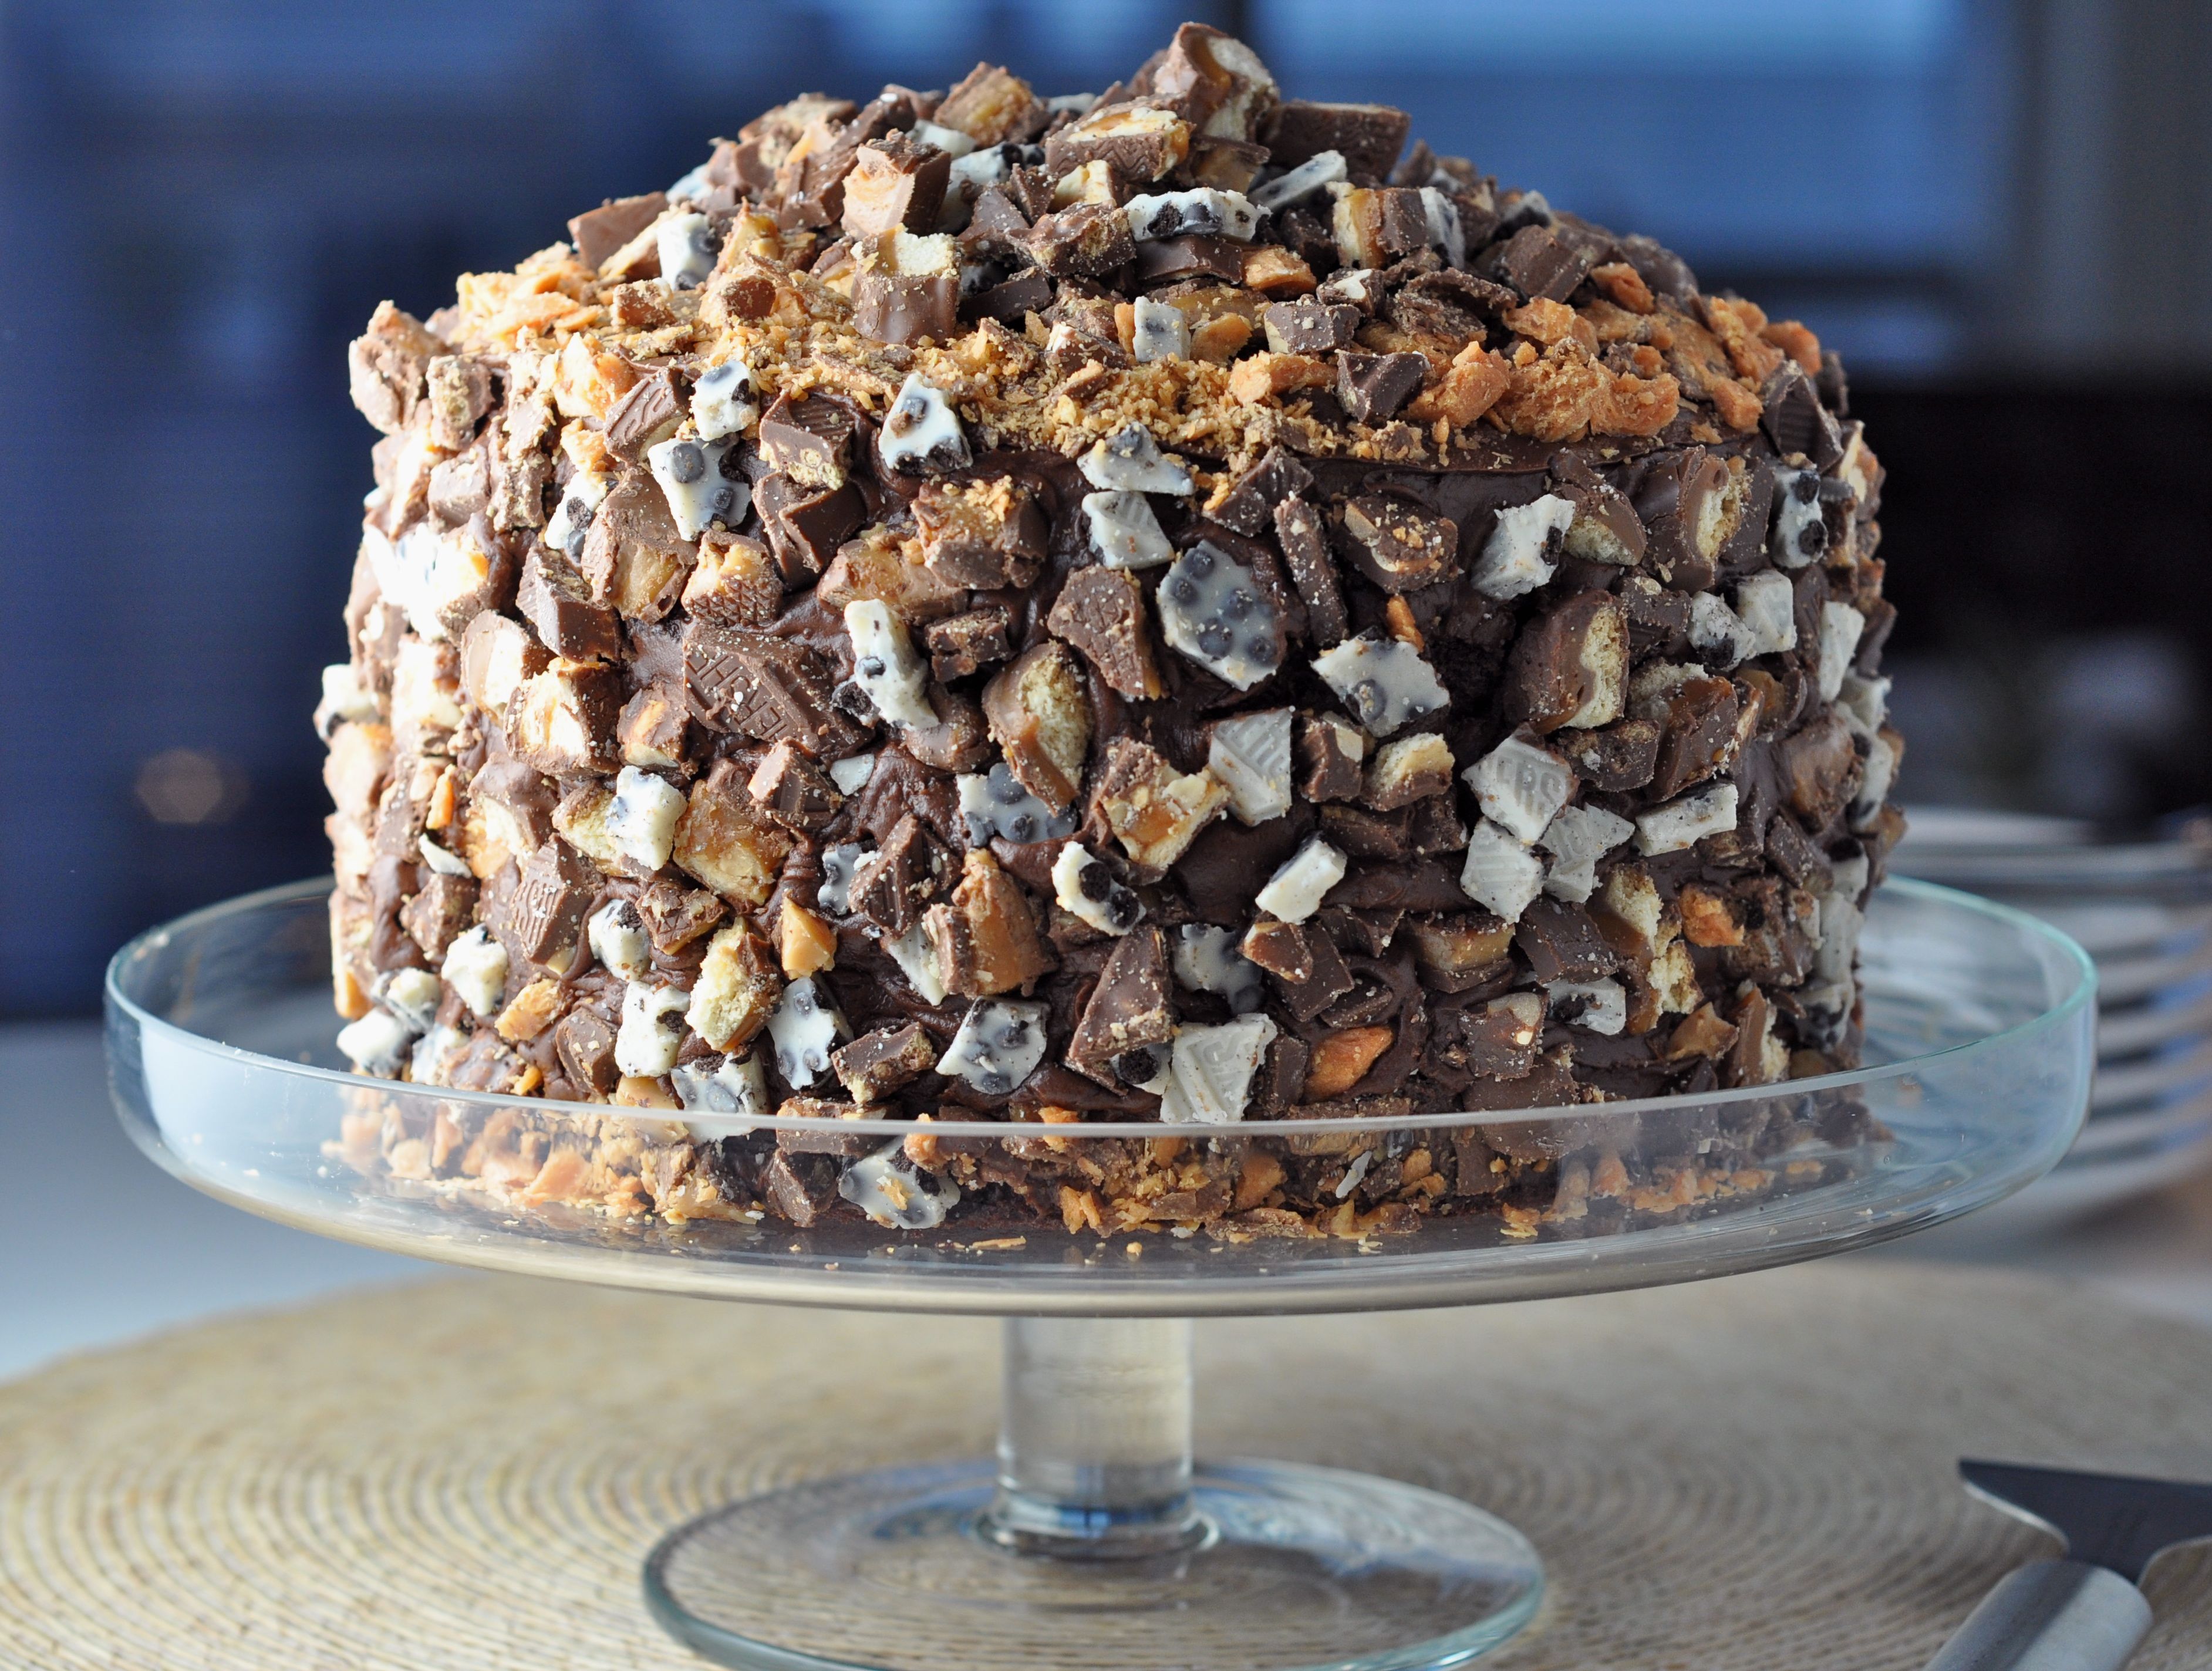
This Cake is Not a Mirage.
World’s Greatest Brownie Kitchen Towel for Purchase!


The Bingeworthy Brownie…