Hot Cross Buns
-
 I have a little bit of explaining to do.
I screwed this recipe up (read here for the details), but in the spirit of salvaging a recipe (especially a recipe that takes a crapload of time to prepare, what with the whole yeast-rising-time and all), I turned the unrecognizable buns into toast. (My mistake was relatively benign… the buns looked strange upon taking them out of the oven, but they smelled and tasted PDG. The Kitchen Guinea Pig eagerly approved of the taste test. So naturally I took the baked bun block, used a serrated knife to cut it in half across its belly, and then into bread-size slabs, perfect for the toaster. Wouldn’t you have done the same thing?)
Anyway, I am confident to present this recipe to you, because I know it works out just fine if you don’t do something stupid like add an extra egg in. Please, make the buns- unless the toast version has totally inspired you. Next time I’ll make the buns, because I so miss the icing cross that goes on top of the former. (Hm. How wrong would it be to put icing on the toast?)
Adapted from King Arthur Flour’s recipe…
BUNS
1 1/4 cups milk, warmed to 105° – 115°
2 1/4 teaspoons instant yeast (1 package)
1 teaspoon sugar
1/4 cup apple juice or rum
1/2 cup golden raisins
1/2 cup dried currants
4 1/2 cups all-purpose flour
3 tablespoons light brown sugar, firmly packed
1 tablespoon baking powder
1 teaspoon fresh lemon or orange zest
1 teaspoon ground cinnamon
1/4 teaspoon ground cloves
1/4 teaspoon ground nutmeg
1 3/4 teaspoons salt
2 lightly beaten eggs
6 tablespoons unsalted butter, room temperature
TOPPING
1 egg white
1 tablespoon milk
ICING
1 cup + 2 tablespoons confectioners’ sugar
4 teaspoons milk
1/2 teaspoon vanilla
Pinch of salt
- Lightly grease a 9 x 13″ pan.
- In a small bowl, combine warm milk, yeast and teaspoon of granulated sugar. Let sit for 5 minutes until it becomes foamy.
- In a medium bowl, combine rum or apple juice with raisins and currents, and cover with plastic wrap. Microwave for 1 minute and allow to cool. (Or bring to a boil in a small saucepan and remove from heat, with cover on pan.)
- In a large bowl, whisk all dry ingredients (from flour to salt) and set aside.
- In a medium bowl, combine eggs, butter and yeast mixture, then stir into large flour mixture (or mix on low speed of a stand mixer).
- Using a dough hook attachment of a stand mixer, mix the dough until it is soft and elastic (5 – 7 minutes) (or knead by hand for 10 minutes on a well floured surface… poor you). Sprinkle raisin/current mixture (with remaining liquid) over dough and mix/knead to combine.
- Plop the dough into a large, oiled bowl and cover with plastic wrap. Let sit in a warm place for 1 hour to rise (it might not double in size- that’s okay).
- Scoop 12 bun-size amounts of dough (about 1/3 cup each) and form a ball with your buttered hands. Place in prepared 9 x 13″ pan, cover, and let rise for another hour (the buns will be cozy & crowding one another at this point).
- Preheat oven to 400°, while preparing the topping for the buns by whisking the egg white and milk together. Brush over the buns, and bake for 15 minutes (or until golden brown). Remove from oven and transfer to a rack to cool.
- Icing: mix sugar, milk, vanilla and salt together to reach a honey consistency. Transfer to a piping bag (or a ziploc back with the corner cut off to pipe the icing), and pipe a cross over each cooled bun.
Tips:
- Currents? Yes, please! (But you can use raisins if you must.) Or use chopped dried fruit- go crazy.
- Letting the dough rise in a warm place is kind of sort of essential… so place it next to your warm oven or on a baking sheet on top of your oven that might happen to be making Ginger Chewy Cookies. Some experts heat their oven at the lowest temperature, then turn it off and put the bowl of dough inside (albeit not covered in saran wrap— see my disaster for a lesson on that subject).
- Storage: these are best eaten the day they are made, but can be kept in a sealed bag at room temperature to stay soft. These do freeze well, so why not make them before company comes, and thaw them on the counter in the morning to enjoy for brunch? Don’t forget to serve with butter on the side, because some people can’t resist. :)
Related Recipes & Posts:
Leave a Reply

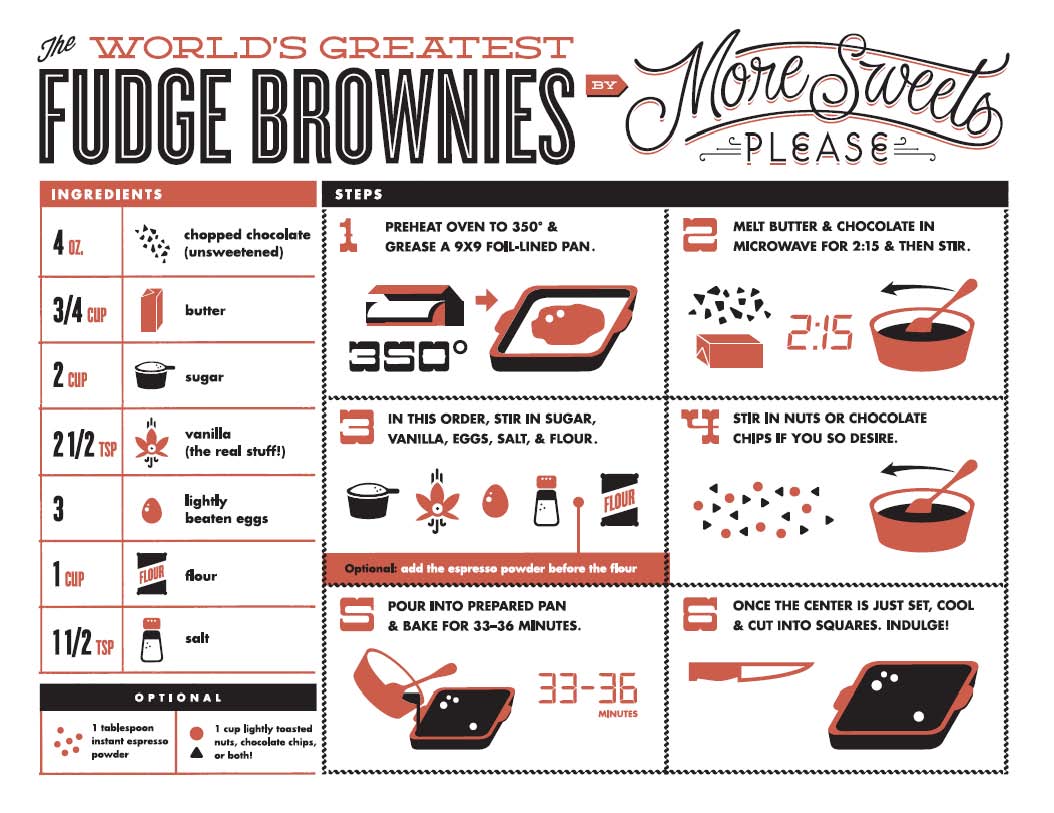
World’s Greatest Brownie Apron- Buy Me Instantly!
More Sweets, Please!

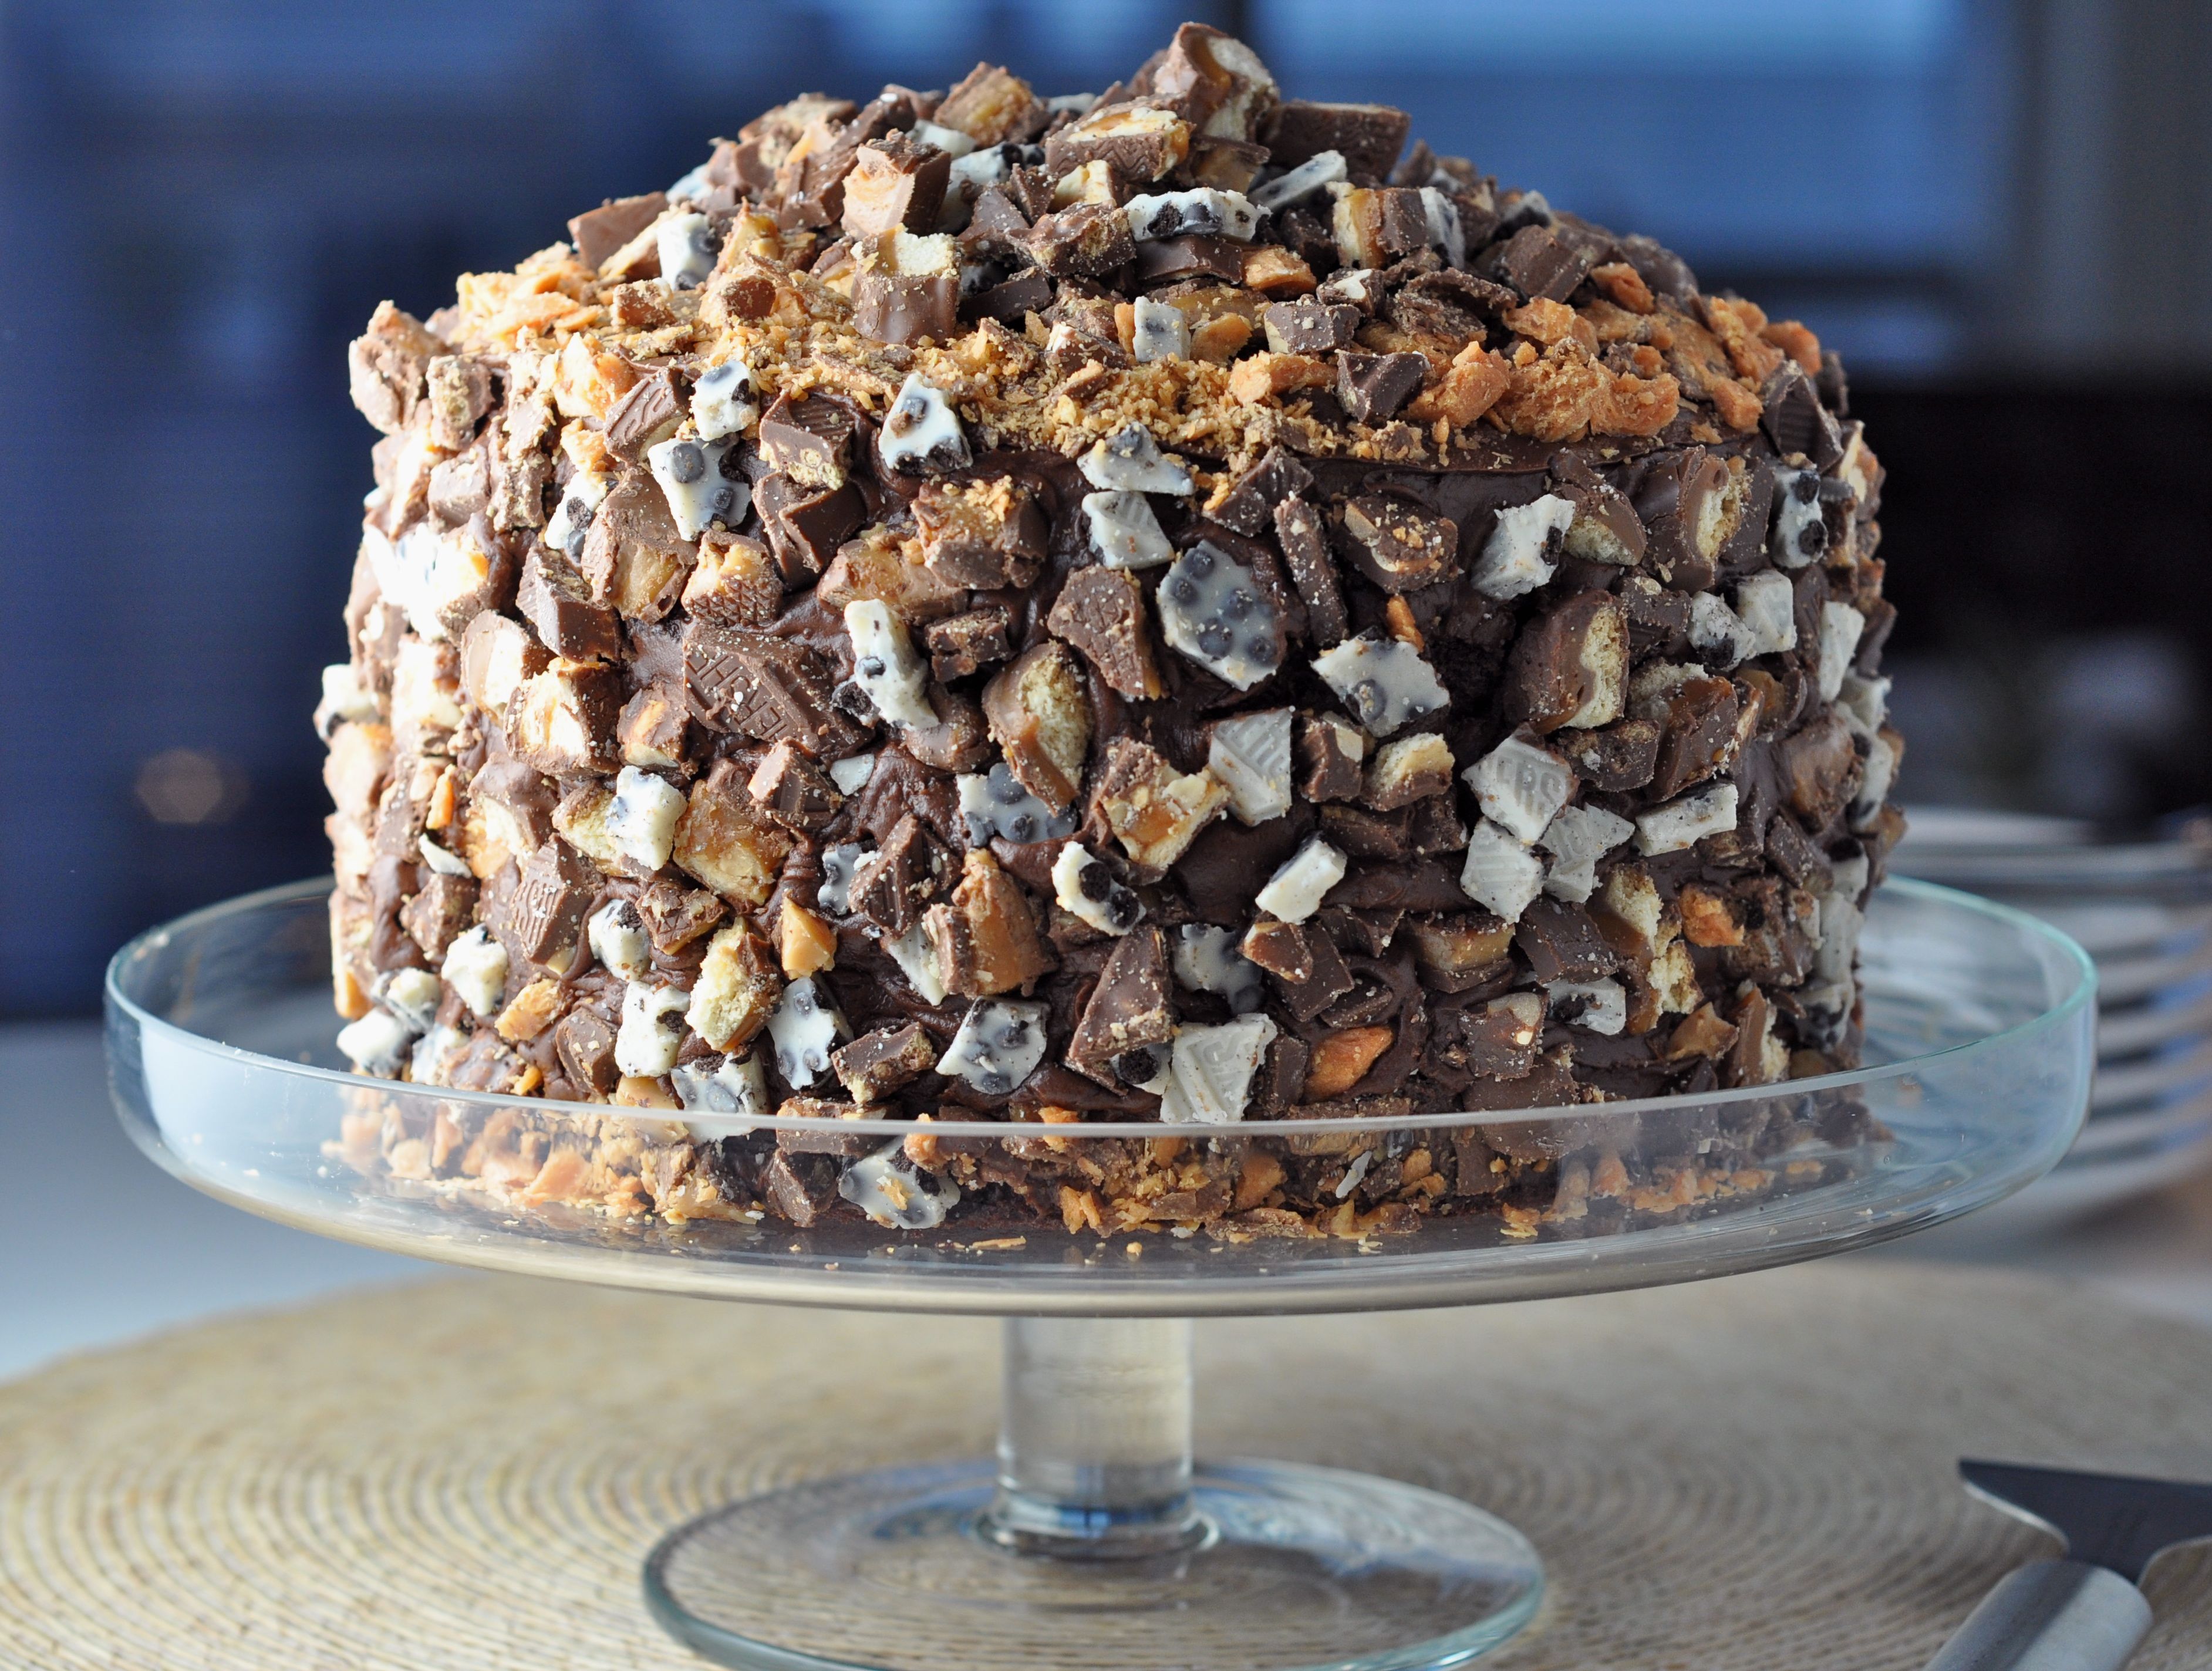
This Cake is Not a Mirage.
World’s Greatest Brownie Kitchen Towel for Purchase!


The Bingeworthy Brownie…