Honey Pear Upside Down Cake
-

Upside down cake isn’t just for pineapples, you know.
Pears don’t get enough airtime in the dessert world, do they? No one ever hears about a pear pie, or a pear crumble. No one makes (or wants, let’s be real) chocolate-covered pears. So when pears are plentiful in the grocery store, and you’re feeling a bit sorry for them, give this recipe a go. It’s one of those totally comforting desserts- it’s got fall written all over it, it’s gooey in some places but cakey in others (obviously- that’s the nature of this cake genre), it harks back to an era when upside down cakes were all the rage (back when women wore housedresses and drank martinis while gossiping and baking and then changed into pearls and fancy clothes for dinner), and it’s just really very good. What more do you need than that?
Adapted from Chicago Tribune’s recipe…
PEAR TOPPING:
1/4 cup (1/2 stick) butter
1/4 light brown sugar, packed
1/4 cup honey
2 – 3 ripe pears, peeled & sliced into 1/2″ thick slicesCAKE:
1 1/2 cups all-purpose flour
2 teaspoons baking powder
2 teaspoons cinnamon
3/4 teaspoon salt
1/2 teaspoon baking soda
1/2 teaspoon allspice
1/2 cup canola oil
1/2 cup honey
1/2 cup brown sugar, packed
3 eggs
2/3 cup sour cream
1 teaspoon orange zest
1 teaspoon vanilla- Preheat oven to 350°. Spray the sides and bottom of a 9-inch cake pan with nonstick cooking spray. Cut a circle of parchment paper that fits into the bottom of the pan. Lay the parchment circle into the greased pan; spray the paper with nonstick cooking spray.
- TOPPING: in a small saucepan, melt butter over medium heat; add the sugar, stirring. Once the sugar and butter have melted together, stir in honey. While warm, pour into prepared pan. Top the caramel with pears, slightly overlapping the slices.
- CAKE: in a large bowl, sift first six dry ingredients together and set aside. In a separate large bowl, combine oil, honey and brown sugar. Add eggs one at a time, beating 30 seconds between each addition. In a small bowl, combine sour cream, orange zest and vanilla. Add the dry ingredients to the egg mixture one-third at a time, alternating with one-third of sour cream mixture. Pour batter into the prepared pan. Bake until cake is golden brown and a wooden skewer comes out clean when inserted into the center, about 25-35 minutes. Allow the cake to cool in the pan on a wire rack until just warm to the touch. Unmold the cake onto a serving platter while it’s still warm.
Tips:
- Pears not that soft? You’ll want to gently cook them a bit first, or else they’ll be a wrong and annoying texture in the cake. (Just melt a tablespoon of butter over medium-low heat in a non-stick pan, and stir your sliced pears around until softened- about 5 minutes.)
- Fruit substitutions are really just limited to your imagination. Peaches would rock, and mangoes, too. Stay away from the sloppy fruits- like raspberries… go for a sliceable fruit. Apples would work for sure. Pineapples are a natural match. Oh- how about mandarin orange segments? I know I just said to stay away from the sloppy fruits, but I think the weensie orange pieces might just work. What else… papaya? Has anyone ever made a banana upside down cake?
- No allspice? It’s okay. Just add a 1/4 teaspoon each of nutmeg and cloves, and you’ll be fine.
- No sour cream? I used a combo of whipping cream and milk with a tablespoon of vinegar… let it chunk up (buttermilk styles), and it was good to go.
- A note on the orange zest… I recently came across a dried orange peel, and I’m forever hooked. I use it in addition to the fresh stuff in recipes that call for orange zest, since it has a neat flavor that adds to the orange taste without being too overwhelming.
- Freeze-friendly? Absolutely. Just wrap really well (ideally in individual slices so you can grab, thaw and inhale) and it should last for a couple of months.
- Enjoy!
Related Recipes & Posts:
Leave a Reply

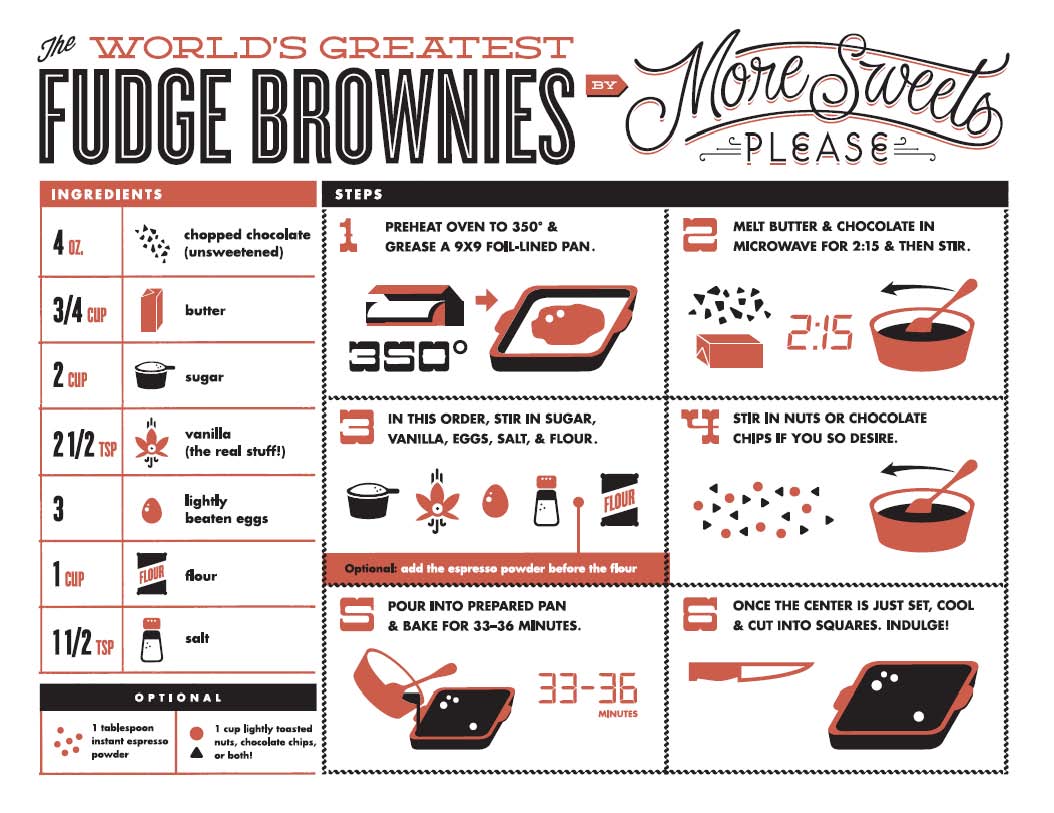
World’s Greatest Brownie Apron- Buy Me Instantly!

More Sweets, Please!
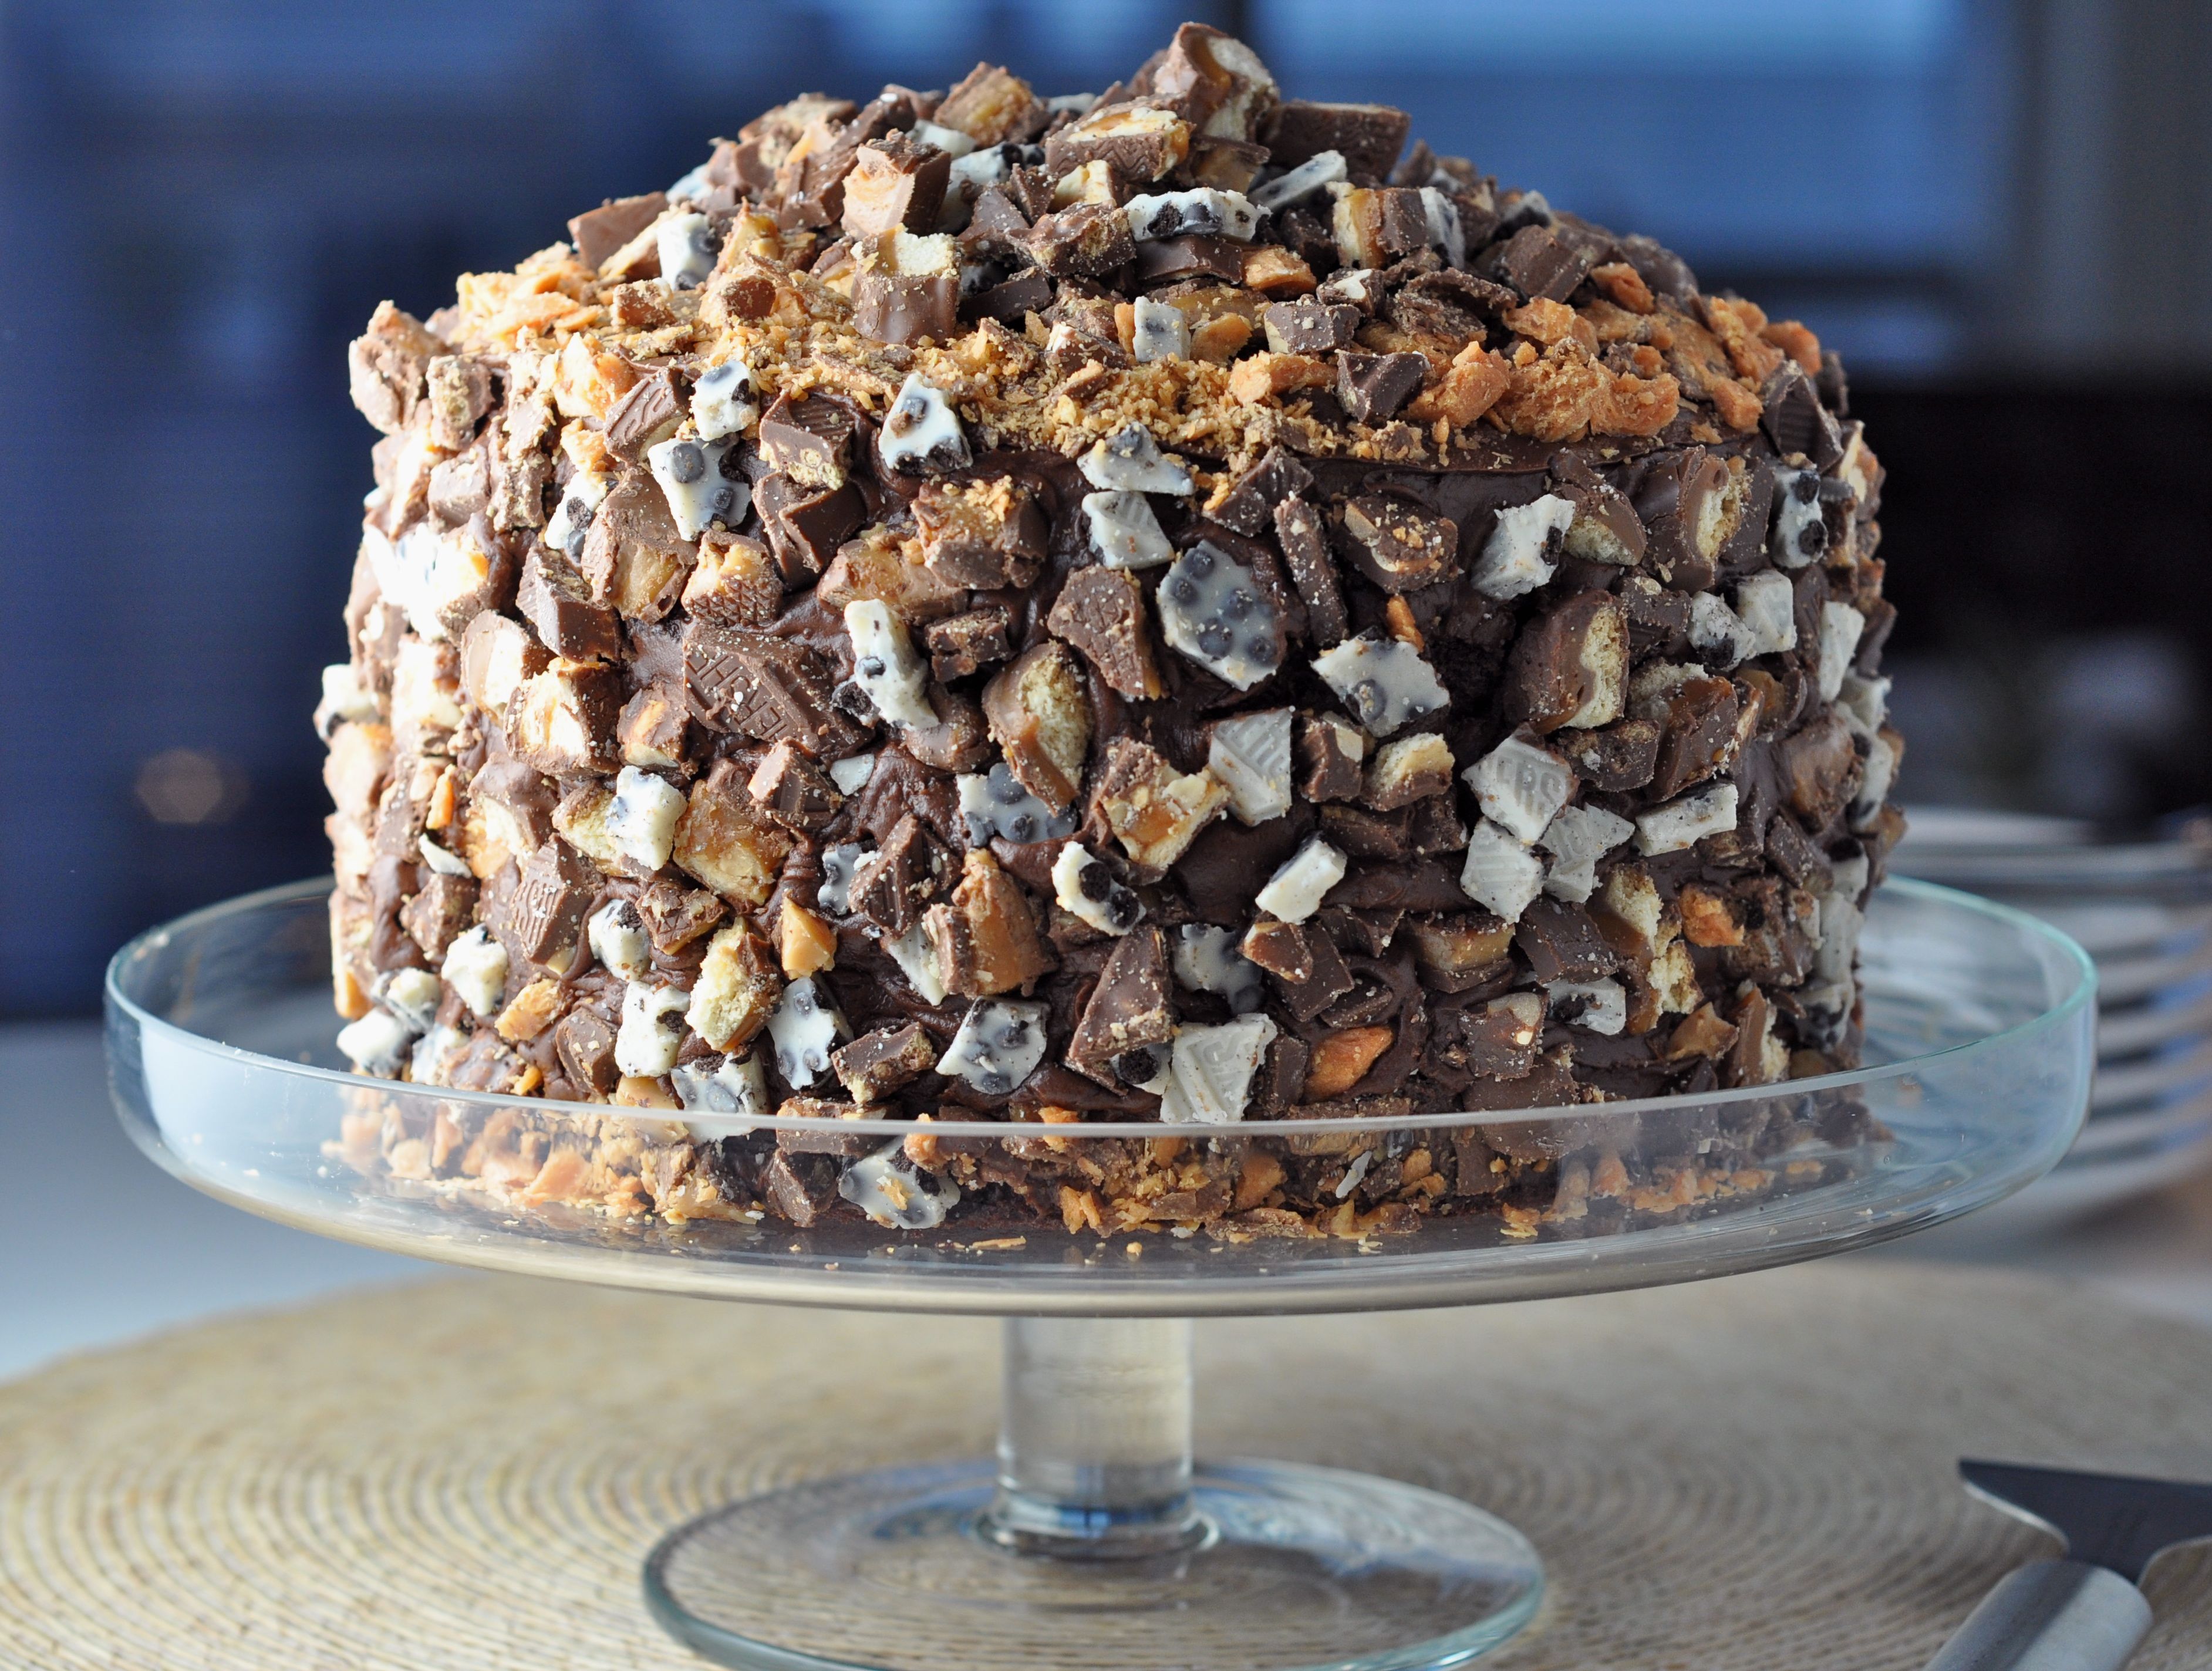
This Cake is Not a Mirage.
World’s Greatest Brownie Kitchen Towel for Purchase!


The Bingeworthy Brownie…