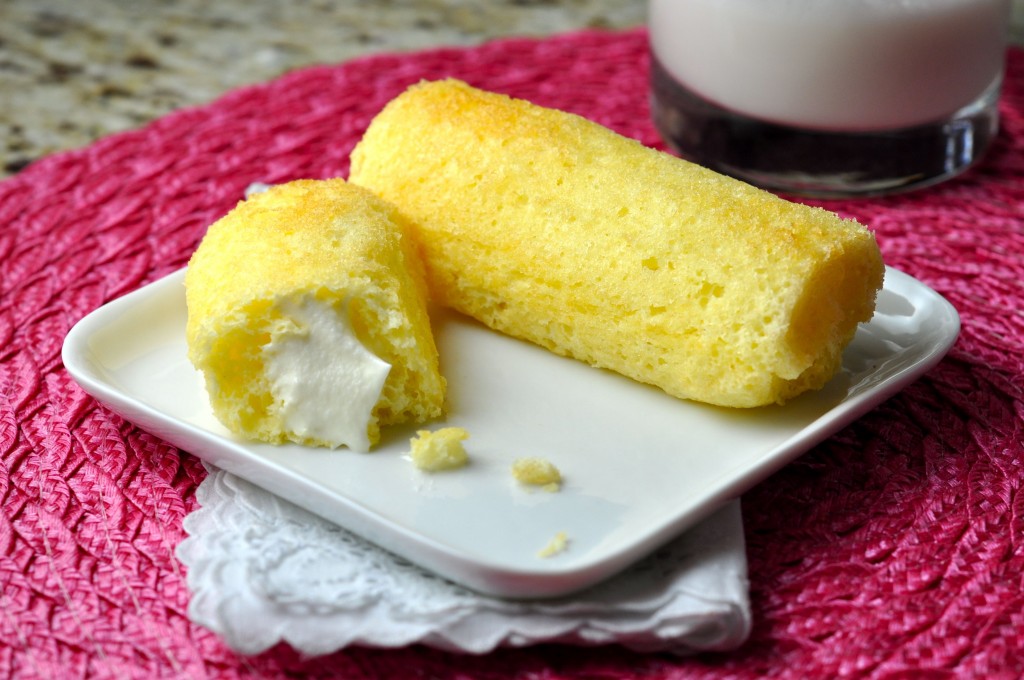
Homemade Twinkies
-
The Twinkie people have created quite the sensation as of late. Apparently all you have to do is threaten that you’re going to go out of business, and everyone in the universe will hoard your products- which in the case of Hostess is just fine because the products never expire (or at least they don’t expire in the span of a normal person’s lifetime), so if you buy a case or two you can ration them out over your remaining decades. Maybe eat one per quarter, that kind of thing.
In the spirit of honoring an important treat in the world of all things sweet, I knew I had to make a legitimate Twinkie myself. One that didn’t have preservatives (and beef lard as one of the ingredients), though. I think this recipe captures the essence of the spongey Twinkie in a way that makes the ultra-annoying step of making your own foil baking molds worthwhile. (Really- it’s a 12-step process that is time-consuming, but I’d never lead you astray. It’s 24 minutes out of your life that you won’t wish you had spent reorganizing your pantry… it’s worth it.)
Oh, oh, oh: have you ever had the pleasure of a Deep Fried Twinkie? Me neither. Some things in life just have to wait. (Check out this colossally fantastic description of said delicacy that I found online… “Something magical occurs when the pastry hits the hot oil. The creamy white vegetable shortening filling liquefies, impregnating the sponge cake with its luscious vanilla flavor… The cake itself softens and warms, nearly melting, contrasting with the crisp, deep-fried crust in a buttery and suave way… all that airy sugary goodness.” Aren’t you so sold? Here’s the deal- make the recipe for the au-natural Twinkie below, then deep fry the shit out of it. And tell me how fantastic it is.)
Adapted from the New York Times recipe…
TWINKIE SPONGE CAKE:
Nonstick cooking spray
1/2 cup cake & pastry flour
1/4 cup all-purpose flour
1 teaspoon baking powder
1/4 teaspoon salt
2 tablespoons milk
4 tablespoons unsalted butter
3/4 teaspoon vanilla extract
5 large eggs at room temperature, separated
12 tablespoons sugar
1/4 teaspoon cream of tartar
FILLING:
6 tablespoons unsalted butter, at room temperature
1 1/2 cups confectioners’ sugar
3/4 cup Marshmallow Fluff
2 tablespoons heavy cream
- TWINKIE SPONGE CAKE: Preheat oven to 350°.
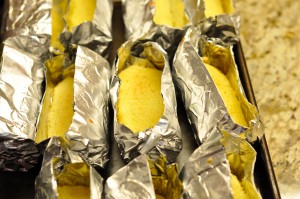 To make single-use Twinkie molds, cut 12 pieces of aluminum foil 12 x 14″ long. Fold each piece of foil in half lengthwise, then fold it in half again to create a rectangle that’s about 6″ long and 7″ wide. Repeat to make a dozen rectangles. Place one sheet of folded foil on a work surface with a standard-size spice jar on its side in the center of the foil. Bring the long sides of the foil up around the jar, folding the sides and ends as necessary to make a tight trough-shape from which the jar can be removed. Repeat to make 12 foil molds. Spray generously with nonstick spray or coat with vegetable oil. Place the molds on a baking sheet. (See photo on the right for image of baked cakes in the foil molds.)
 - In a mixing bowl, whisk together the cake flour, all-purpose flour, baking powder and salt. In a small bowl, heat the milk and butter for 40 seconds until the butter melts. Stir in the vanilla.
- Using a mixer, beat the egg whites on high speed until foamy. Gradually add 6 tablespoons of the sugar and the cream of tartar and continue to beat until the whites reach soft peaks.
- In a separate large bowl, beat the egg yolks with a mixer along with remaining 6 tablespoons sugar on medium-high speed until the mixture is very thick and a pale lemon color, about 5 minutes. Stir the beaten egg whites into the yolks, but do not over mix.
- Sprinkle the flour mixture over the egg white/yolk mixture and mix on low speed for just 10 seconds. Remove the bowl from the mixer, make a well in one side of the batter, and pour the warmed melted butter/milk/vanilla mixture into the bowl. Fold gently with a large rubber spatula until the batter shows no trace of flour and the whites and yolks are evenly mixed, about 8 strokes. Immediately scrape the batter into a large piping bag and squeeze into the prepared foil molds, filling each with about 3/4 full with batter. Bake until the cake tops are light brown and feel firm and spring back when touched, about 15 minutes. Transfer the pan containing the molds to a wire rack and allow the cakes to cool in the molds.
- FILLING: Using a mixer, beat together the butter, confectioners’ sugar and Marshmallow Fluff. Add the cream and beat just until smooth.
- Just before filling the cakes, remove them from the foil. Using the end of a chopstick or thinner, rounded spoon end, poke three holes in the bottom of each cake. Wiggle the tip of the chopstick/spoon to make room for the filling. Transfer the frosting to a pastry bag fitted with a 1/4-inch round tip, and pipe frosting into the holes in each cake, taking care not to overfill, until it gently expands.
Tips:
- No piping bag?? Pas de problem. You can scrape carefully into the foil molds straight from the big old bowl, but it will be potentially messy… and if you don’t have an official “piping bag” (which is a good thing to have since you can wash & reuse), you can use a giant ziploc and snip the tip off of it.
- You will have extra sponge cake batter, which is an excellent thing. I made little Twinkie cupckaes with my leftover batter, and filled them with the ample frosting that was leftover too. (You could make more foil molds but then you’d be out more than the promised 24 minutes.)
- Eat these within a day, since the filling will cause the sponge cake to get a bit soggy.
- A note on overfilling… yeah, be careful with that. Don’t shortchange your Twinkies, but don’t fill them to the point of obscenity either. Like I did, here.
- If you really DO deep fry your Twinkies, freeze them first before dipping them into a basic batter and then frying them. Although I vow to never get a deep fryer, I really wish I had one now. And for when I really want to make donuts. And fritters, and stuff. I should never say never.
Related Recipes & Posts:
- TWINKIE SPONGE CAKE: Preheat oven to 350°.
Leave a Reply

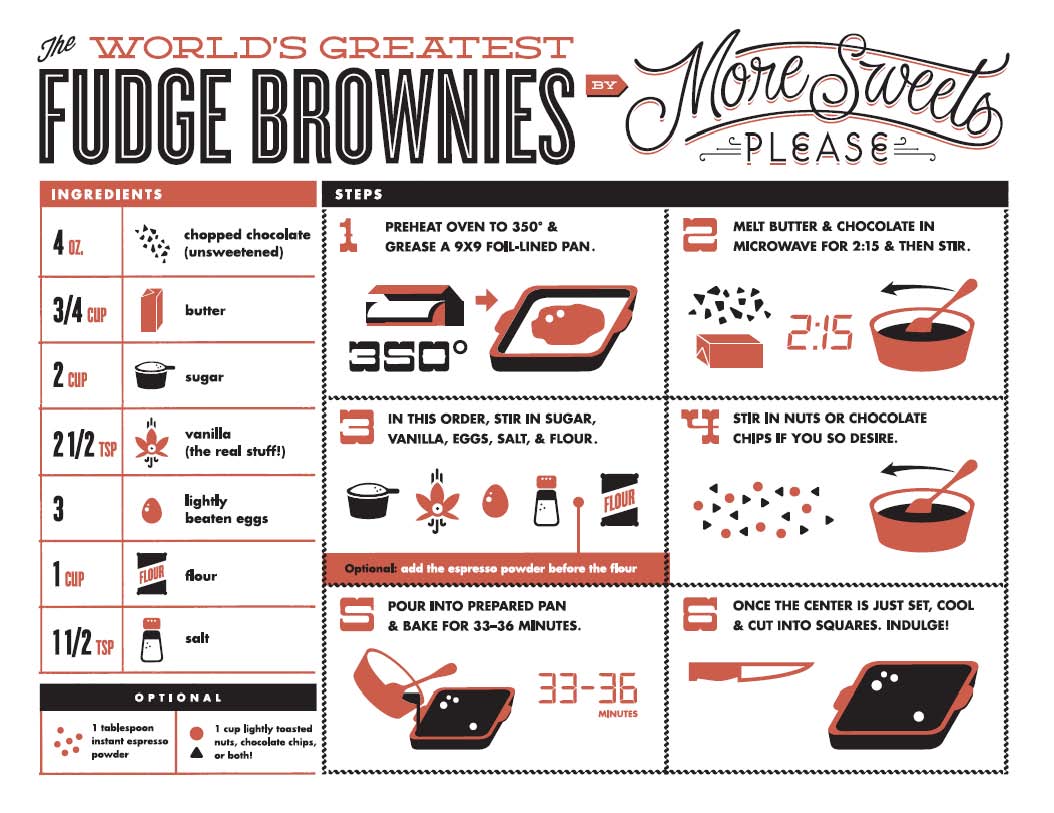
World’s Greatest Brownie Apron- Buy Me Instantly!

More Sweets, Please!

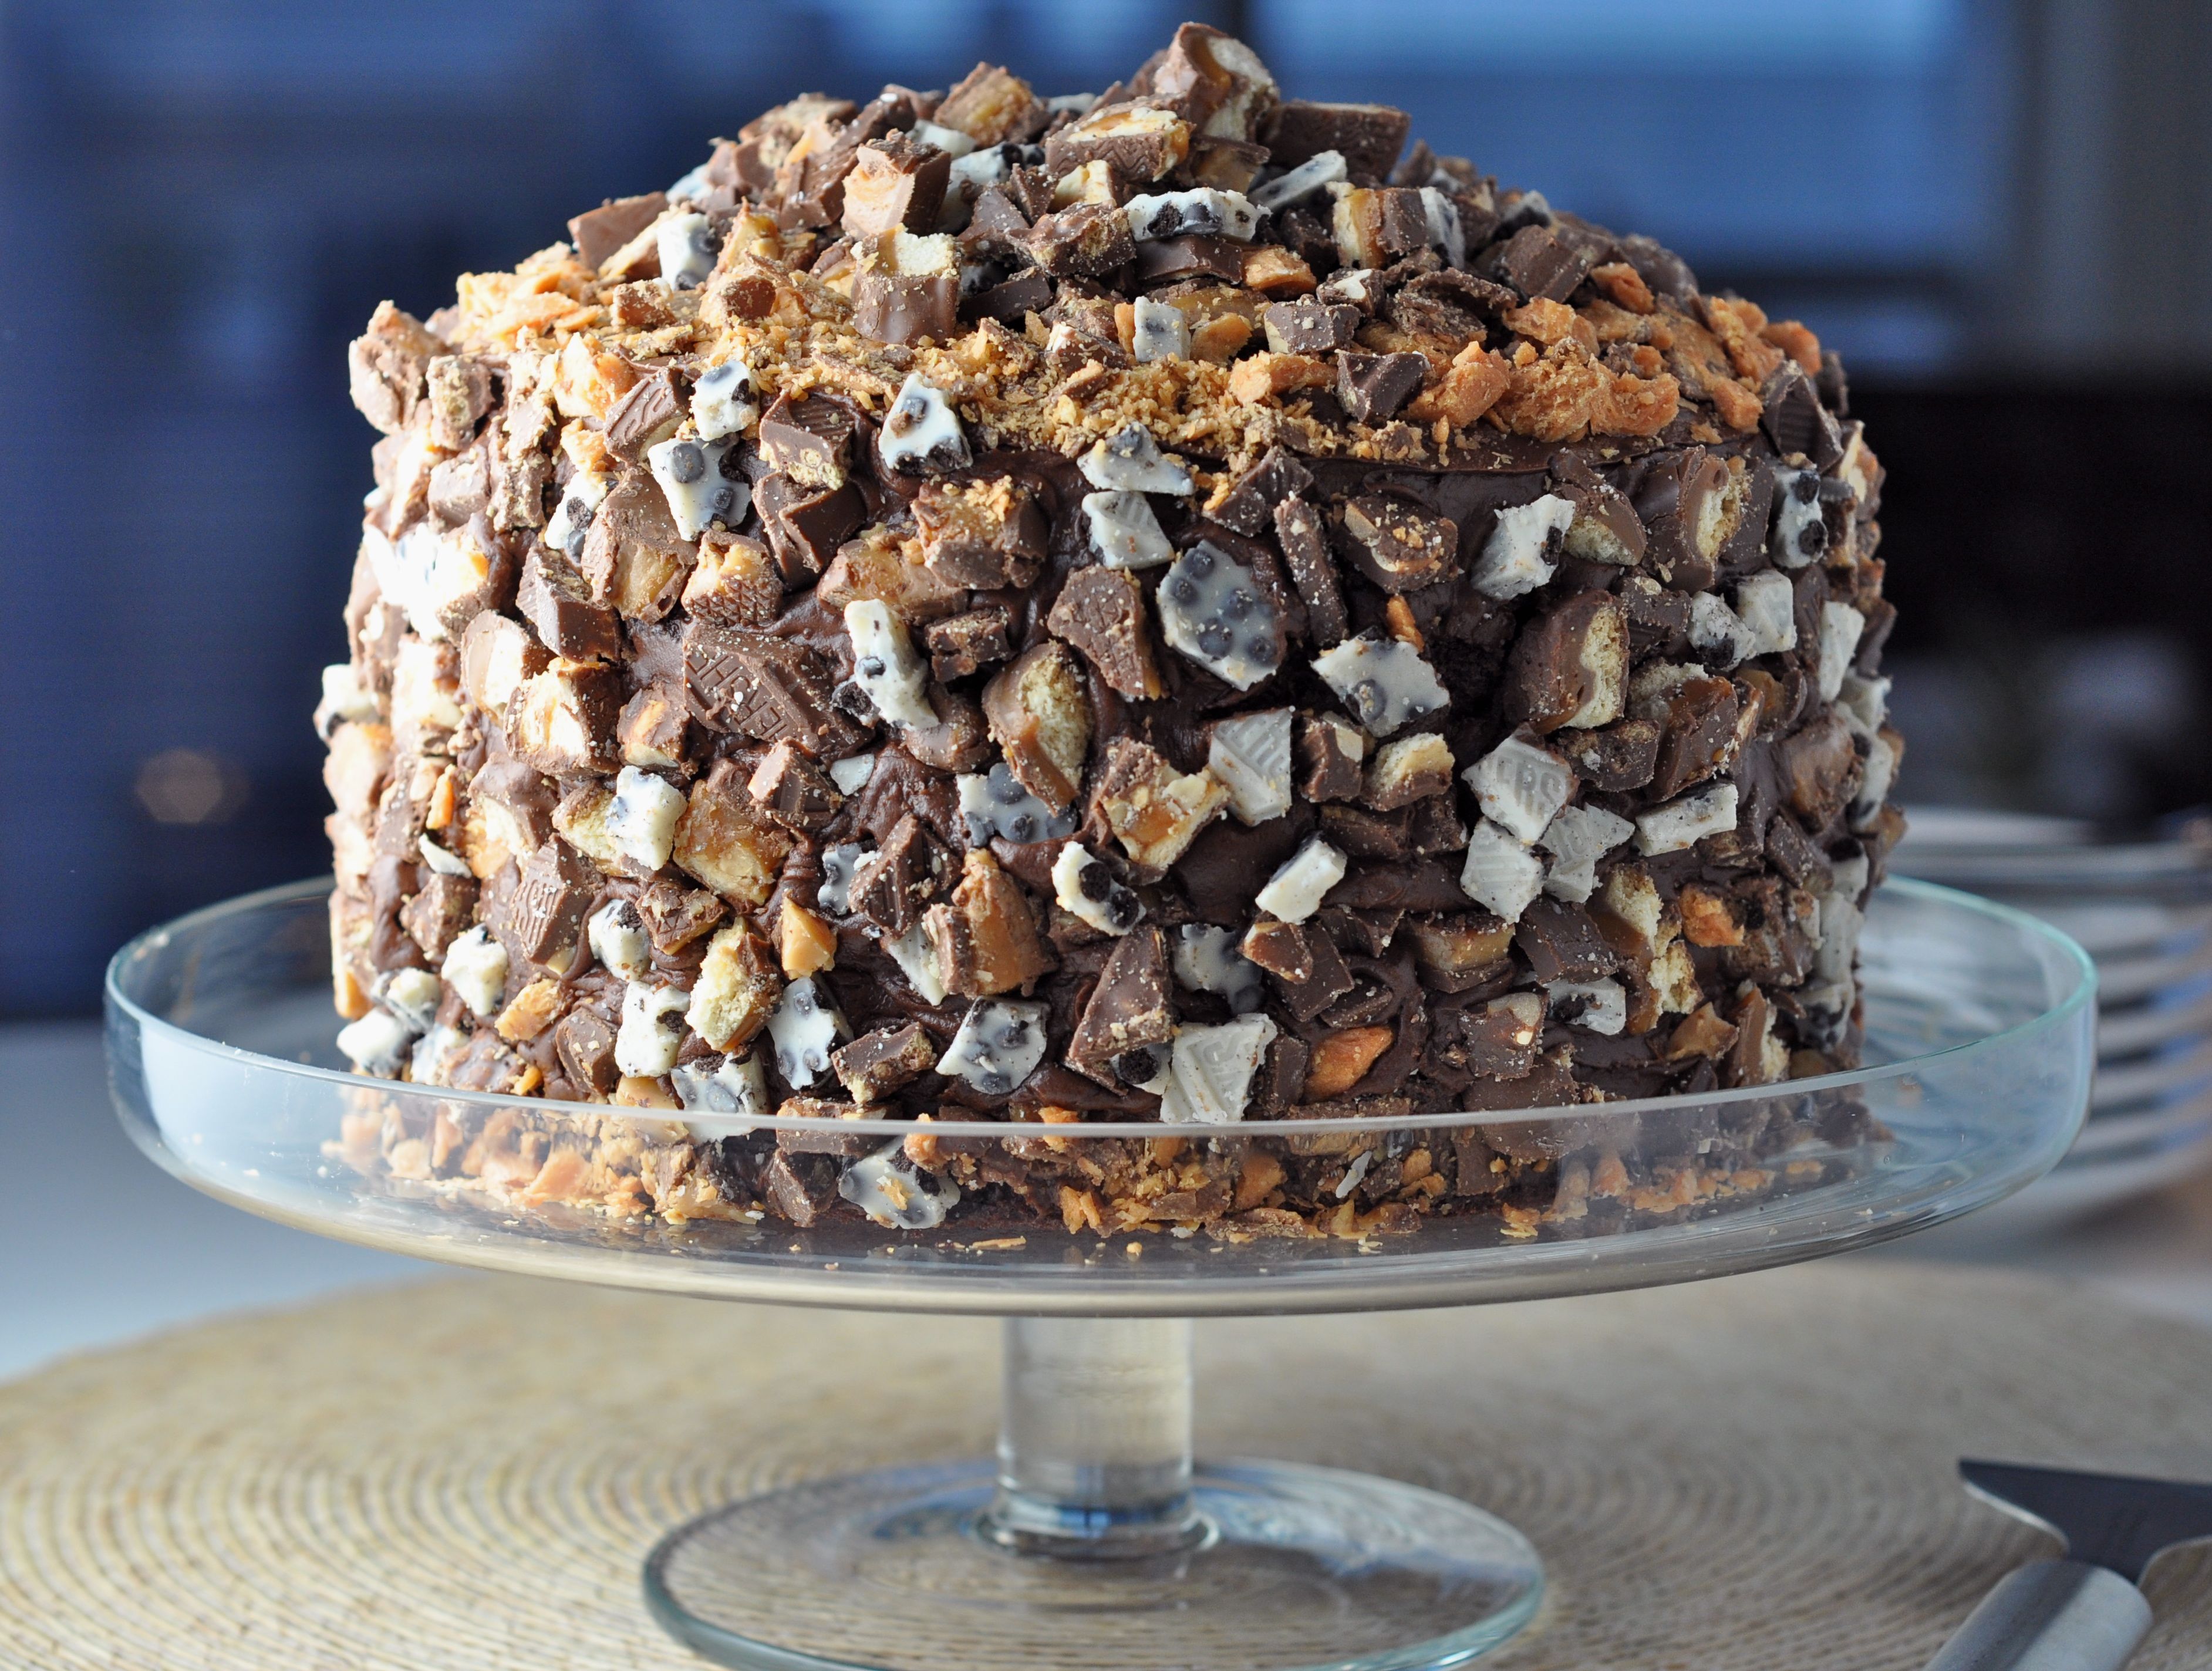
This Cake is Not a Mirage.
World’s Greatest Brownie Kitchen Towel for Purchase!


The Bingeworthy Brownie…