
Gouda Puff Pastry Straws
-

You know that I am partial to sweets. Clearly. But sometimes a savory treat just totally and completely hits the spot, and I have just figured out why: it’s the cheese. Do you think I could start a “More Cheese, Please” website, too? (I just Googled it, and it’s taken- at least the .org and .net sites. It’s also the name of a food truck in Seattle that makes a “sugar-glazed grilled cheese donut”- oh my God.)
So take puff pastry, spread a bit of beaten egg on it, and sprinkle parmesan (and salt and a bit of cayenne) on it too… then fold it up, roll it out, slice it into strips, twist them up a bit, and bake them. Your kitchen will have that unbeatable smell going on in a matter of nine minutes- you know the one- the cheese-baking-then-crisping smell. It’s almost as good as the smell of baking plain-jane Classic Shortbread Cookies. (Because I’m a sweets gal at heart, the sugary dessert wins the prize.)
Cheese straws are essential at any social gathering (beside your favorite dip, for sure), or anti-social gatherings, too, when you want them all for yourself and just don’t want to share. Perfectly okay.
Adapted from Martha Stewart’s recipe…
3 – 4 tablespoons all-purpose flour, for surface & rolling pin
1 package (14 ounces) frozen puff pastry, thawed but still very cold
1 egg, lightly beaten
1/3 cup (1 ounce) Gouda cheese, finely grated
1/4 teaspoon coarse salt
1/2 teaspoon cayenne pepper
- Preheat oven to 425°. Line 2 baking sheets with parchment paper.
- On a lightly floured surface with a lightly floured rolling pin, roll thawed but still chilled puff pastry into about a 12 x 16-inch rectangle. Lightly brush one half of the long side of the rectangle with about half of the beaten egg. Sprinkle 1/4 cup Gouda, salt and cayenne powder on top of egg, and fold bottom half over top half. Gently roll the dough to seal the egg & cheese innards.
- Cut rectangle lengthwise into strips no wider than 1/4 – 1/2 inch (you should have about 20 – 25 “straws” of dough).
- Transfer strips to baking sheets, spacing 1 inch apart. Working with 1 strip at a time, hold each end with your fingers, and carefully twist strip in opposite directions, forming a spiral. Press ends of strips against parchment to prevent unraveling.
- Sprinkle remaining cheese over tops of straws (add more if you’d like), and freeze or refrigerate until strips are very firm and cold, about 15 minutes.
- Bake straws for 9 – 14 minutes, until golden brown and cooked through. Remove from oven and transfer straws to a wire rack to cool.
Tips:
- Cheese options could include any hard cheese, as long as it’s finely grated (using the weensie holes on your grater). I like a Parmesan (Martha’s original recipe), or a hard aged manchego cheese. The better the cheese, the better the cheese straw (which really should become a saying).
- Too lazy to twist the strips into spirals? You could skip it. They won’t look as good, but they’ll still turn out anyway.
- Does this look too complicated? It’s really not. As I said in the intro- you’re really just rolling out the puff pastry so it’s in a thin rectangle, then spreading egg, cheese, salt and cayenne over the long half. Fold the plain half over it, roll it, and slice into long strips. You could always just cut into small squares- they’ll really puff up and look cute… if you do go this route, be sure to spread a bit more egg (leftovers from the one you already cracked) overtop of the dough, and sprinkle cheese on top of that. Space out the squares by a couple of inches each. Voila.
- Enjoy!
Related Recipes & Posts:
Leave a Reply

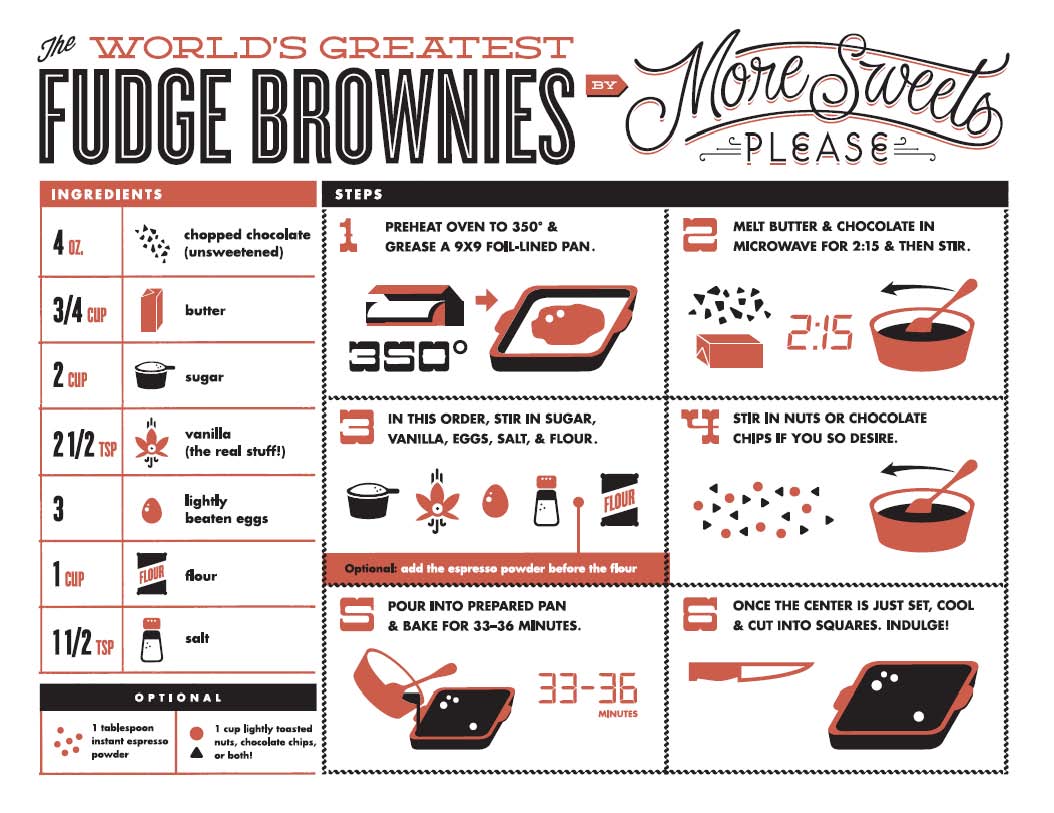
World’s Greatest Brownie Apron- Buy Me Instantly!
More Sweets, Please!
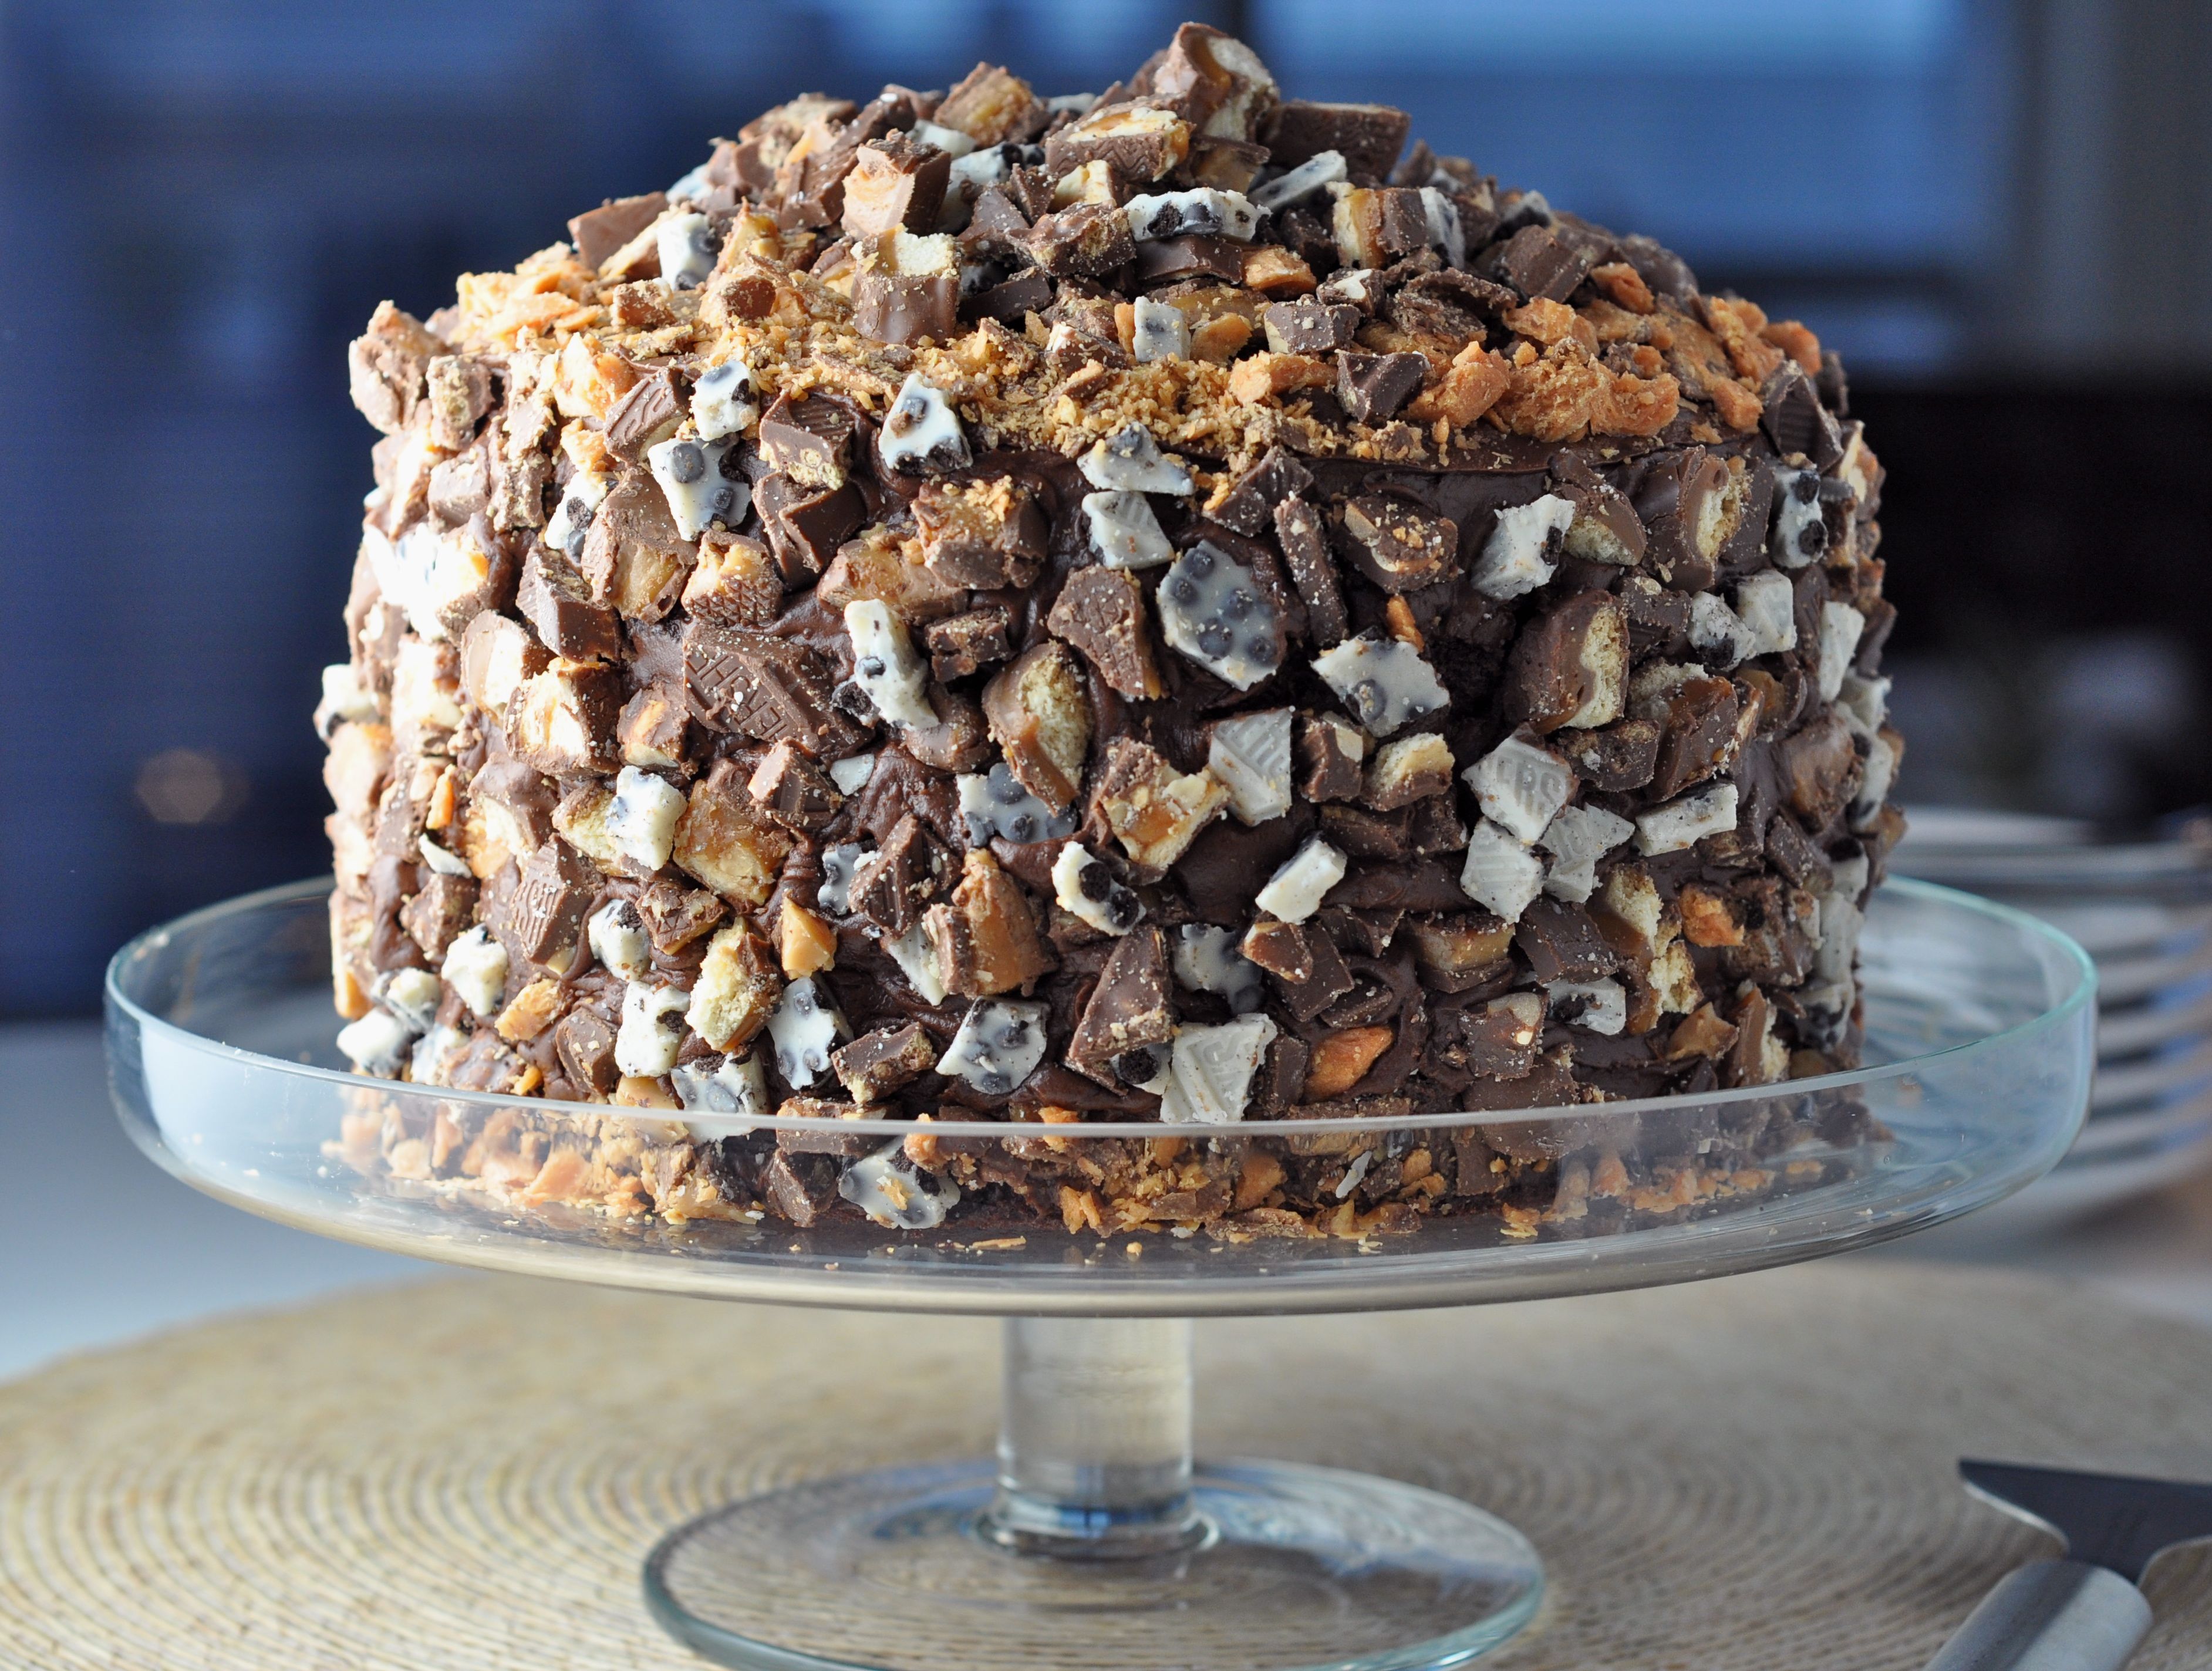
This Cake is Not a Mirage.
World’s Greatest Brownie Kitchen Towel for Purchase!


The Bingeworthy Brownie…


4 Responses and Counting...
The Grilled Cheese Donut was created by Tom+Chee in Cincinnati, they cook one on Man v Food Nation last year!
Oooh- I must look that up. Thank you! (Wonder what donut french toast would be like? Now I must make.)
[…] Jodi’s version from More Sweets Please had me at “gouda.” Here’s her recipe and the tips are helpful […]
Hello there, and thanks for featuring this post on your most beautiful website :)