Buttery Pine Nut Cookies
-

Pine nuts? In a cookie?
But of course.
Fennel seeds? In a cookie?
Don’t question it until you’ve tried it. (A full dozen of them. Stuffed into your mouth in rapid succession, because there’s something about that hint of fennel-seed-savoriness when baked with the butter into a crispy-outside, sort-of-soft-inside cookie.)
I will confess that my relationship with pine nut cookies did not get off to a good start. Martha Stewart let me down in 2003 when I tried to make her pignoli recipe (an authentic Italian cookie that’s all about pine nuts). After a decade, I was still bruised with the memory of the horrible batch (Martha, I guess I should take responsibility. I’m sure it was my fault and not yours that the cookies ended up as inedible failures. I don’t even think The Husband ate the rejected little pine nut orphans, which as you know says a lot, since he consumes most of my disasters… see the Haute Chocolate “Dairy Disaster” episode for a poignant example) so I have shied away from the expensive nuts for the last decade. I brought them into the house a few weeks ago to use in a cooking recipe, of which I can’t even remember right now- and the leftover nuts sat there in the pantry, looking at me every time I opened the door, reminding me of my Martha mishap. “Bake me into a cookie”, they whispered. “I dare you.” The dare was on. I found inspiration from another recipe (Martha, I hope you don’t blame me for not trying your official pignoli recipe again… I still think we need space in the pine nut department.)
This cookie is rich and unique- sort of like an eccentric millionaire. So when I say “try it”, a) I know you’ll like it, and b) I know you won’t be able to try just one. Ration accordingly.
Adapted from the Food network’s recipe…
1/2 cup unsalted butter, at room temperature
1/2 cup plus 2 tablespoons sugar
1 teaspoon vanilla
1 teaspoon ground fennel seed
1/2 teaspoon salt
1 egg
1 1/4 cups all-purpose flour
1/4 cup pine nuts- In a large bowl, beat the butter, sugar, vanilla, fennel seed, and salt together for 3 minutes. Scrape the sides of the bowl, then beat in the egg. Add the flour and mix just until blended.
- Transfer the dough to a sheet of plastic wrap. Shape the dough into an 12-15″-long log. Wrap the dough in plastic and refrigerate for 2 hours. (I formed my dough into a log with 4 edges- so sort of like a long 3D rectangle, but you can make a circular log.)
- Preheat oven to 350°, and line 2 baking sheets with parchment paper.
- Slice the dough log crosswise into 1/4-inch thick slices. Transfer cookie slices to prepared baking sheets, leaving a good inch between cookies. Press the pine nuts into the tops of the unbaked cookies. Bake until the cookies are golden around the edges, about 15 minutes.
Tips:
- Fennel seeds can be ground using a spice grinder, a coffee bean grinder, or a mortar and pestle. (Be sure to use ground seeds instead of the whole seeds). No fennel seeds? Go ahead and skip. Who cares.
- Pine nuts can be pressed into the cookies in a decorative fashion, if you’re feeling all extra-mile-ish.
- Use a hollowed-out paper towel cardboard core thing to hold your chilling dough in, if you want. It will help retain the rounded shape instead of creating a flat edge. What I just typed makes sense to me, but it might sound vague. Tell me if you need more of a description.
- For cookies that hold their shape after baking, put the cookie sheet into the fridge after placing your dough slices on it. If they go into the oven cold & firm, they’ll retain their shape better. If they go in sort of soft, you haven’t a chance in hell.
- Be sure to space your cookies apart, or they will bake into one another around the edges. Ahem- this might have happened to me.
- Go ahead and freeze the cookies, either in the log (unsliced), or after baked. You can thaw the log in the fridge for a day- just be sure to cut when really cold, or the slices will get too smooshy on you.
- Enjoy!
Related Recipes & Posts:
Leave a Reply

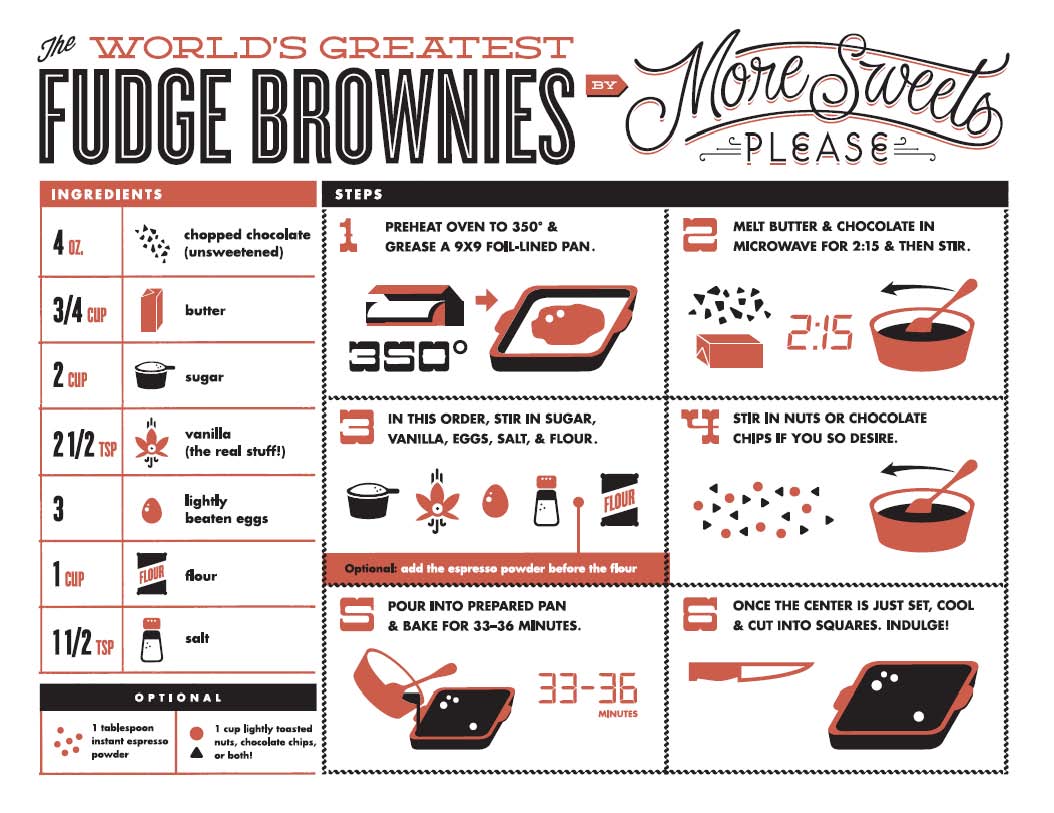
World’s Greatest Brownie Apron- Buy Me Instantly!

More Sweets, Please!

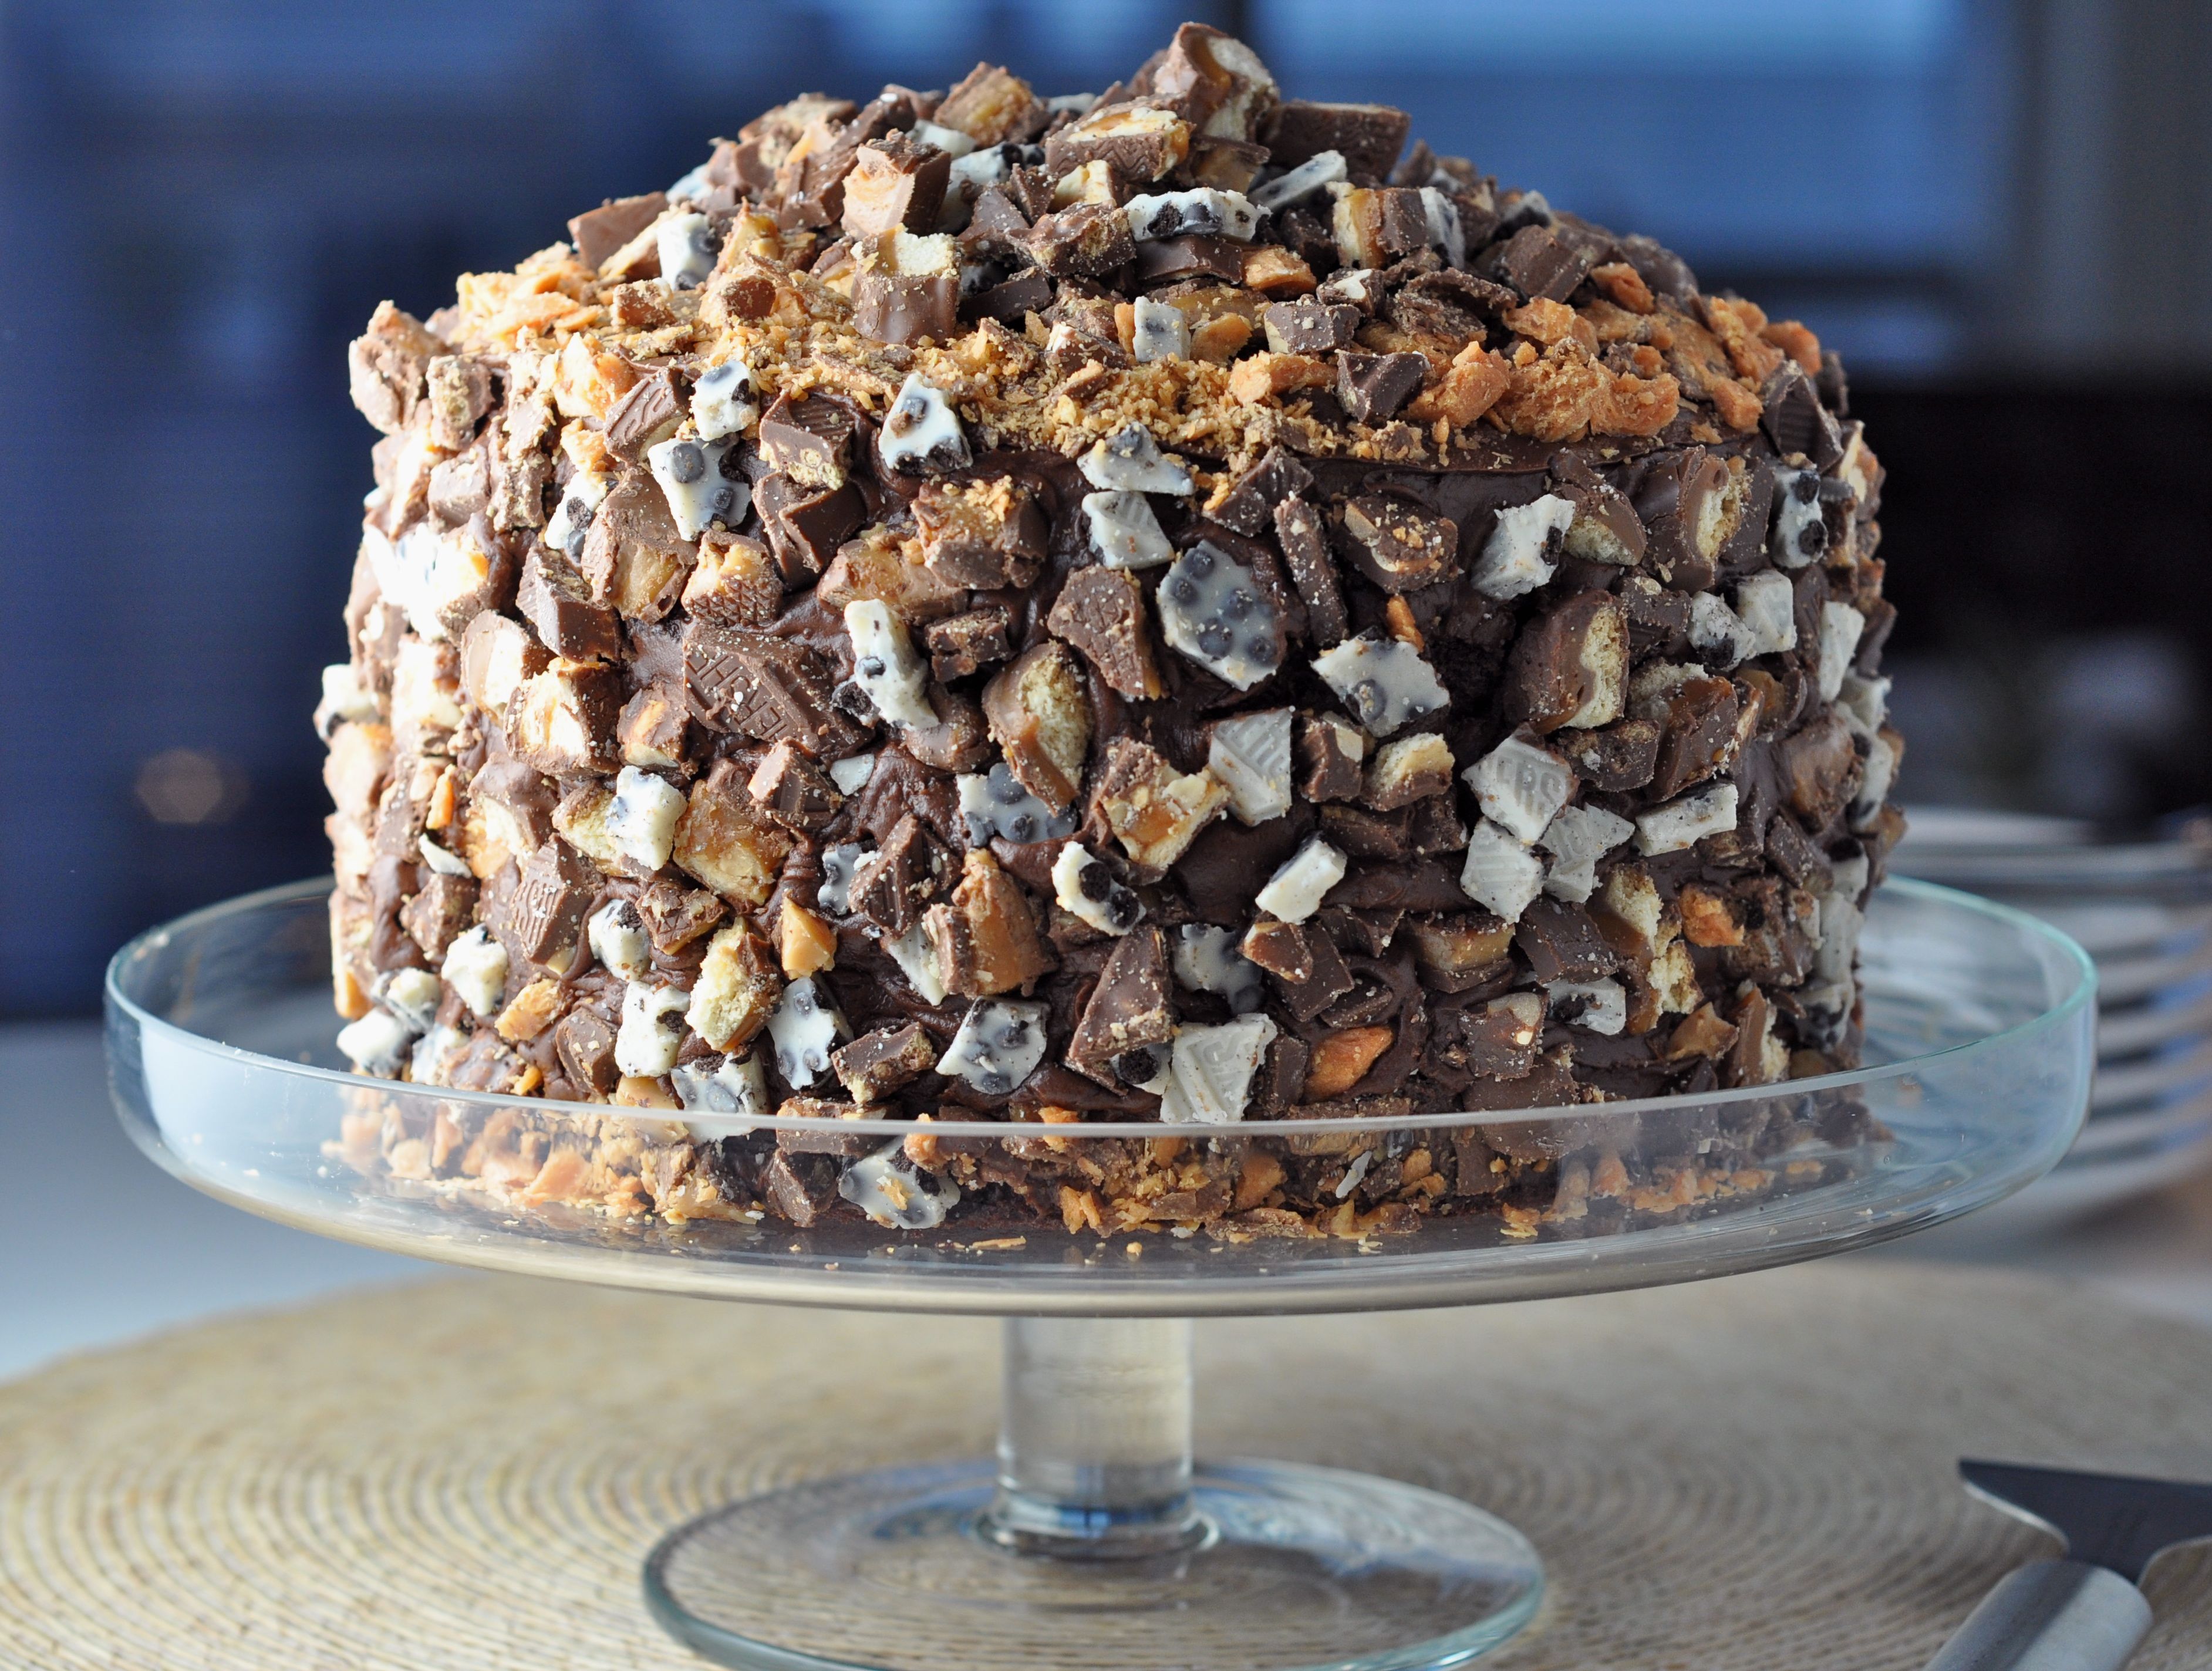
This Cake is Not a Mirage.
World’s Greatest Brownie Kitchen Towel for Purchase!


The Bingeworthy Brownie…