Lemon Cornmeal Shortbread Tart
-
 Don’t you just love love love the idea of baking something for someone that will make them really happy? (Or at least you hope it will make them happy, provided that you don’t screw it up.) There’s something to be said for the joy of making what you know someone loves to eat, of making their “favorite thing”, as a really special way of topping off a dinner.
The Occasion: The Husband’s birthday.
The Key Ingredient: Lemon. (Sausage was the theme for the dinner, but I couldn’t find an unrevolting way to incorporate sauage into a dessert, so lemon it was.)
The Masterpiece: Lemon Cornmeal Shortbread Tart, Round II (the original Round I version was unfortunately eligible for the ‘Recipe For Disaster’ section and can be found by clicking here).
The Feedback: Not bad indeed (although a sloshing amount of Chateauneuf du Pape wine might have altered The Husband’s perception of pretty much everything by the time dessert rolled around, let’s be honest).Severely adapted from Martha Stewart’s recipe… makes a 9″ round tart…
CORNMEAL SHORTBREAD TART SHELL:
2 1/4 cups all-purpose flour
3/4 cups course yellow cornmeal
3 tablespoons sugar
1 1/2 teaspoons salt
1 tablespoon lemon zest
3/4 cups (1 1/2 sticks) unsalted butter (very cold, cubed)
3 egg yolks
5 tablespoons ice water
LEMON FILLING:
2 teaspoons unflavored gelatin
1 tablespoon cold water
1 cup sugar
6 egg yolks
1/2 cup lemon juice (freshly squeezed)
2 tablespoons lemon zest (from approx 2 lemons)
1/2 teaspoon salt
1/2 cup (1 stick) unsalted butter (room temperature, cut into tablespoons)
- Prepare CRUST: Pulse flour, cornmeal, sugar, salt and lemon zest in a food processor until combined. Add butter and pulse until mixture is crumbly with butter pieces the size of peas.
- In a measuring cup, whisk egg yolks and water together, then add to food processor through the feed tube while the machine is running. Process just until the dough holds together.
- Divide dough in half and wrap in plastic, forming into a disk about 8 inches round. (Keep one half for this recipe and freeze the other half… or refrigerate for up to a few days.) Refrigerate the disk you plan to use for 30 minutes, then on a lightly floured surface, roll 1 disk out to a 10″ circle. Fit into a 9″ tart pan with a removable bottom, and gently press dough into bottom and sides of pan. Trim dough on the top of pan so it is flush with the top edge. Refrigerate until firm (at least an hour), or freeze for at least 30 minutes.
- Prick bottom of tart with a fork in 10-12 spots and bake at 375° for about 25 minutes- until golden. Allow to cool before adding filling.
- Prepare FILLING: In a small bowl, sprinkle gelatin over water and allow to sit for 5 minutes until gelatin softens.
- In a large heatproof bowl, whisk together sugar, egg yolks, lemon juice, zest, and salt. Place bowl over a saucepan of simmering water, whisking constantly until mixture thickens slightly and reaches 160°. Whisk gelatin mixture into bowl, and then remove from heat. Whisk butter into mixture in three installments, allowing to melt into lemon filling.
- Place bowl into a larger bowl filled with ice water (making sure water doesn’t get into the lemon filling!), and continue to stir for a few minutes (mixture will continue to thicken).
- Pour lemon filling into baked tart shell and refrigerate until firm (at least 2 hours or overnight).
Tips:
- Yowsa HOT! Your brain will tell you that it’s okay to handle the bowl that’s sitting on top of the simmering pot of water, but your brain is wrong. Don’t touch the bowl— use oven mitts or the “Ove Glove” (something I have fallen in culinary love with). You might just have to learn the hard way, as I have. Sigh. Wince.
- Is the ice bath step really necessary? It helps the gelatin thicken- kind of like why you put your jello in the fridge to set. (If your mixture is already quite thick, you could always be bold and skip the step- just let me know how it goes.)
- Timing: while the crust chills in the fridge, you should be making the filling… why not save time for yourself?
- Garnish options: okay, you could serve with a few berries on the side, or sprinkle icing sugar overtop, or a spoonful of whipped cream on the side.
- Freeze-friendly: yep. Cover/wrap well, and thaw in the fridge. Serve at room temperature for best flavor.
Related Recipes & Posts:
Leave a Reply

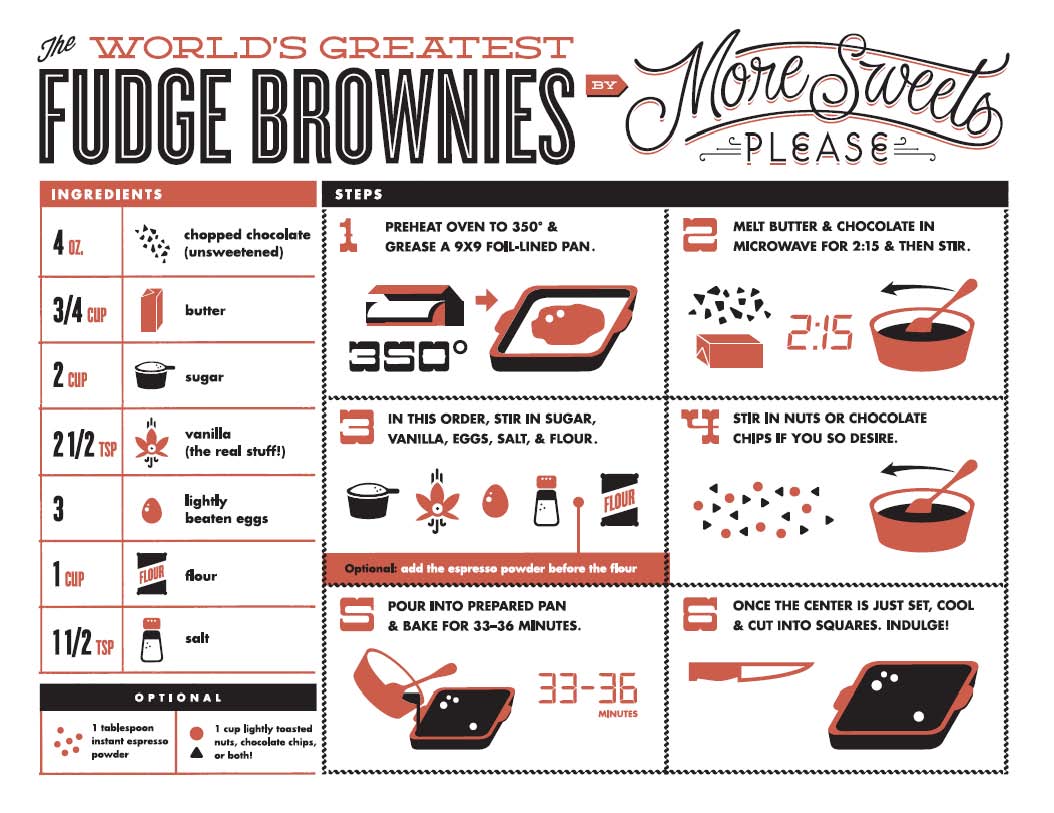
World’s Greatest Brownie Apron- Buy Me Instantly!

More Sweets, Please!

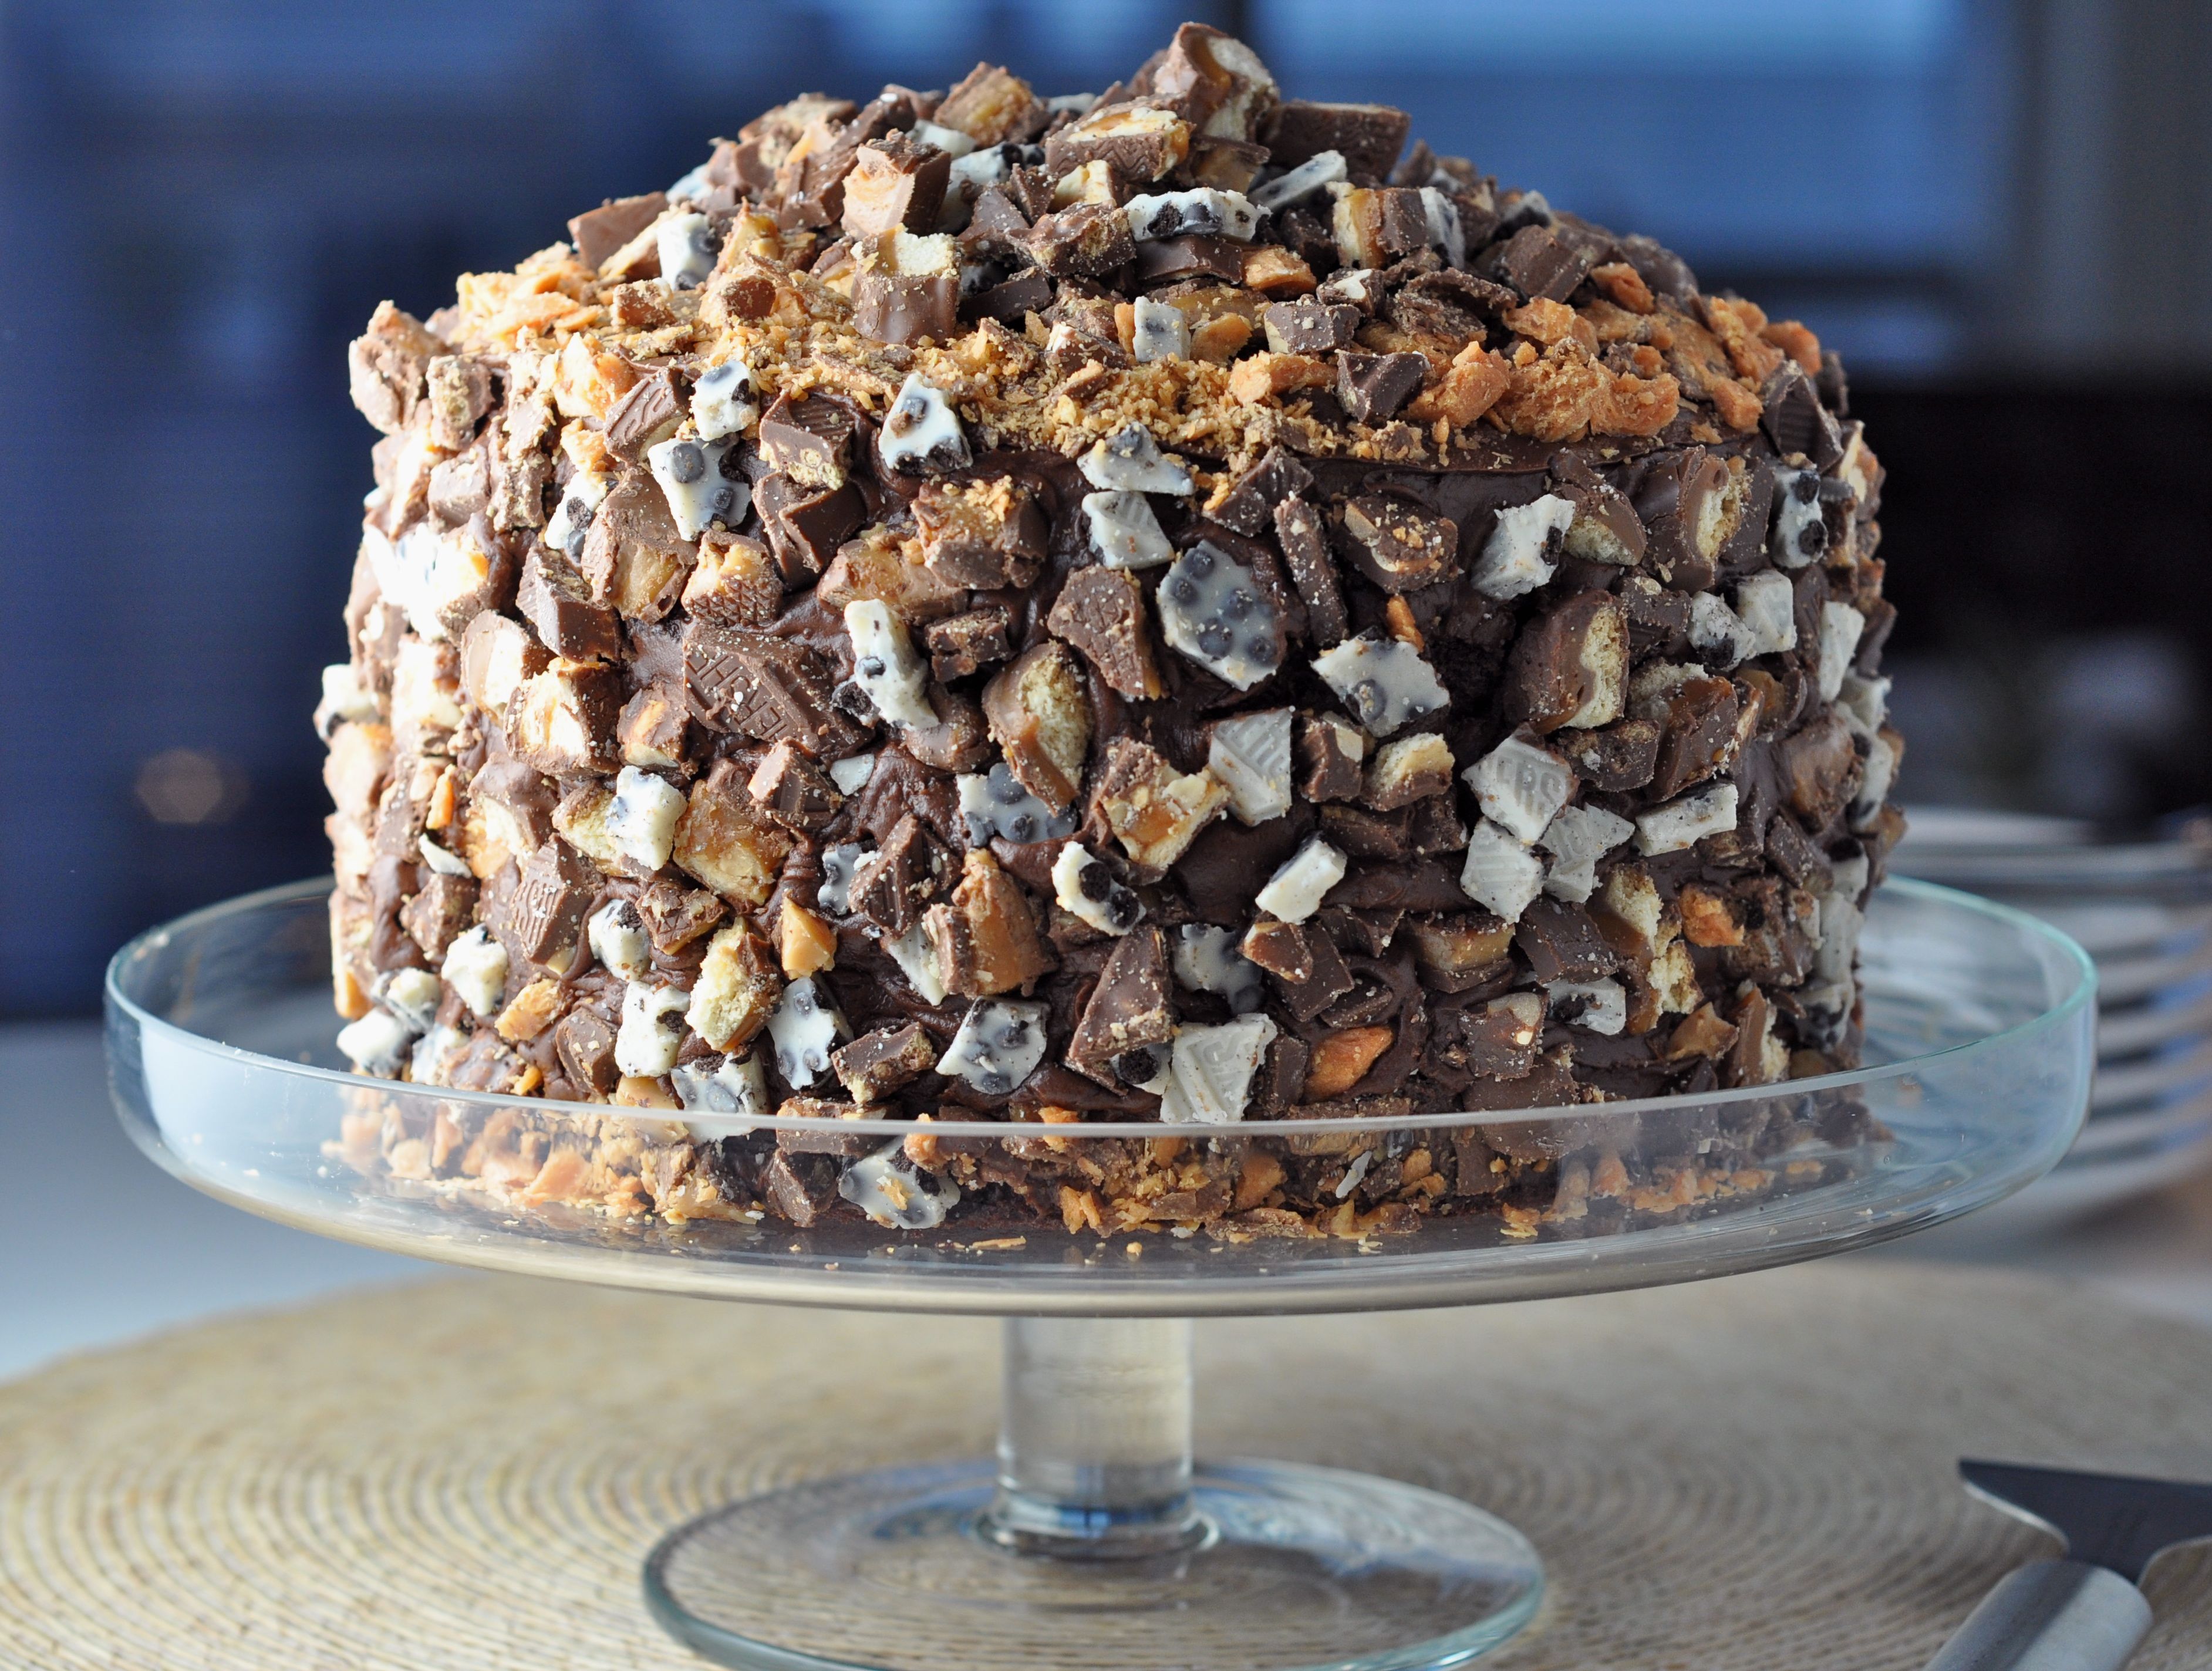
This Cake is Not a Mirage.
World’s Greatest Brownie Kitchen Towel for Purchase!


The Bingeworthy Brownie…