Key Lime Coconut Bars with Lime Glaze
-
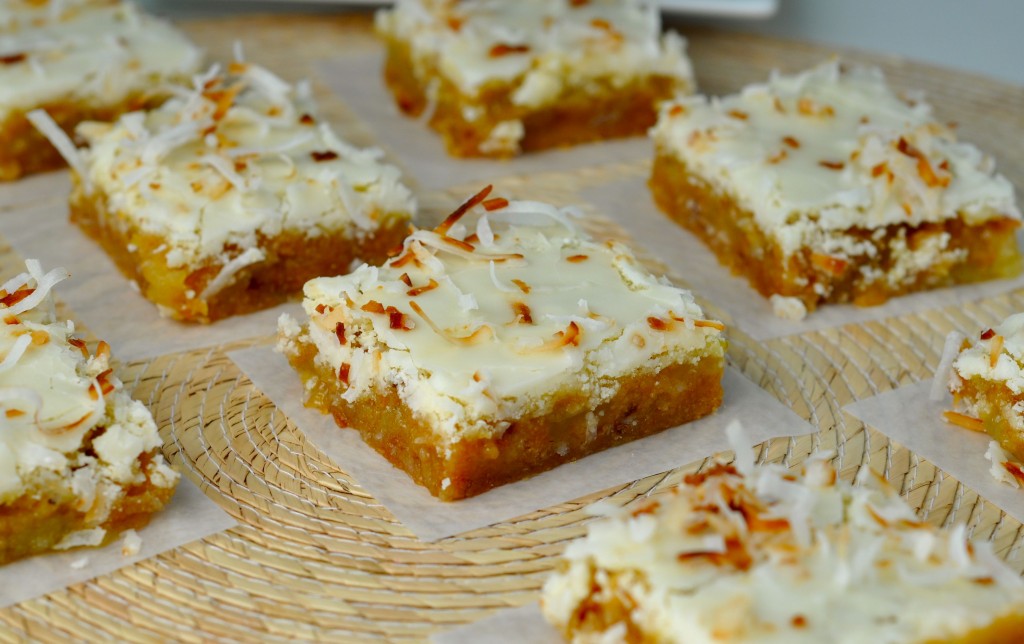
Tart but sweet. Smooth but crunchy. Limey but nutty. (Okay, I’ll quit it with the this but that routine.)
All you need to know is this: make these.
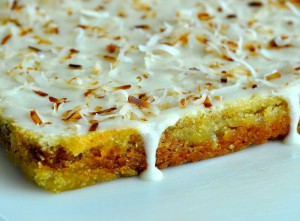
Yeah, I could have just gone the Classic Key Lime Pie route, which is always a fantastic “more, please!” way to go when you feel like juicing key limes all afternoon. But no, I wanted to put a twist on a tried and true recipe. What better way to twist things up than to add toasted coconut and to pour a limey glazey glue over the top of the bars for the coconut to stick to? (Glaze lovers: look at the picture below- the one with the icing dripping off the edge of the bars. Nod in agreement that you’d be all over that part of the bar. We could fight over it.)
Adapted big time from the Food network recipe…
CRUST:
5 tablespoons butter, salted
1 1/4 cups graham cracker crumbs
½ cup coconut, flaked and lightly toasted
2 tablespoons light brown sugar
LIME LAYER:
4 large eggs, lightly beaten
2 cups sugar
6 tablespoons all-purpose flour
1/4 cup plus 2 tablespoons fresh lime juice (or bottled key lime juice)
2 teaspoons grated lime zest
LIME GLAZE:
1 1/2 cups confectioners’ sugar
3 tablespoons key lime juice
COCONUT-LIME TOPPING:
½ cup coconut, flaked and lightly toasted
1 teaspoon lime zest, stirred into coconut when toasting
- Preheat oven to 350° and grease a foil-lined 9 x 13” baking pan.
- CRUST: in a medium bowl, melt butter in microwave (for 30 seconds then in 15 second increments), and stir in cookie crumbs, coconut and sugar. Press into bottom of prepared pan and bake for 12 – 15 minutes (until golden and lightly toasted). Remove from oven and allow to cool slightly. (You might choose to butter the sides of the foil after the crust has cooled, or use non-stick spray on sides of foil to make sure that the lime layer doesn’t stick to the foil. Not that that happened to me.)
- LIME LAYER: in a large bowl, whisk together eggs and sugar until well combined. Whisk in flour, then lime juice and zest. Allow to rest for a few minutes to allow bubbles to subside, then stir gently to keep mixture smooth. Pour limey goo over cooled crust, and bake for an additional 25 minutes, or until filling is set (barely jiggly in the center).
- LIME GLAZE: in a small bowl, stir icing sugar and lime juice together (add more sugar or juice until a bit runnier than the consistency of honey). Spread over cooled bars.
- COCONUT-LIME TOPPING: combine coconut and lime zest in a frying pan over medium heat. Stir very frequently until lightly toasted. Sprinkle the toasted coconut & lime zest over top of glaze (before glaze sets).
- Allow the bars to cool completely before slicing into bars.
Tips:
- Make sure you pre-bake your crust first, or something very very unfortunate will happen to you.
- Yes! You CAN use ginger cookie crumbs- what a great idea!
- You can totally use key lime juice from a bottle, but know that it won’t really be the same. (But it is a bitch to manually juice 95,000 key limes to get the right amount of juice.) Just don’t use lime-limes, which might be too bitter.
- Don’t like coconut? Screw you! Just kidding, I love you. Skip it if you must. We’re cool.
- Don’t want to do the lime glaze layer? Hey, if your bars look decent when you pull them out of the oven, then by all means, leave them for all to see. I had to camouflage some nasty looking bars (because I didn’t let the bubbles pop before baking), so I used the glaze and coconut to create something awesome. But you can do what you want. :)
- These freeze well. The recipe just keeps on getting better, doesn’t it?
- Enjoy!
Related Recipes & Posts:
Leave a Reply

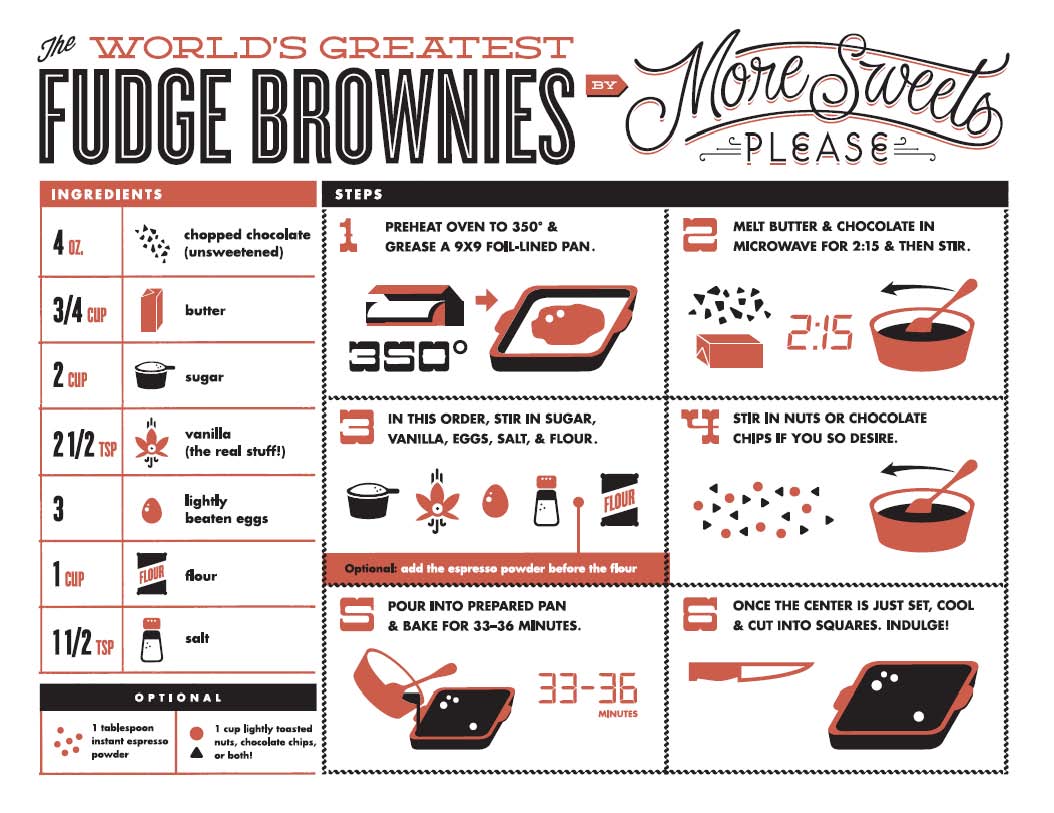
World’s Greatest Brownie Apron- Buy Me Instantly!

More Sweets, Please!

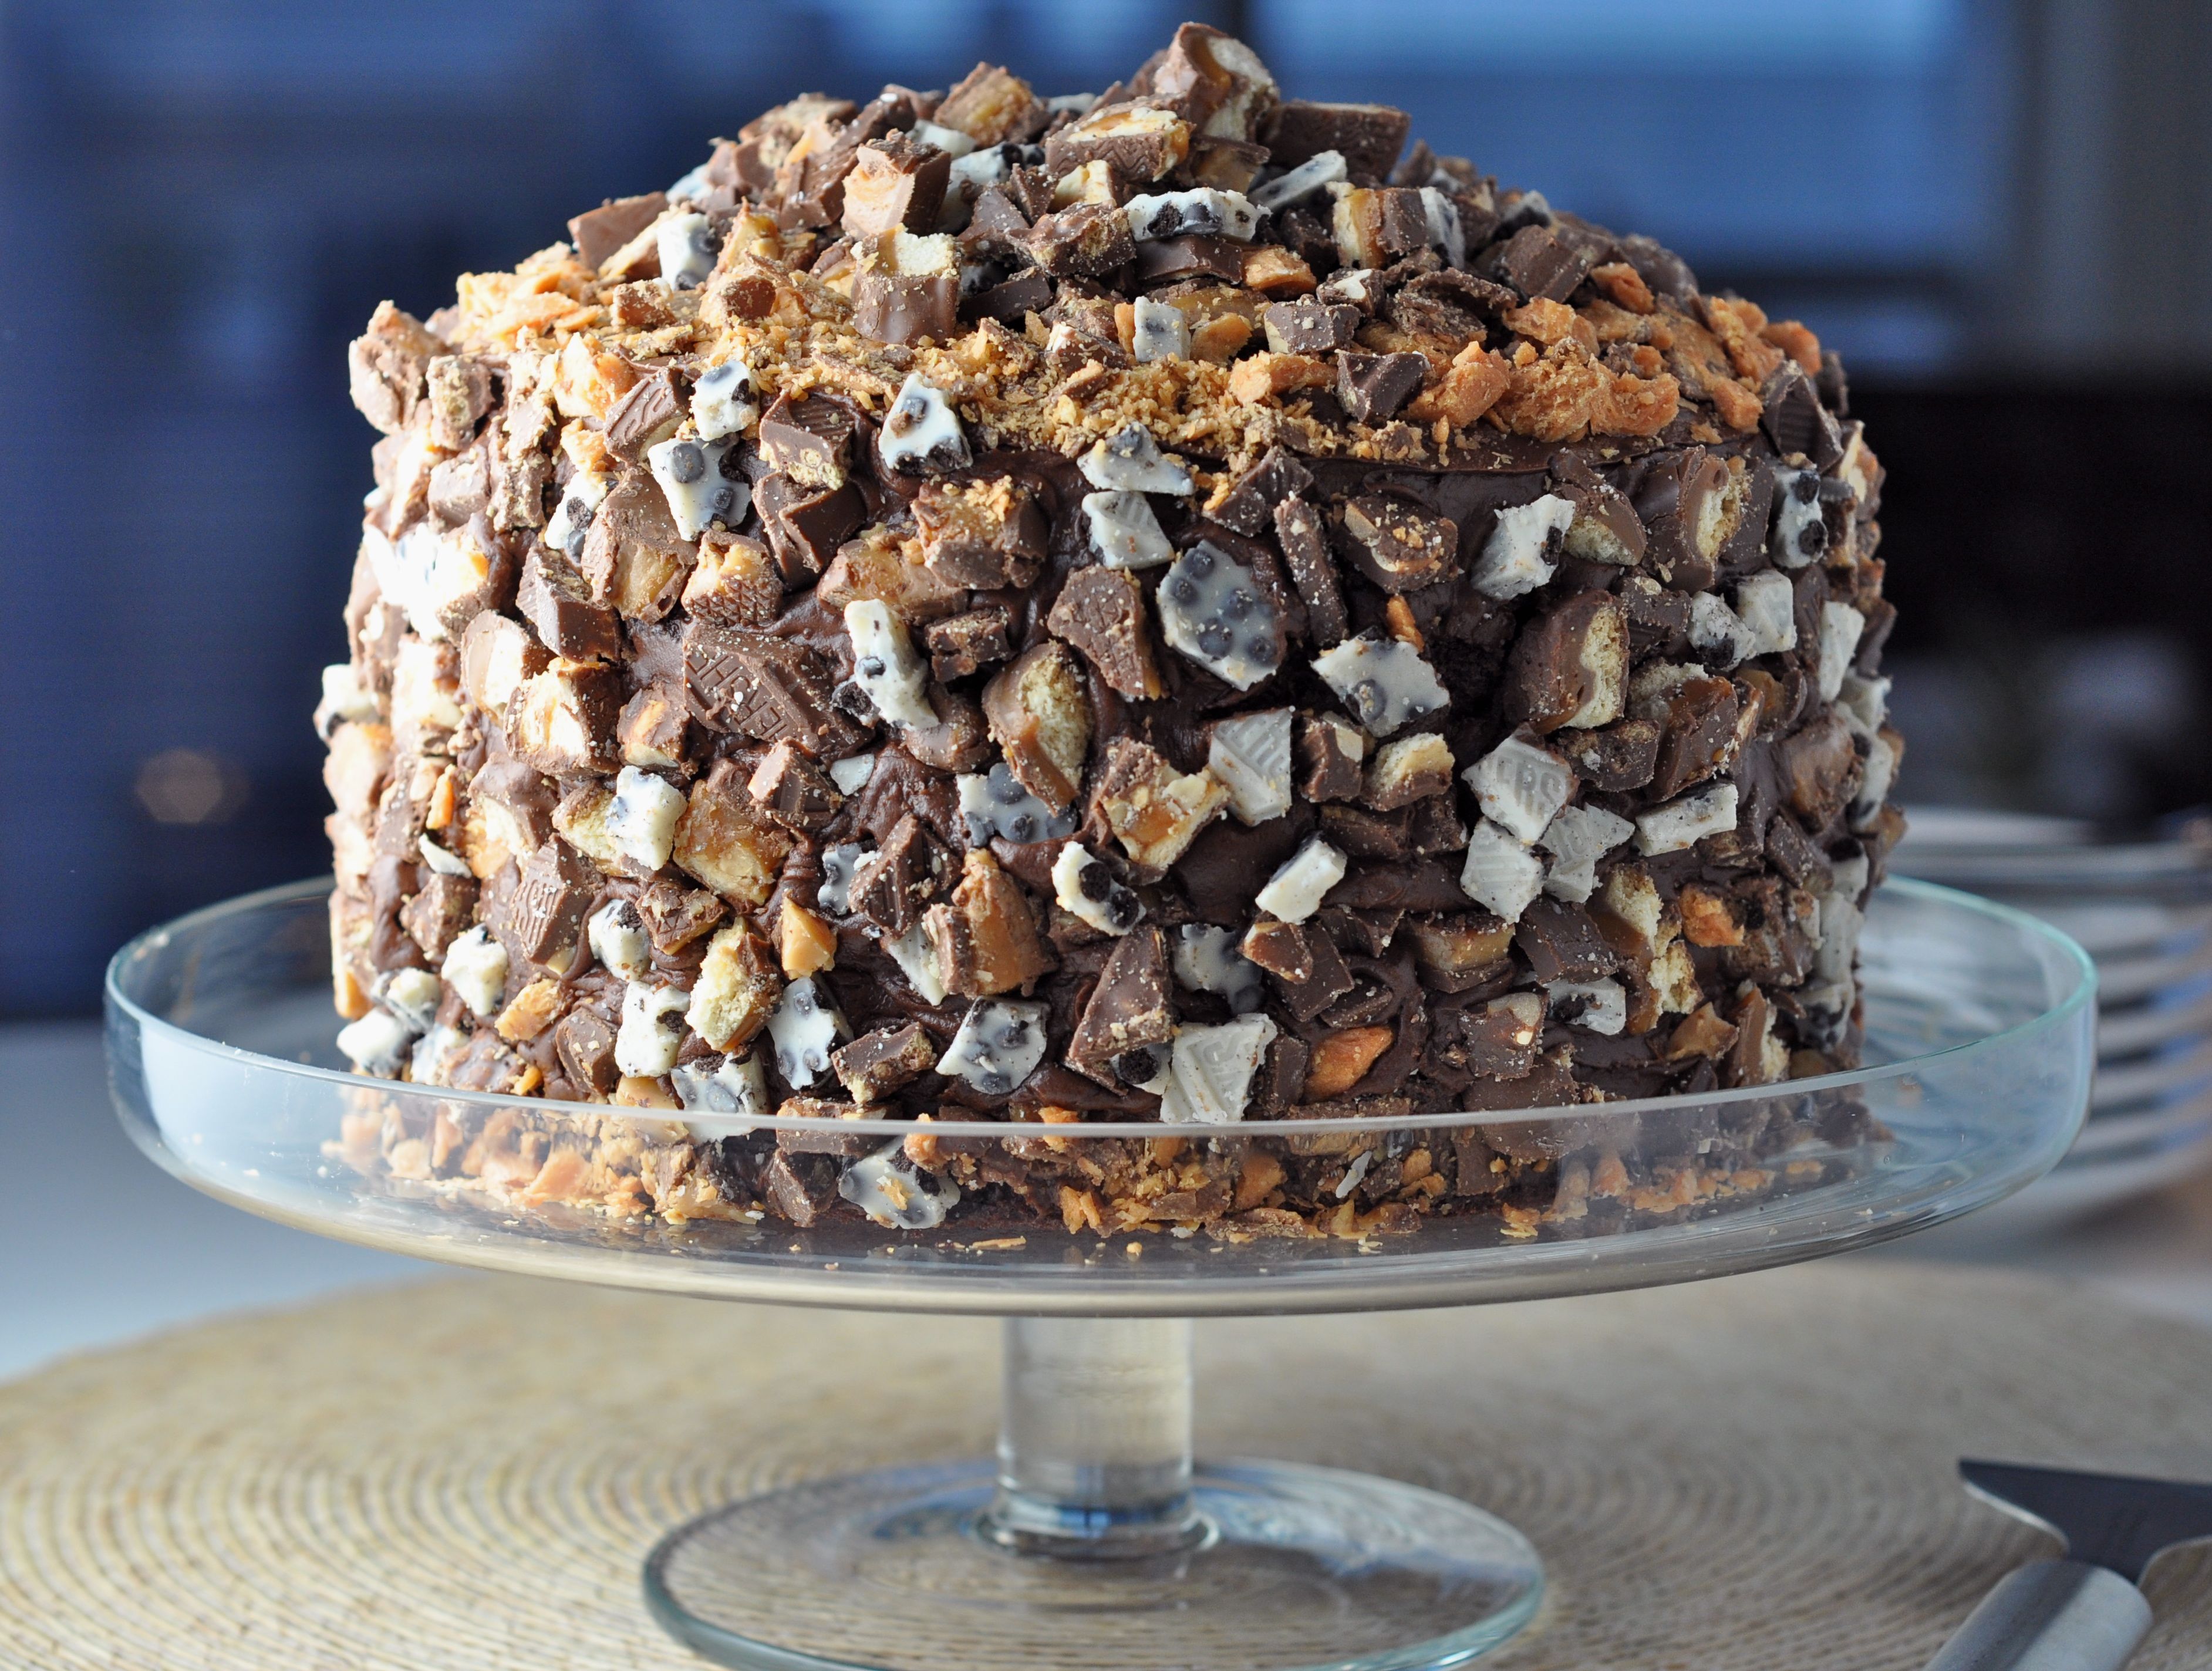
This Cake is Not a Mirage.
World’s Greatest Brownie Kitchen Towel for Purchase!


The Bingeworthy Brownie…