Cinnamon Raisin Swirl Bread
-
 Oh, yeasty-cinnamonny smelling loaf of wonder, why can’t you take just a bit less time to make? Like 2 hours less, give or take? You’re delectable, especially when toasted and slathered with butter, and yet you’re a pain in the ass. And you don’t care, because you know that I’ll keep coming back, in a dysfunctional relationship sort of way.
[We saw a loaf of cinnamon raisin bread at Whole Foods and when I suggestively raised my right eyebrow said “do you wanna?”, The Husband said (in a very bold and brazen way, I might add) “why would we buy one here when you could just make me one?”. There’s nothing that motivates me more than a baking request, so back to the baking aisle I went for the yeast.]
As much as I will disparage any dessert that requires rising time, I know there is a time (a long freaking time) and a place for this kind of treat. Because I can’t always make brownies.
BREAD DOUGH:
1 cup milk
6 tablespoons salted butter
2 1/4 teaspoons active dry yeast (one packet)
2 eggs
1/3 cup sugar
2 1/2 cups all-purpose flour
1 cup whole-wheat pastry flour (or just use 3 1/2 cups regular flour in total)
1 teaspoon saltSWIRL FILLING:
2 1/2 tablespoons butter
1/3 cup sugar
2 tablespoons cinnamon
1/3 cup raisins (optional)CRUST “WASH”:
1 egg
2 tablespoons milk- Melt butter with milk in microwave, and cool until warm (110 degrees, if you’re so inclined to measure). Gently stir in packet of yeast, and allow to sit for 8-10 minutes; sponge will look foamy.
- Combine flour and salt in a small bowl and set aside. Combine 1/3 cup sugar with cinnamon and raisins (if using) in a small bowl, and set aside.
- Mix 1/3 cup sugar and eggs in a stand mixer until combined, and then add butter mixture. Gradually add the flour mixture, beating on medium speed until combined.
- Using the dough hook in the stand mixer, beat the dough on medium speed for 5-8 minutes. (Dough should be stiff and not too sticky; if not, add a few tablespoons of flour and continue to beat for a few more minutes.)
- Grease a large bowl with a small bit of oil (canola or vegetable) and roll dough ball to coat. Cover with plastic wrap and a kitchen towel, and place in a warm area for at least 2 hours. Dough should double in size.
- Turn dough out onto a lightly floured work surface, and roll into a rectangular shape about 18-24″ long and no wider than your loaf pan.
- Spread 2 tablespoons of melted butter over the entire surface of the dough rectangle, and sprinkle combination of sugar, cinnamon and raisins together evenly over the buttered dough. Roll the dough up as tightly as possible, pinching seam to seal at the end. (Dough might seem puffy and tough to roll up… it’s okay, just do your best, using a spatula to help roll if need be.)

- Carefully place dough (seam side at bottom) in a buttered loaf pan. Cover with plastic wrap and allow to rise for 2 hours.
- Preheat oven to 350°.
- Beat an egg with a fork and add a tablespoon of milk, and then brush over the top of the dough. Bake for 35 minutes on a middle rack in the oven.
- Remove bread from the pan and let cool on a wire rack. Enjoy!
Tips:
- Feeling creative? Add in cinnamon chips at the stage when you are sprinkling the cinnamon-sugar-raisin mixture. Or skip the raisins if it’s not your bag. You could entirely change the direction of this recipe and sprinkle a mixture of 1/3 cup sugar, 2 tablespoons cocoa powder, and 1/3 cup chocolate chips on top of the butter… or how about sugar with chopped candied ginger? Please comment if you try a substitution that’s worth sharing.
- Want to save time? Sorry about your luck. No cutting corners in the time department on this one. Yeast needs patience, so don’t start this recipe on a day when you’re looking for a quickie. In the kitchen. (And don’t try to get all smart and have your dough raise quickly by putting the bowl over a hot oven, like I did here.)
- Don’t have a stand mixer? Well, first off, I’m sorry- but you can make do in the old-school way, you sad soul. Knead the dough with your hands and know that you’re getting a good arm workout in, and also getting in touch with Little House in the Prairie time.
- Storage details: this loaf freezes well, so that’s good news if you want to save it if company’s coming in a few weeks and you want to non-chalantly serve it as though you made it just for them. Be sure to store at room temperature in plastic wrap, or else it will dry out… and if it does seem dry, toast it up and slather with butter. (The good news about toasting this bread is that you get to smell it all over again as though it was baking fresh in the oven…)
Related Recipes & Posts:
Leave a Reply

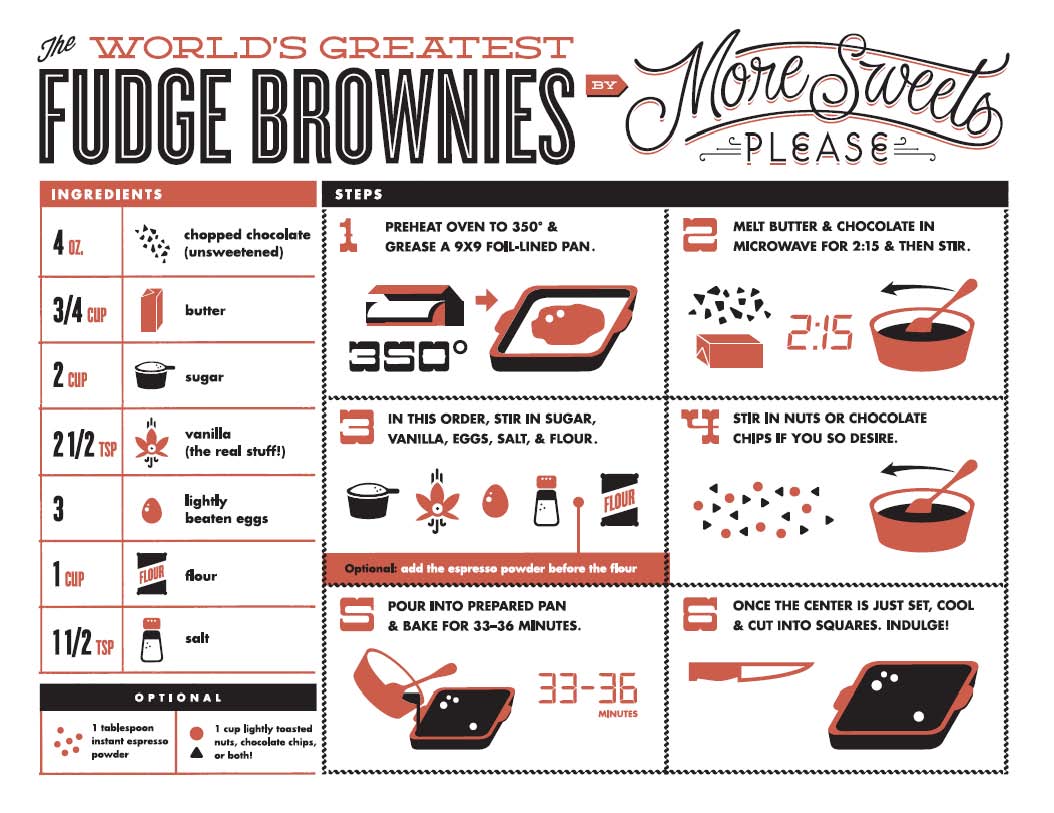
World’s Greatest Brownie Apron- Buy Me Instantly!

More Sweets, Please!

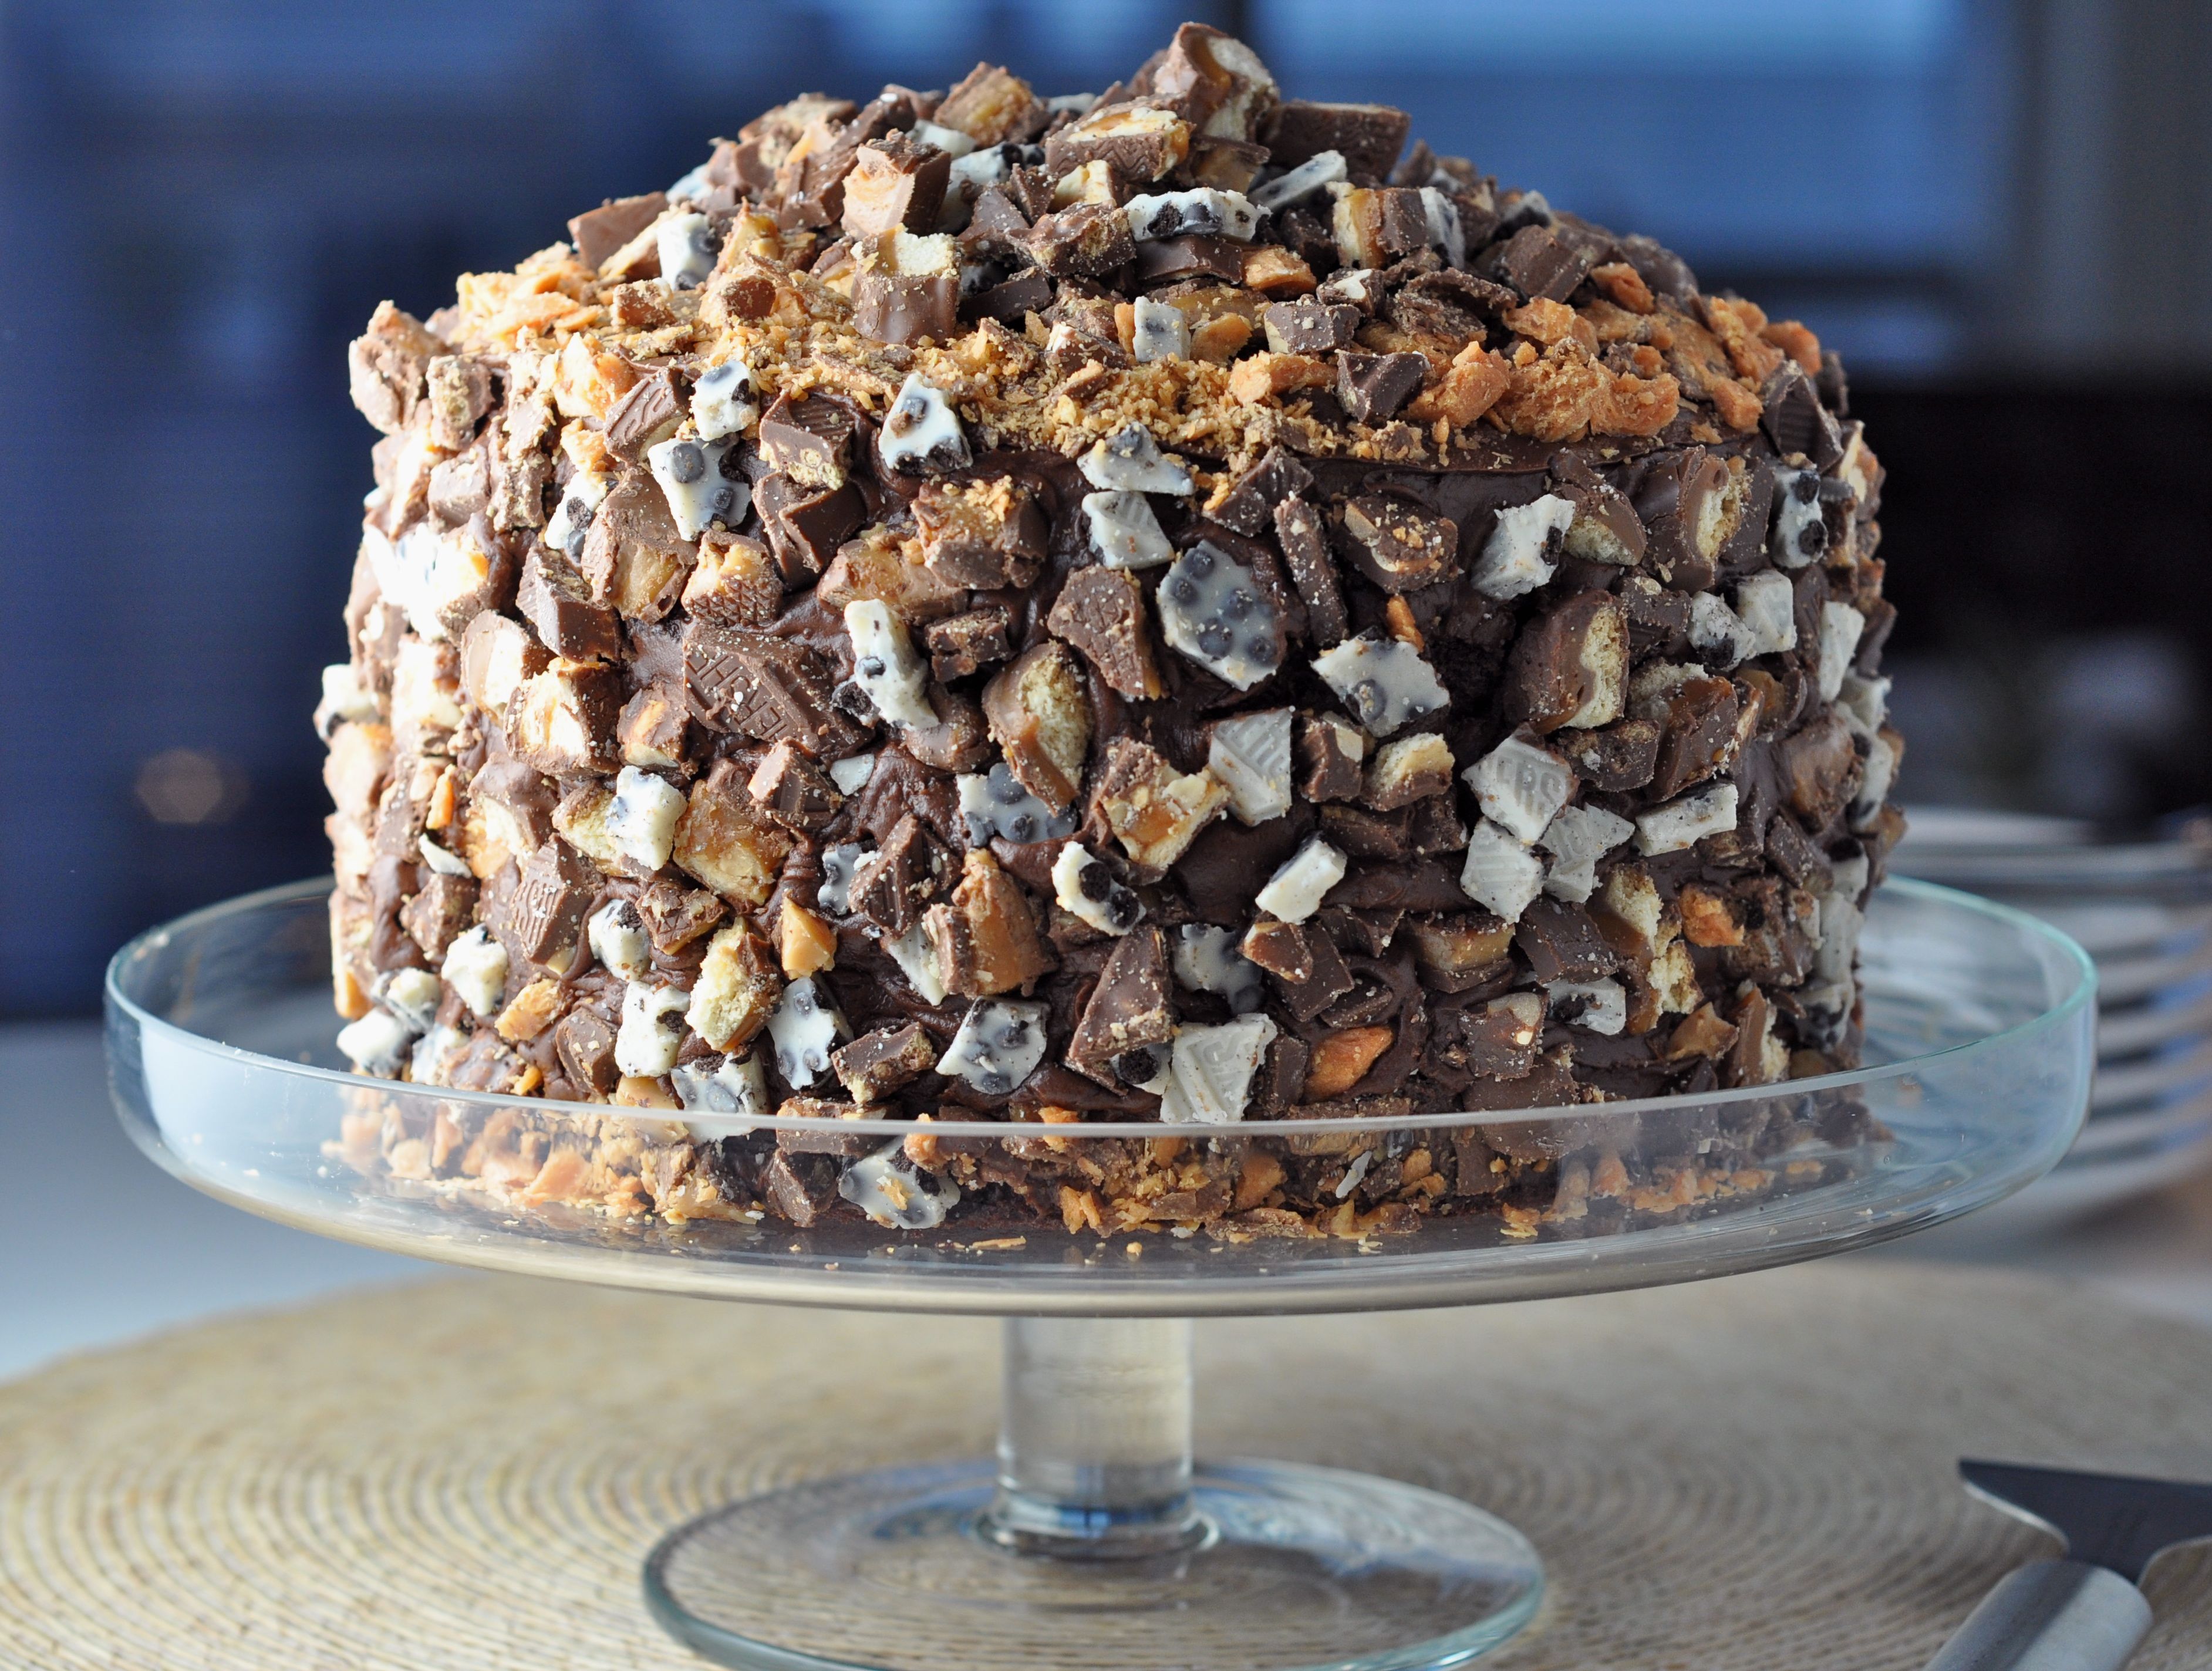
This Cake is Not a Mirage.
World’s Greatest Brownie Kitchen Towel for Purchase!


The Bingeworthy Brownie…